【spring-boot接入Sentinel(Resteasy)】
这里演示如何在中如何对resteasy的接口使用sentinel限流。以上主要是对spring-boot中如何对resteasy的接口使用sentinel限流记录,防止自己遗忘没有地方查找资料。
spring-boot示例
spring-boot接入Sentinel【resteasy】
前言
这里演示如何在spring-boot中如何对resteasy的接口使用sentinel限流。
相关版本
| 依赖 | 版本 |
|---|---|
| spring-boot | 2.7.9 |
| resteasy-spring-boot-starter | 5.0.0.Final |
| sentinel | 1.8.3 |
| sentinel-dashboard | 1.8.0 |
一、Sentinel是什么?
Sentinel 是面向分布式、多语言异构化服务架构的流量治理组件,主要以流量为切入点,从流量路由、流量控制、流量整形、熔断降级、系统自适应过载保护、热点流量防护等多个维度来帮助开发者保障微服务的稳定性。
rsentinel官方网站:http://sentinelguard.io/zh-cn/index.html
二、接入步骤
1.创建项目(略)
有需要的可以去源代码查看
2.接入resteasy
这里我直接引入前面接入resteasy的工程jar包
<dependency>
	<groupId>work.silian</groupId>
	<artifactId>spring-boot-resteasy</artifactId>
	<version>${project.version}</version>
</dependency>
3.添加Sentinel依赖
<!--sentinel核心依赖-->
<dependency>
    <groupId>com.alibaba.csp</groupId>
    <artifactId>sentinel-core</artifactId>
    <version>${sentinel.version}</version>
</dependency>
<dependency>
    <groupId>com.alibaba.csp</groupId>
    <artifactId>sentinel-transport-simple-http</artifactId>
    <version>${sentinel.version}</version>
</dependency>
<!--sentinel对resteasy的适配器-->
<dependency>
	<groupId>com.alibaba.csp</groupId>
	<artifactId>sentinel-jax-rs-adapter</artifactId>
	<version>${sentinel.version}</version>
</dependency>
4.添加Sentinel配置类
这里主要是声明resteasy的sentinel过滤器,实现对resteasy接口进行sentinel一些操作。
注意:要确定这个类的包路径在spring的注解扫描路径中。
package work.silian.sentinel;

import org.springframework.context.annotation.Bean;
import org.springframework.context.annotation.Configuration;

import com.alibaba.csp.sentinel.adapter.jaxrs.SentinelJaxRsProviderFilter;

@Configuration
public class JaxRsSentinelConfig {

    @Bean
    public SentinelJaxRsProviderFilter sentinelJaxRsProviderFilter() {

    	SentinelJaxRsProviderFilter filter = new SentinelJaxRsProviderFilter();
    	// 可以设置自定义的失败回调处理
//    	SentinelJaxRsConfig.setJaxRsFallback( new DefaultSentinelJaxRsFallback() );
    	// 可以设置自定义的资源名解析器
//    	SentinelJaxRsConfig.setResourceNameParser( new DefaultResourceNameParser() );
    	// 可以设置自定义请求解析器
//    	SentinelJaxRsConfig.setRequestOriginParser( new DefaultRequestOriginParser() );
        return filter;
    }

}
4.Sentinel配置说明
查看源码可以知道sentinel的配置主要在以下几个类中:
| 类 | 说明 |
|---|---|
com.alibaba.csp.sentinel.config.SentinelConfigLoader |
sentinel配置文件的路径 |
com.alibaba.csp.sentinel.config.SentinelConfig |
sentinel的配置项 |
com.alibaba.csp.sentinel.transport.config.TransportConfig |
与sentinel-dashboard通讯的配置 |
SentinelConfigLoader类:

SentinelConfig类:
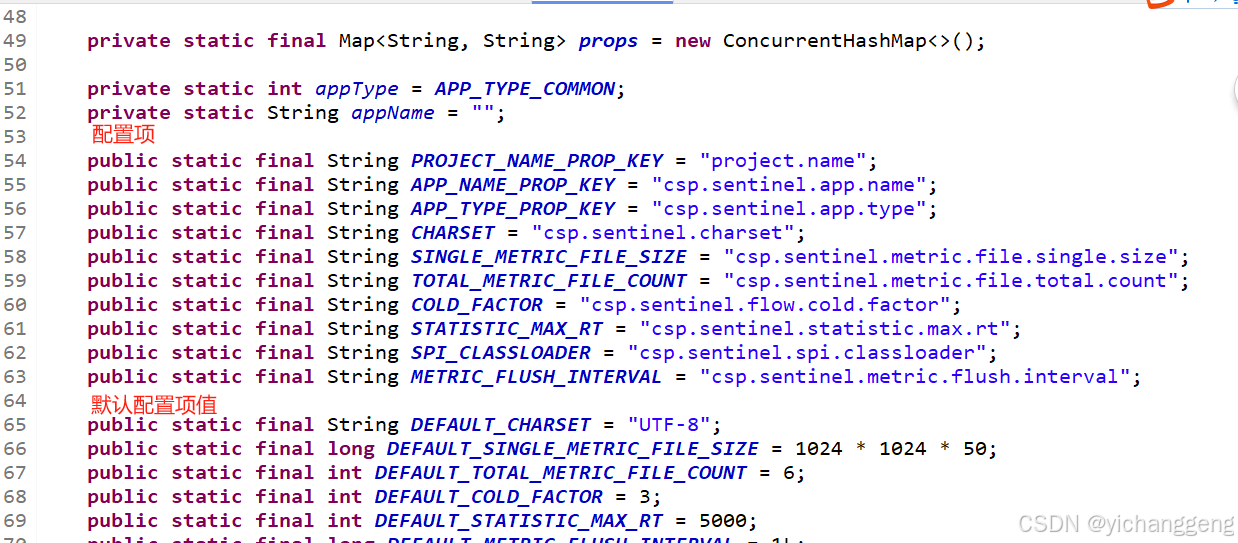
TransportConfig类: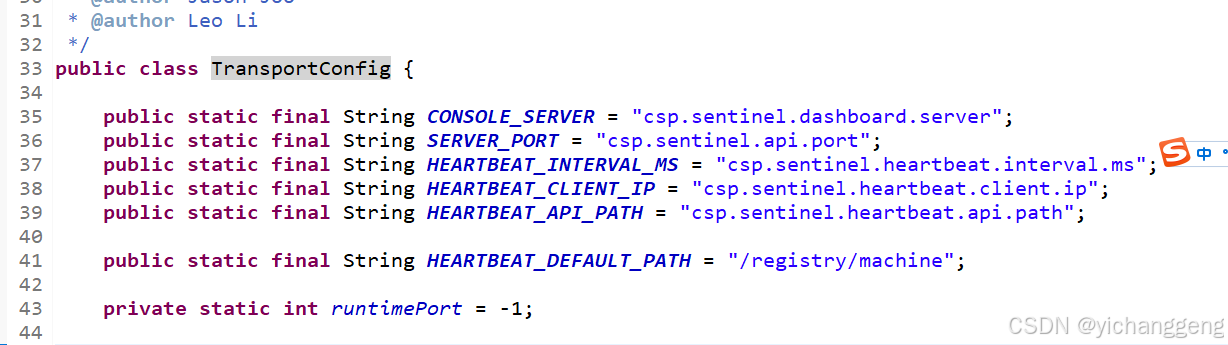
5.添加Sentinel配置
在resources目录下新建文件sentinel.properties,在其中添加如下配置:
project.name=接入到sentinel的应用名称(在setninel-dashboard上也是显示该值)
csp.sentinel.dashboard.server=sentinel-dashboard的地址
6.启动sentinel-dashboard
sentinel-dashboard下载地址:https://github.com/alibaba/Sentinel/releases ,如果无法访问可以去maven仓库下载,坐标为:
<dependency>
    <groupId>com.alibaba.csp</groupId>
    <artifactId>sentinel-dashboard</artifactId>
    <version>x.y.z</version>
</dependency>
通过java -jar sentinel-dashboard-1.8.0.jar启动sentinel-dashboard
通过浏览器访问地址 127.0.0.1:8080,即启动成功
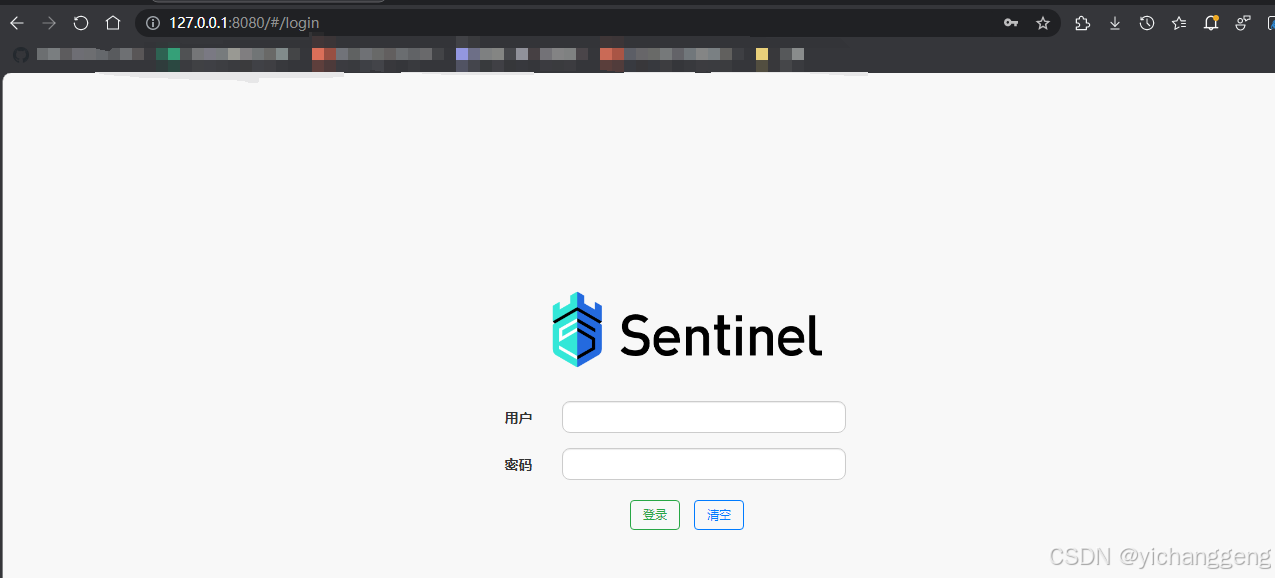
输入账号密码(默认账号密码:sentinel//sentinel)登录: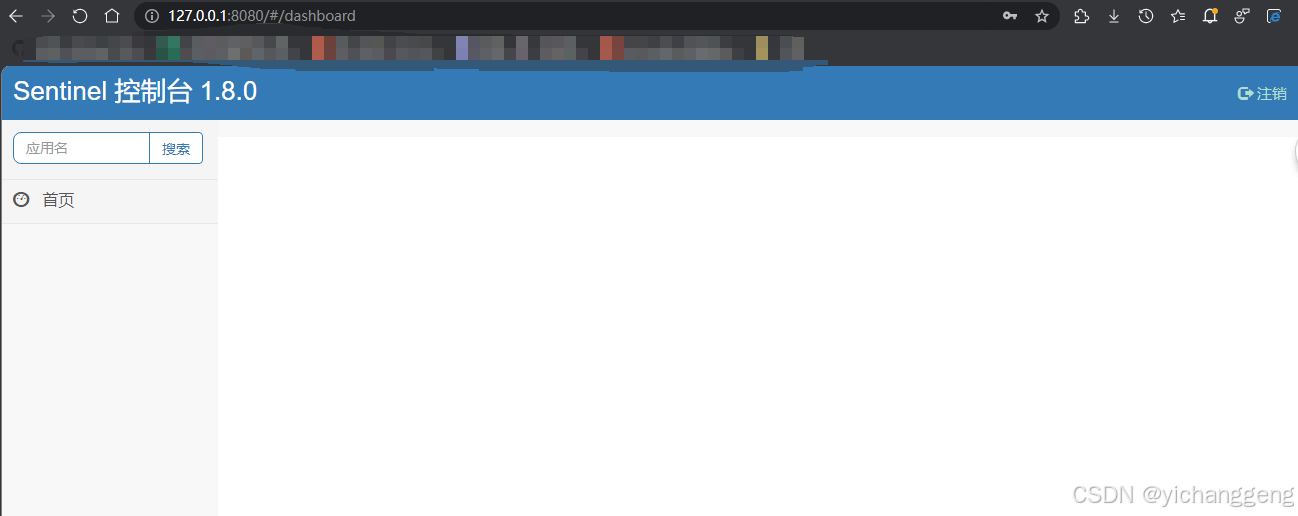
此时应用没有启动,左侧没有应用列表展示。
3. 启动应用并测试限流
在启动项项目中引入spring-boot-sentinel-resteasy依赖,并将端口更改为8888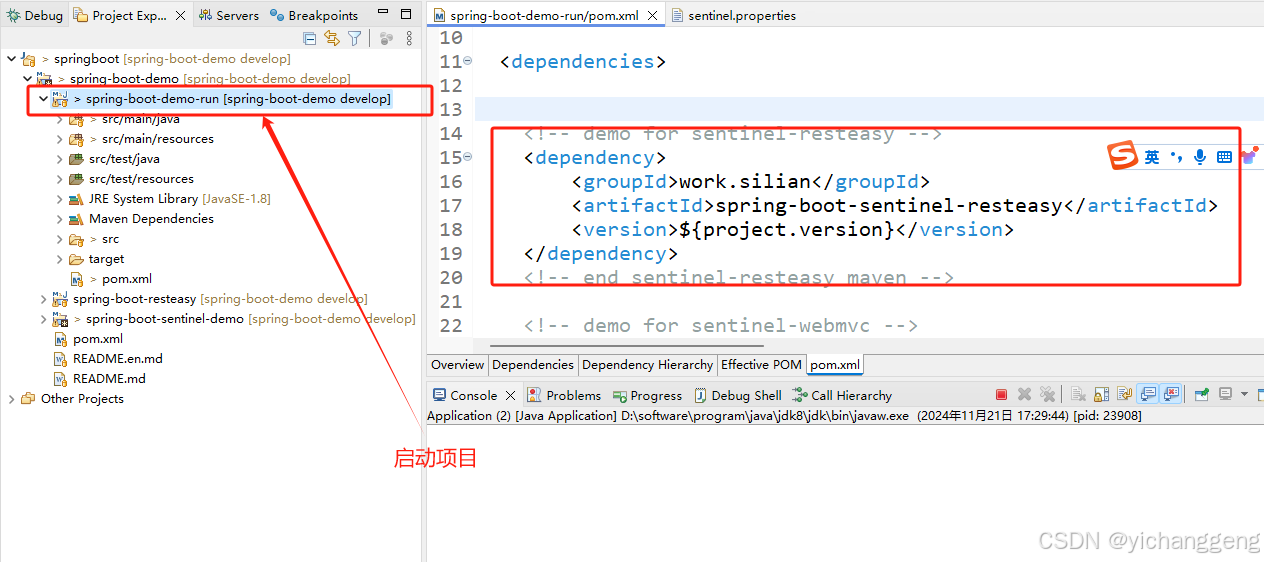
application.properties
server.port=8888
启动应用,访问测试接口http://127.0.0.1:8888/test/demo,然后查看sentinel-dashboard,可以看到有启动的应用信息和访问的接口: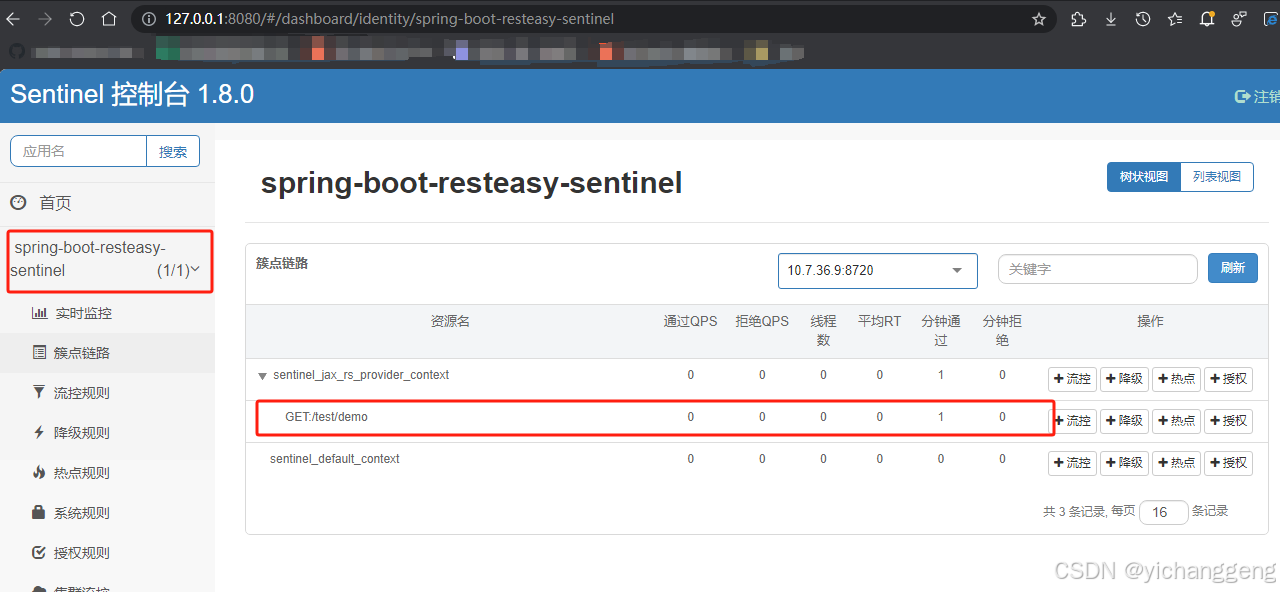
在sentinel-dashboard上点击按钮[流控]对接口添加限流规则: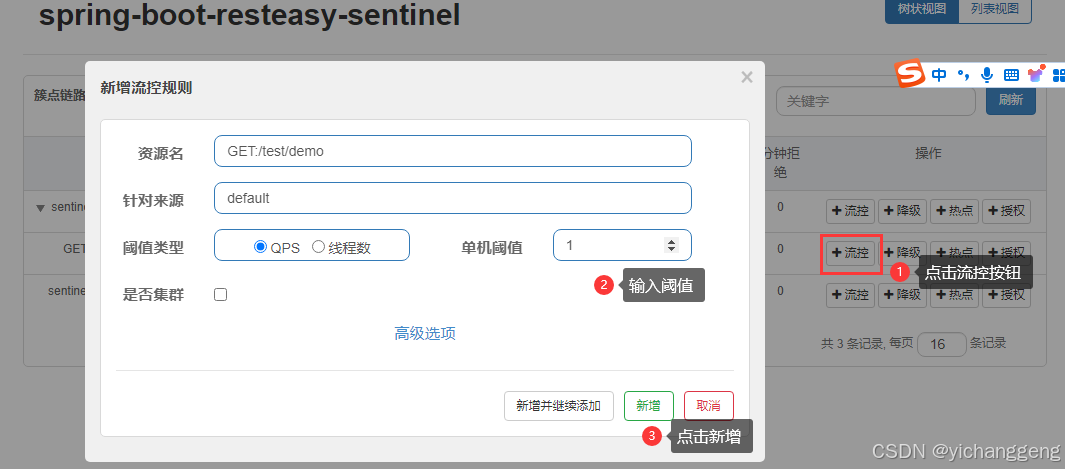
然后多次访问测试接口http://127.0.0.1:8888/test/demo,此时会出现接口被限制访问的提示: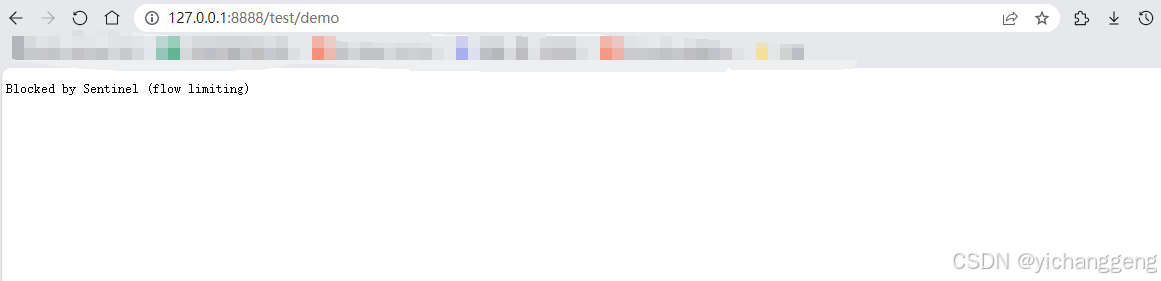
总结
以上主要是对spring-boot中如何对resteasy的接口使用sentinel限流记录,防止自己遗忘没有地方查找资料。
源代码

魔乐社区(Modelers.cn) 是一个中立、公益的人工智能社区,提供人工智能工具、模型、数据的托管、展示与应用协同服务,为人工智能开发及爱好者搭建开放的学习交流平台。社区通过理事会方式运作,由全产业链共同建设、共同运营、共同享有,推动国产AI生态繁荣发展。
更多推荐


 20
20 0
0- 0


 已为社区贡献1条内容

所有评论(0)