1-深度学习环境搭建教程: anaconda+pytorch+pycharm+tensorflow
总结于b站教程:https://www.bilibili.com/video/BV1Kp4y147Rw?from=search&seid=13022901087933539148&spm_id_from=333.337.0.0主要步骤:1.安装anaconda2.安装pytorch/tensorflow3.安装pycharm1.安装Anaconda参考教程:https://www.
部分总结于b站教程:
https://www.bilibili.com/video/BV1Kp4y147Rw?from=search&seid=13022901087933539148&spm_id_from=333.337.0.0
主要步骤:
1.安装anaconda
2.安装pytorch/tensorflow
3.安装pycharm
4.安装tensorflow
1.安装Anaconda
参考教程:
https://www.jianshu.com/p/3084e62f51b1
Anaconda原理图: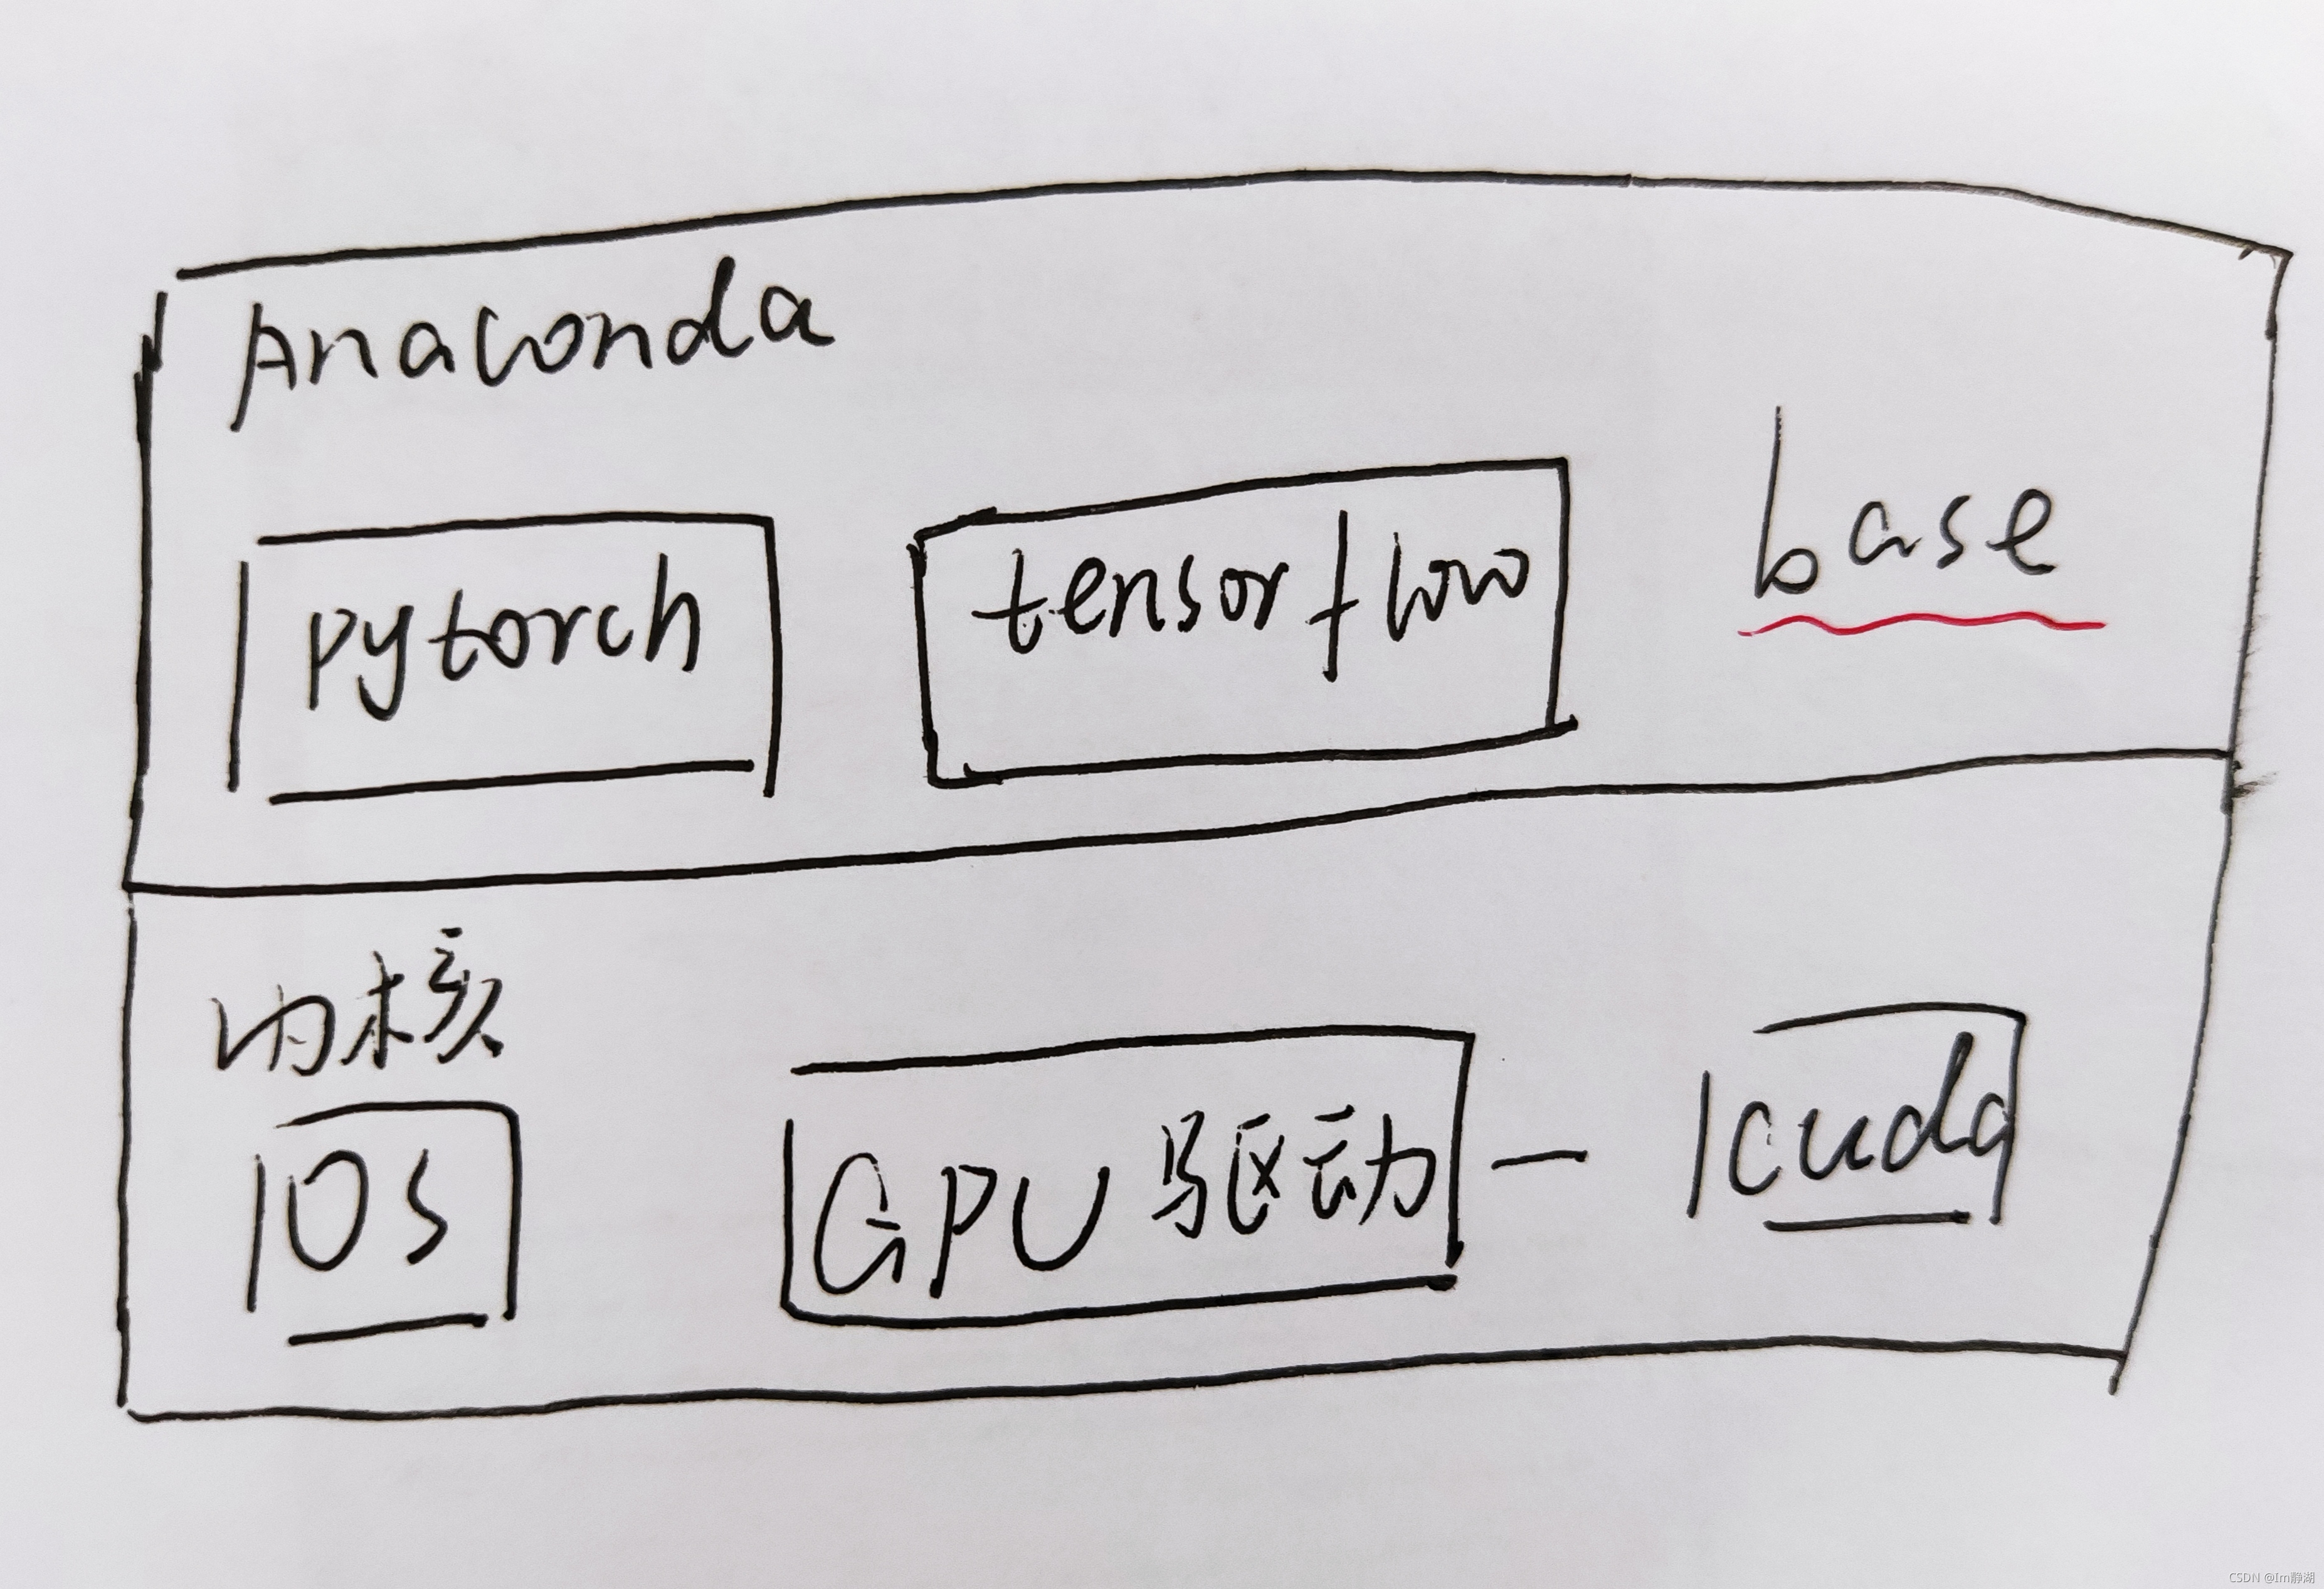
base:也是一个环境,相当于一个大厅,也可以再base中安装包 anaconda 里装不同框架相当于新建不同的房间
包不要装在base里,放在新建的环境里
备注:在一个环境里不能装多个版本的同样的包
1.1在anaconda中建立新环境
删除环境:
conda remove -n envname --all
1.2安装环境的文件路径: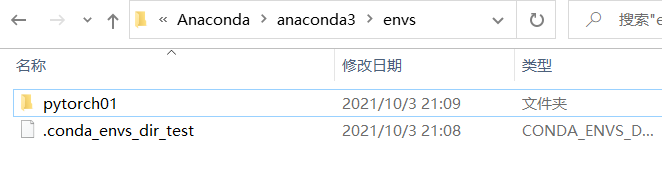
1.3激活环境命令:conda activate pytorch01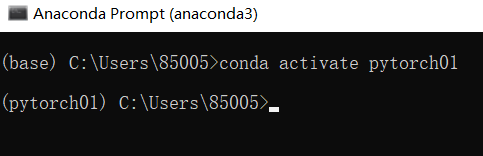
QA1: pytorch和tensorflow如何选择?
都是给人工智能领域开发的组件,可以用组件包里的API搭建神经网络,可以更方便、快捷、更系统 tensorflow1.0:
第一个框架,API、函数名很诡异,逻辑框架难理解 pytorch:
开发于tensorflow1.0之后,比tensorflow1.0更灵活好用 tensorflow2.0:
比1.0有了巨大的改进,应用性能和pytorch差不多 VS: 学术界青睐于pytorch, tensorflow在企业应用更广泛
所以不用纠结用哪个框架,都可以
2. 在新建的环境中部署pytorch
下载链接:
https://pytorch.org/get-started/locally/
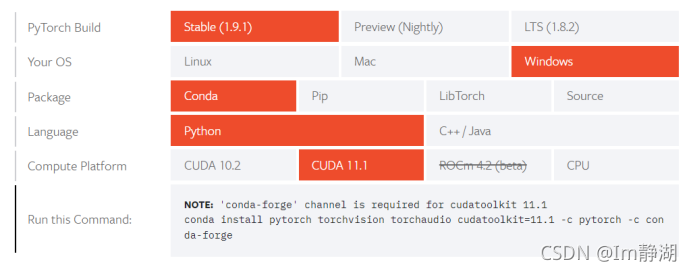
QA2需要安装哪个版本的cuda?
2.1修改下载源
清华源用这个,up给的没有11.1
conda config --add channels https://mirrors.tuna.tsinghua.edu.cn/anaconda/pkgs/free/
conda config --add channels https://mirrors.tuna.tsinghua.edu.cn/anaconda/pkgs/main/
conda config --add channels https://mirrors.tuna.tsinghua.edu.cn/anaconda/cloud/pytorch/
conda config --set show_channel_urls yes
中科大源:
conda config --add channels https://mirrors.ustc.edu.cn/anaconda/pkgs/main/
conda config --add channels https://mirrors.ustc.edu.cn/anaconda/pkgs/free/
conda config --add channels https://mirrors.ustc.edu.cn/anaconda/cloud/conda-forge/
conda config --add channels https://mirrors.ustc.edu.cn/anaconda/cloud/msys2/
conda config --add channels https://mirrors.ustc.edu.cn/anaconda/cloud/bioconda/
conda config --add channels https://mirrors.ustc.edu.cn/anaconda/cloud/menpo/
conda config --set show_channel_urls yes
备注:可以添加多个渠道的源
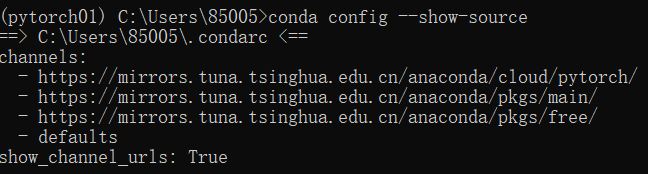
查看安装了哪些源:
conda config --show-source
2.2 输入安装命令时去除原安装命令中的下载渠道指令:
conda install pytorch torchvision torchaudio cudatoolkit=11.1 -c pytorch -c conda-forge
2.3 安装好后进图python检测cuda是否可以正常使用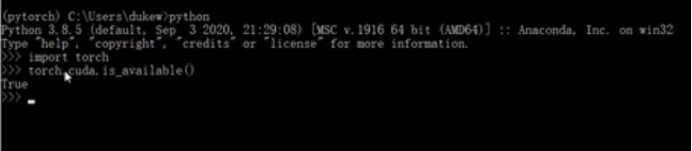
备注: cuda 10.2 和11.1都安装成功了
3.安装PyCharm Community
PuCharm Pro和Com的区别: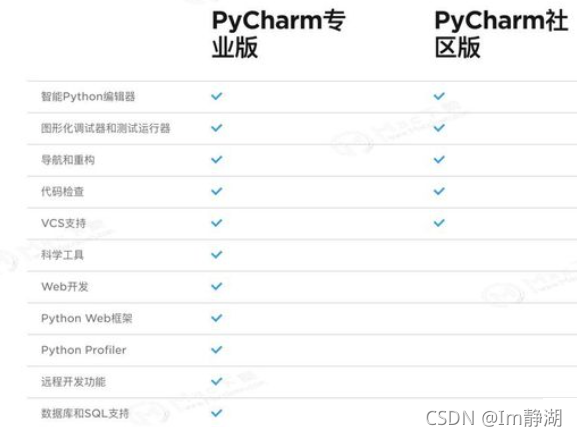
4.安装tensorflow
修改pip下载源:
pip.ini具体配置:
[global]
timeout = 6000
index-url = https://pypi.tuna.tsinghua.edu.cn/simple
trusted-host = pypi.tuna.tsinghua.edu.cn
我们这里使用的镜像源是清华大学的镜像源,使用方法有两种,第一种是临时使用:
pip install -i https://pypi.tuna.tsinghua.edu.cn/simple some-package
第二种是将清华的镜像源设置为默认的镜像源:
pip install pip -U
pip config set global.index-url https://pypi.tuna.tsinghua.edu.cn/simple
运行结果

魔乐社区(Modelers.cn) 是一个中立、公益的人工智能社区,提供人工智能工具、模型、数据的托管、展示与应用协同服务,为人工智能开发及爱好者搭建开放的学习交流平台。社区通过理事会方式运作,由全产业链共同建设、共同运营、共同享有,推动国产AI生态繁荣发展。
更多推荐


 0
0 0
0- 0


 已为社区贡献1条内容

所有评论(0)