YOLOv12零基础环境搭建、模型训练、推理、验证、导出
·
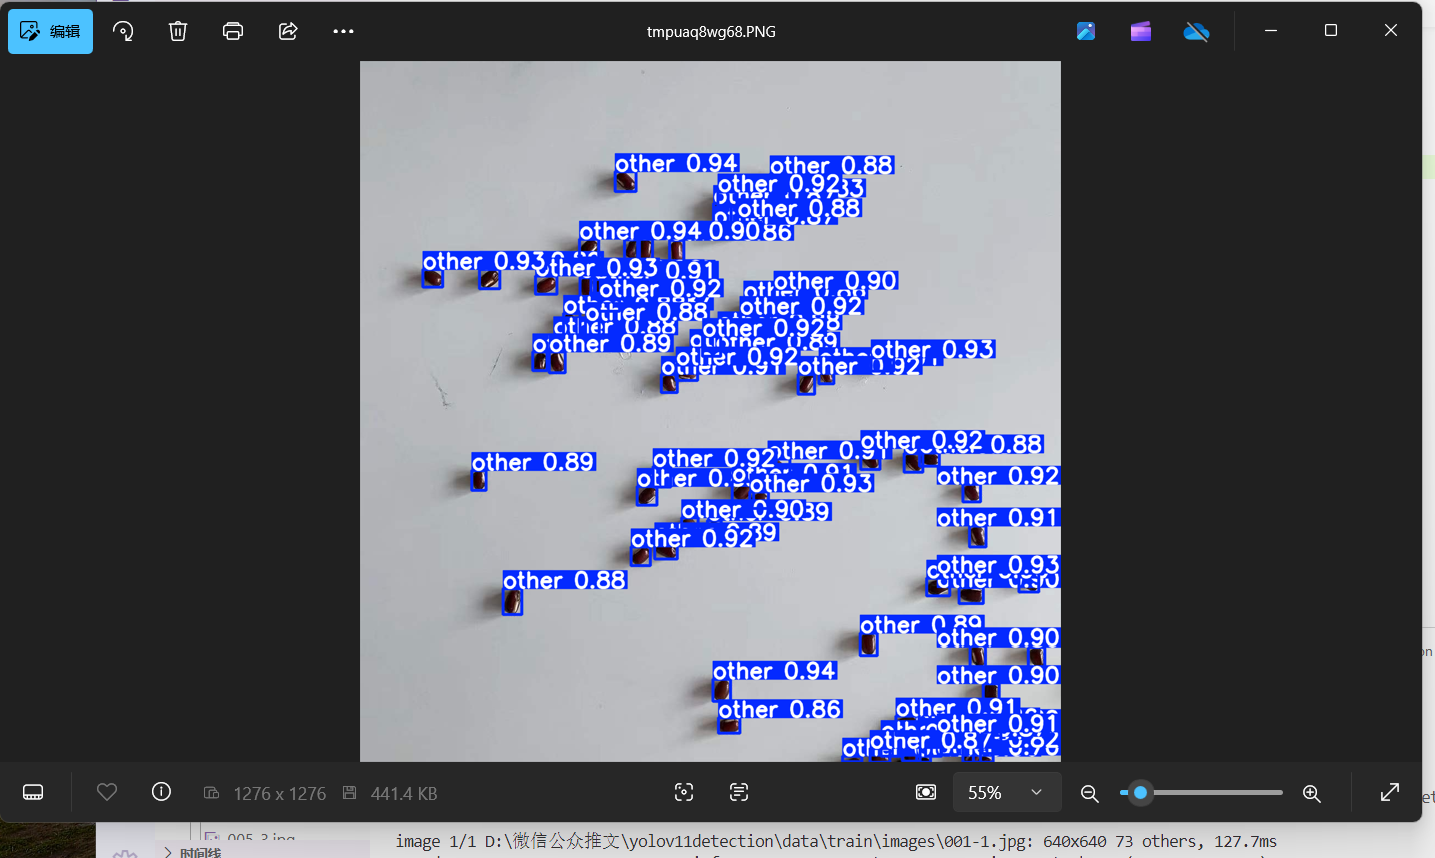
1.效果
2.下载代码
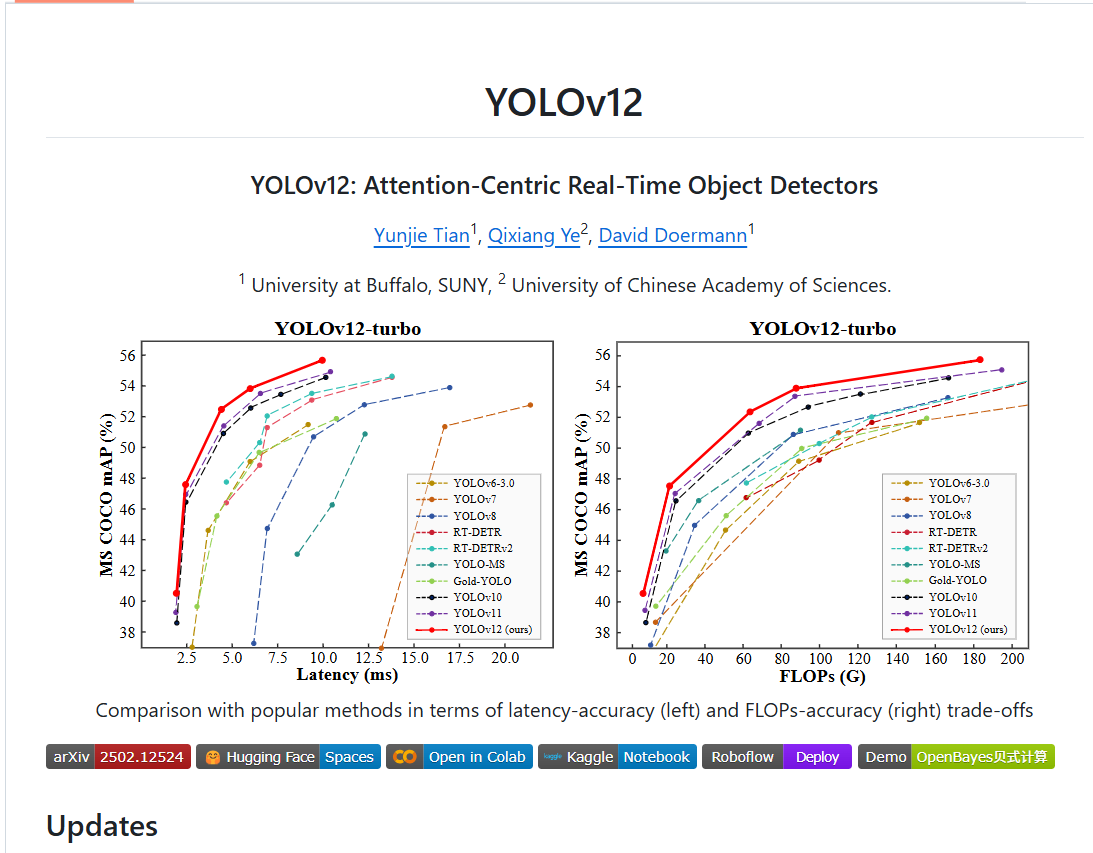
https://github.com/sunsmarterjie/yolov123.搭建虚拟环境
conda create -n yolov12 python=3.11
conda activate yolov12
4.安装依赖库
pip install -r requirements.txt
pip install -e .
5.安装 flash_attn-2.7.3+cu11torch2.2cxx11abiFALSE-cp311-cp311-linux_x86_64.whl
https://github.com/Dao-AILab/flash-attention/releases/download/v2.7.3/flash_attn-2.7.3+cu11torch2.2cxx11abiFALSE-cp311-cp311-linux_x86_64.whl
6.把flash_attn-2.7.3+cu11torch2.2cxx11abiFALSE-cp311-cp311-linux_x86_64.whl放到代码根目录下
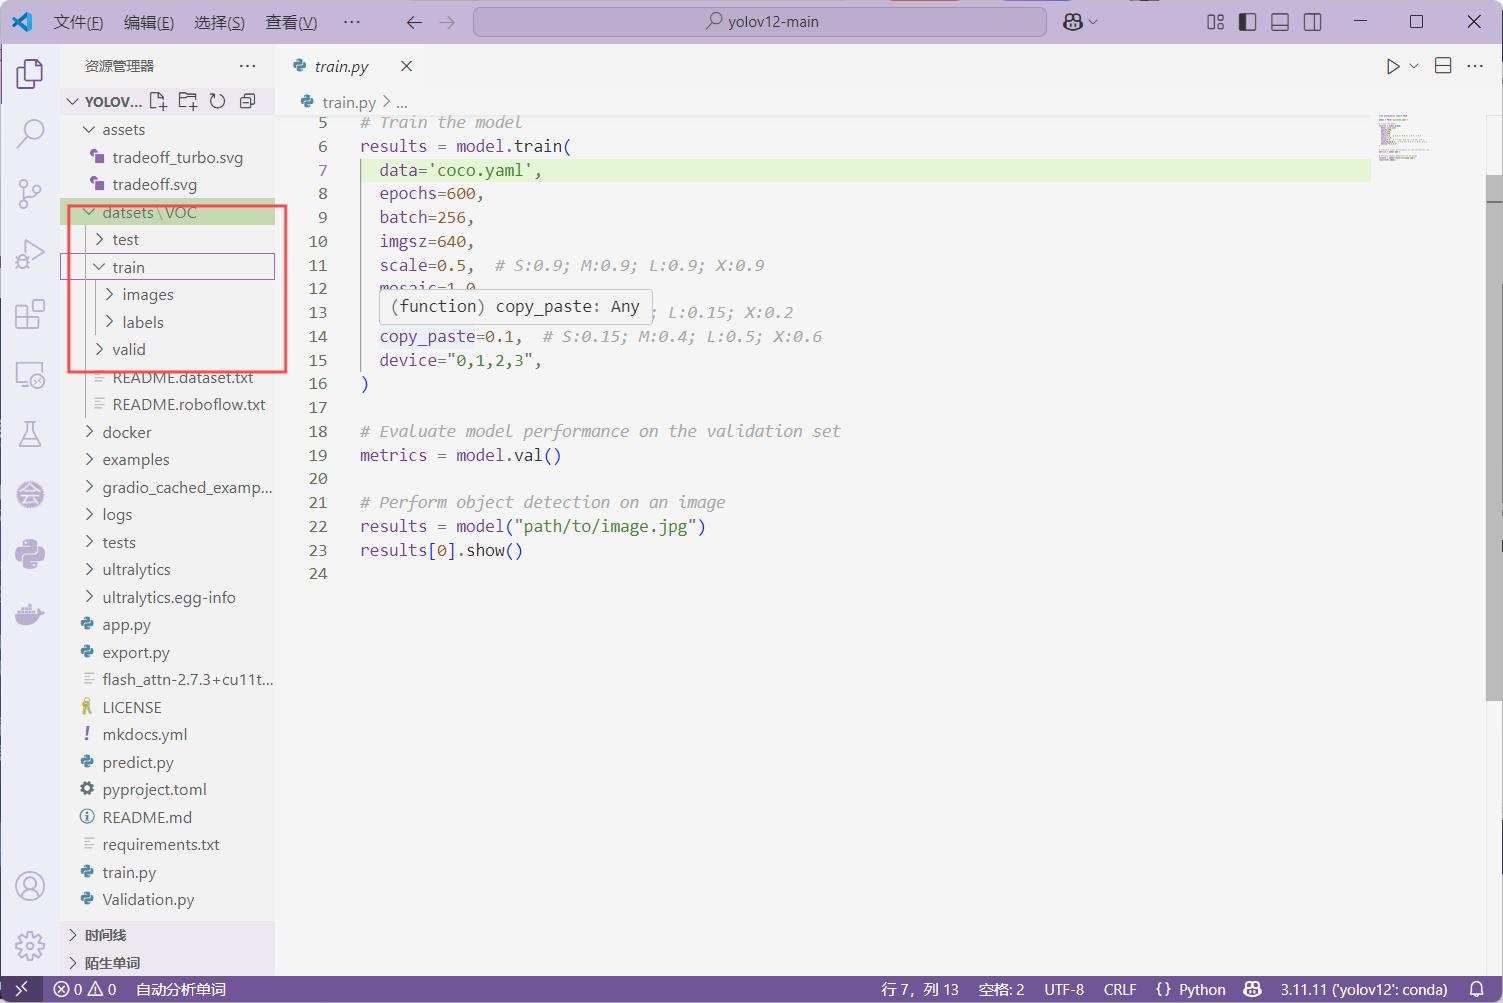
7. 搭建自己的数据集
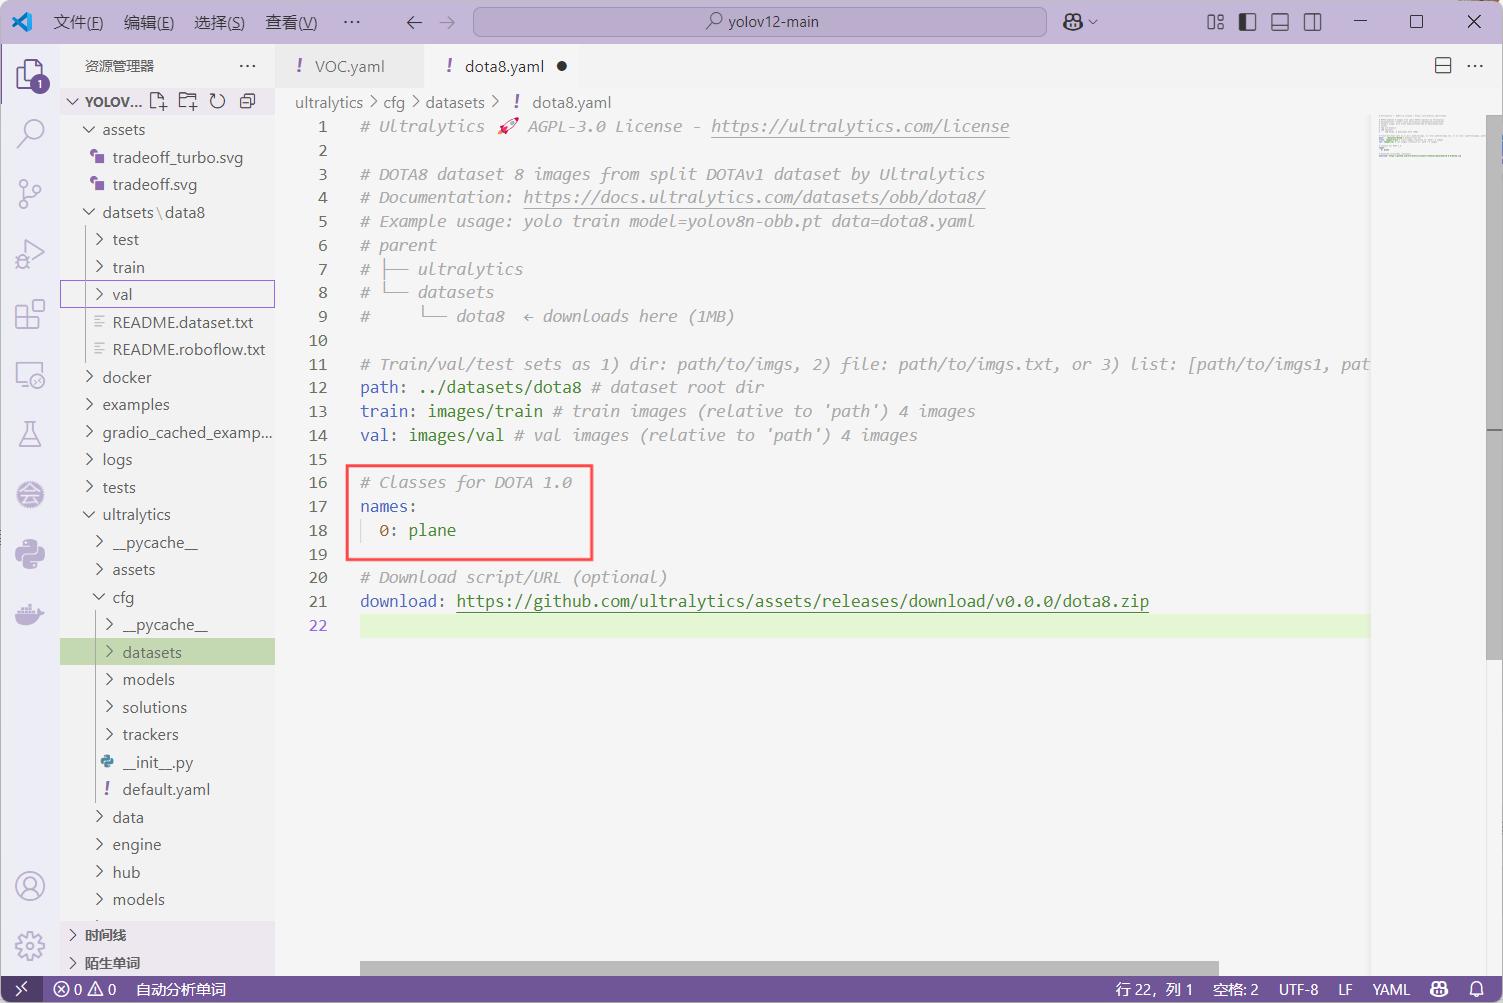
9.打开 dota8.yaml
10.修改dota8.yaml代码
 11.运行train.py训练模型
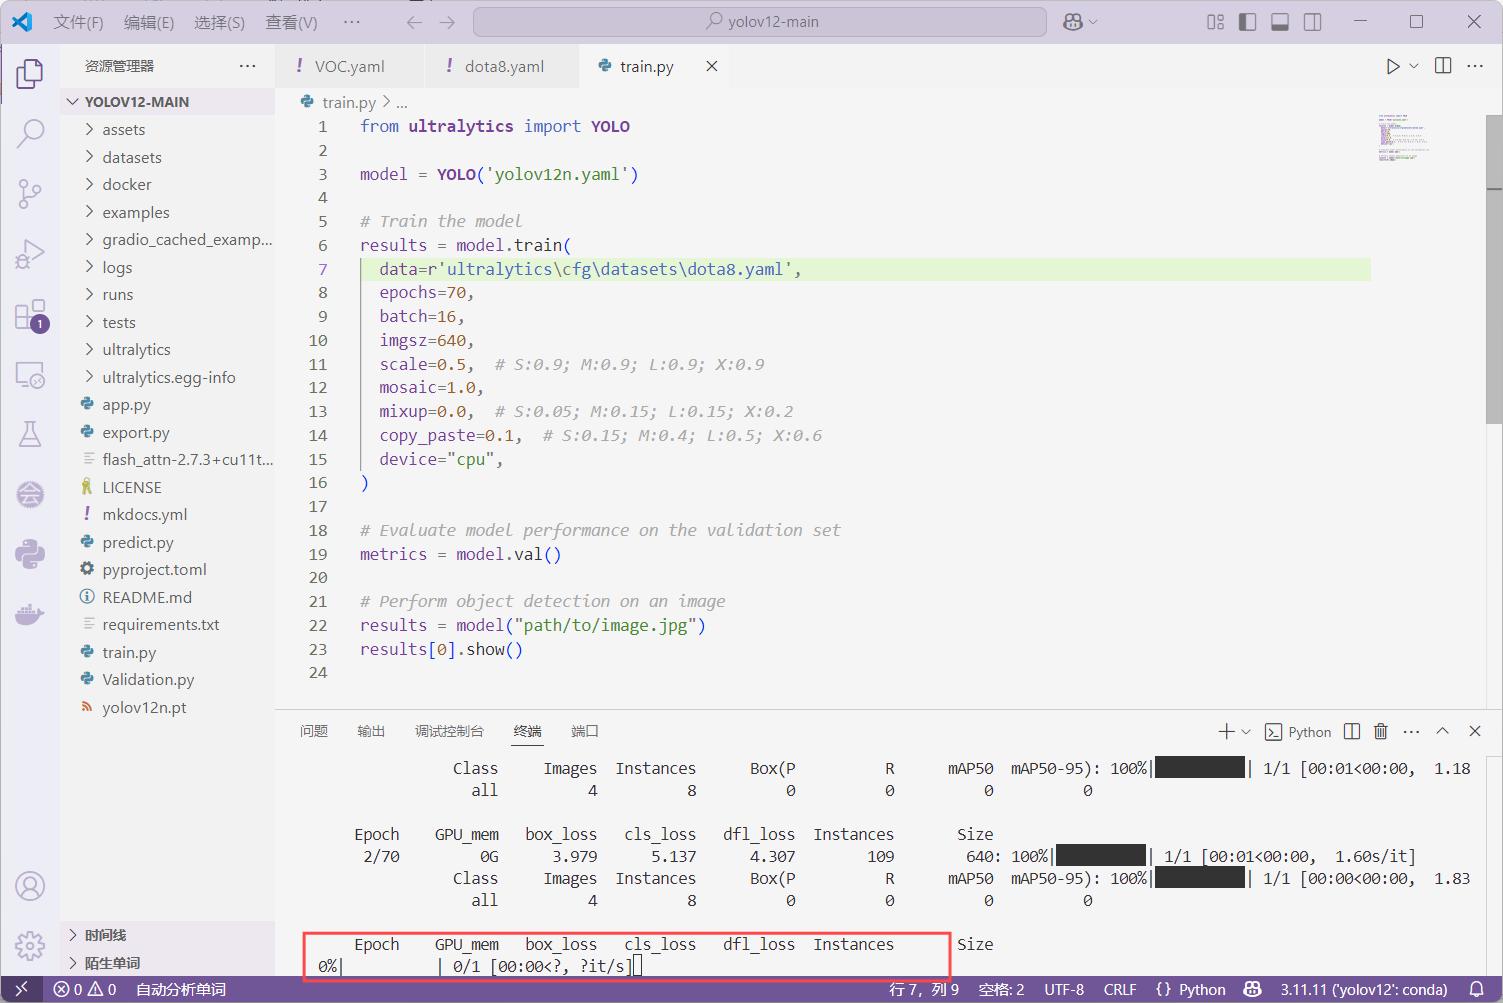 12.测试
12.测试
运行 predict.py
from ultralytics import YOLO
import cv2

# 加载模型(记得替换为你实际的权重路径)
model = YOLO(r'runs\detect\train\weights\best.pt')  # yolov12s.pt、m.pt、l.pt、x.pt 也行

# 读取一张图片进行预测(你也可以替换为视频或摄像头)
img_path = r'datasets\dota8\images\train\P1161__1024__3296___1648.jpg'  # 替换为你自己的图片路径
results = model(img_path, stream=True)

# 遍历结果并在窗口中显示
for r in results:
    im_array = r.plot()  # 绘制预测框
    im_bgr = cv2.cvtColor(im_array, cv2.COLOR_RGB2BGR)  # 转为 OpenCV 格式
    cv2.imshow('YOLOv12 Detection', im_bgr)
    cv2.waitKey(0)  # 等待按键
    cv2.destroyAllWindows()
13.测试结果

14.需要辅导请联系

魔乐社区(Modelers.cn) 是一个中立、公益的人工智能社区,提供人工智能工具、模型、数据的托管、展示与应用协同服务,为人工智能开发及爱好者搭建开放的学习交流平台。社区通过理事会方式运作,由全产业链共同建设、共同运营、共同享有,推动国产AI生态繁荣发展。
更多推荐


 1
1 0
0- 0


 已为社区贡献4条内容

所有评论(0)