dolphinscheduler搭建【大数据比赛长期更新】
·
1.压缩包准备
从官网下载安装文件,一定要下载二进制包,不要下载源码包
https://dolphinscheduler.apache.org/zh-cn/download/3.1.4
(1) apache-dolphinscheduler-3.1.4-bin.tar.gz
2.安装流程
(1) 解压到指定目录
| 参数 | 含义 |
|---|---|
| tar | Linux压缩/解压缩命令 |
| -z | 代表gzip,使用gzip工具进行压缩或解压 |
| -x | 代表extract,解压文件(压缩文件是-c) |
| -v | 代表verbose,显示解压过程(文件列表) |
| -f | 代表file,指定要解压的文件名(or 要压缩成的文件名) |
| -C | 代表指定解压的目录 |
[root@bigdata1 /] tar -zxvf /opt/software/apache-dolphinscheduler-3.1.4-bin.tar.gz -C /opt/module/
(2) 修改配置文件
[root@bigdata1 /] vim /opt/module/apache-dolphinscheduler-3.1.4-bin/bin/env/dolphinscheduler_env.sh

export JAVA_HOME=${JAVA_HOME:-/opt/module/jdk1.8.0_212}
export DATABASE=${DATABASE:-mysql}
export SPRING_PROFILES_ACTIVE=${DATABASE}
export SPRING_DATASOURCE_URL="jdbc:mysql://bigdata1:3306/dolphinscheduler"
export SPRING_DATASOURCE_USERNAME="root"
export SPRING_DATASOURCE_PASSWORD="123456"
export REGISTRY_ZOOKEEPER_CONNECT_STRING=${REGISTRY_ZOOKEEPER_CONNECT_STRING:-bigdata1:2181}
export HADOOP_HOME=${HADOOP_HOME:-/opt/module/hadoop-3.1.3}
export HADOOP_CONF_DIR=${HADOOP_CONF_DIR:-/opt/module/hadoop-3.1.3/etc/hadoop}
export SPARK_HOME1=${SPARK_HOME1:-/opt/module/spark-3.1.1-yarn}
[root@bigdata1 /] vim /opt/module/apache-dolphinscheduler-3.1.4-bin/bin/env/install_env.sh

# ---------------------------------------------------------
# INSTALL MACHINE
# ---------------------------------------------------------
# A comma separated list of machine hostname or IP would be installed DolphinScheduler,
# including master, worker, api, alert. If you want to deploy in pseudo-distributed
# mode, just write a pseudo-distributed hostname
# Example for hostnames: ips="ds1,ds2,ds3,ds4,ds5", Example for IPs: ips="192.168.8.1,192.168.8.2,192.168.8.3,192.168.8.4,192.168.8.5"
ips=${ips:-"bigdata1,bigdata2,bigdata3"}

# Port of SSH protocol, default value is 22. For now we only support same port in all `ips` machine
# modify it if you use different ssh port
sshPort=${sshPort:-"22"}

# A comma separated list of machine hostname or IP would be installed Master server, it
# must be a subset of configuration `ips`.
# Example for hostnames: masters="ds1,ds2", Example for IPs: masters="192.168.8.1,192.168.8.2"
masters=${masters:-"bigdata1"}

# A comma separated list of machine <hostname>:<workerGroup> or <IP>:<workerGroup>.All hostname or IP must be a
# subset of configuration `ips`, And workerGroup have default value as `default`, but we recommend you declare behind the hosts
# Example for hostnames: workers="ds1:default,ds2:default,ds3:default", Example for IPs: workers="192.168.8.1:default,192.168.8.2:default,192.168.8.3:default"
workers=${workers:-"bigdata1:default,bigdata2:default,bigdata3:default"}

# A comma separated list of machine hostname or IP would be installed Alert server, it
# must be a subset of configuration `ips`.
# Example for hostname: alertServer="ds3", Example for IP: alertServer="192.168.8.3"
alertServer=${alertServer:-"bigdata33"}

# A comma separated list of machine hostname or IP would be installed API server, it
# must be a subset of configuration `ips`.
# Example for hostname: apiServers="ds1", Example for IP: apiServers="192.168.8.1"
apiServers=${apiServers:-"bigdata2"}

# The directory to install DolphinScheduler for all machine we config above. It will automatically be created by `install.sh` script if not exists.
# Do not set this configuration same as the current path (pwd). Do not add quotes to it if you using related path.
installPath=${installPath:-"/opt/module/apache-dolphinscheduler-3.1.4-bin"}

# The user to deploy DolphinScheduler for all machine we config above. For now user must create by yourself before running `install.sh`
# script. The user needs to have sudo privileges and permissions to operate hdfs. If hdfs is enabled than the root directory needs
# to be created by this user
deployUser=${deployUser:-"dolphinscheduler"}

# The root of zookeeper, for now DolphinScheduler default registry server is zookeeper.
zkRoot=${zkRoot:-"/dolphinscheduler"}
(3) 配置用户免密及权限
# 创建用户需使用 root 登录
[root@bigdata1 /] useradd dolphinscheduler

# 添加密码
[root@bigdata1 /] echo "dolphinscheduler" | passwd --stdin dolphinscheduler

# 配置 sudo 免密
[root@bigdata1 /] sed -i '$adolphinscheduler  ALL=(ALL)  NOPASSWD: NOPASSWD: ALL' /etc/sudoers
[root@bigdata1 /] sed -i 's/Defaults    requirett/#Defaults    requirett/g' /etc/sudoers

# 修改目录权限,使得部署用户对二进制包解压后的 apache-dolphinscheduler-*-bin 目录有操作权限
[root@bigdata1 /] chown -R dolphinscheduler:dolphinscheduler apache-dolphinscheduler-*-bin
(4) 启动zookeeper
[root@bigdata1 apache-dolphinscheduler-3.1.4-bin] ./bin/zkServer.sh start
(5) 初始化数据库
mysql> CREATE DATABASE dolphinscheduler DEFAULT CHARACTER SET utf8 DEFAULT COLLATE utf8_general_ci;
(6) 启动 DolphinScheduler
[root@bigdata1 /] bash /opt/module/apache-dolphinscheduler-3.1.4-bin/bin/install.sh
(7) 登录 DolphinScheduler
浏览器访问地址 http://localhost:12345/dolphinscheduler/ui 即可登录系统UI。默认的用户名和密码是 admin/dolphinscheduler123
(8) 启停服务
# 一键停止集群所有服务
bash ./bin/stop-all.sh

# 一键开启集群所有服务
bash ./bin/start-all.sh

# 启停 Master
bash ./bin/dolphinscheduler-daemon.sh stop master-server
bash ./bin/dolphinscheduler-daemon.sh start master-server

# 启停 Worker
bash ./bin/dolphinscheduler-daemon.sh start worker-server
bash ./bin/dolphinscheduler-daemon.sh stop worker-server

# 启停 Api
bash ./bin/dolphinscheduler-daemon.sh start api-server
bash ./bin/dolphinscheduler-daemon.sh stop api-server

# 启停 Alert
bash ./bin/dolphinscheduler-daemon.sh start alert-server
bash ./bin/dolphinscheduler-daemon.sh stop alert-server
3.测试安装效果
查看进程
[root@bigdata1 /]# jps
9176 MasterServer
9240 WorkerServer
1787 ApiApplicationServer
测试job
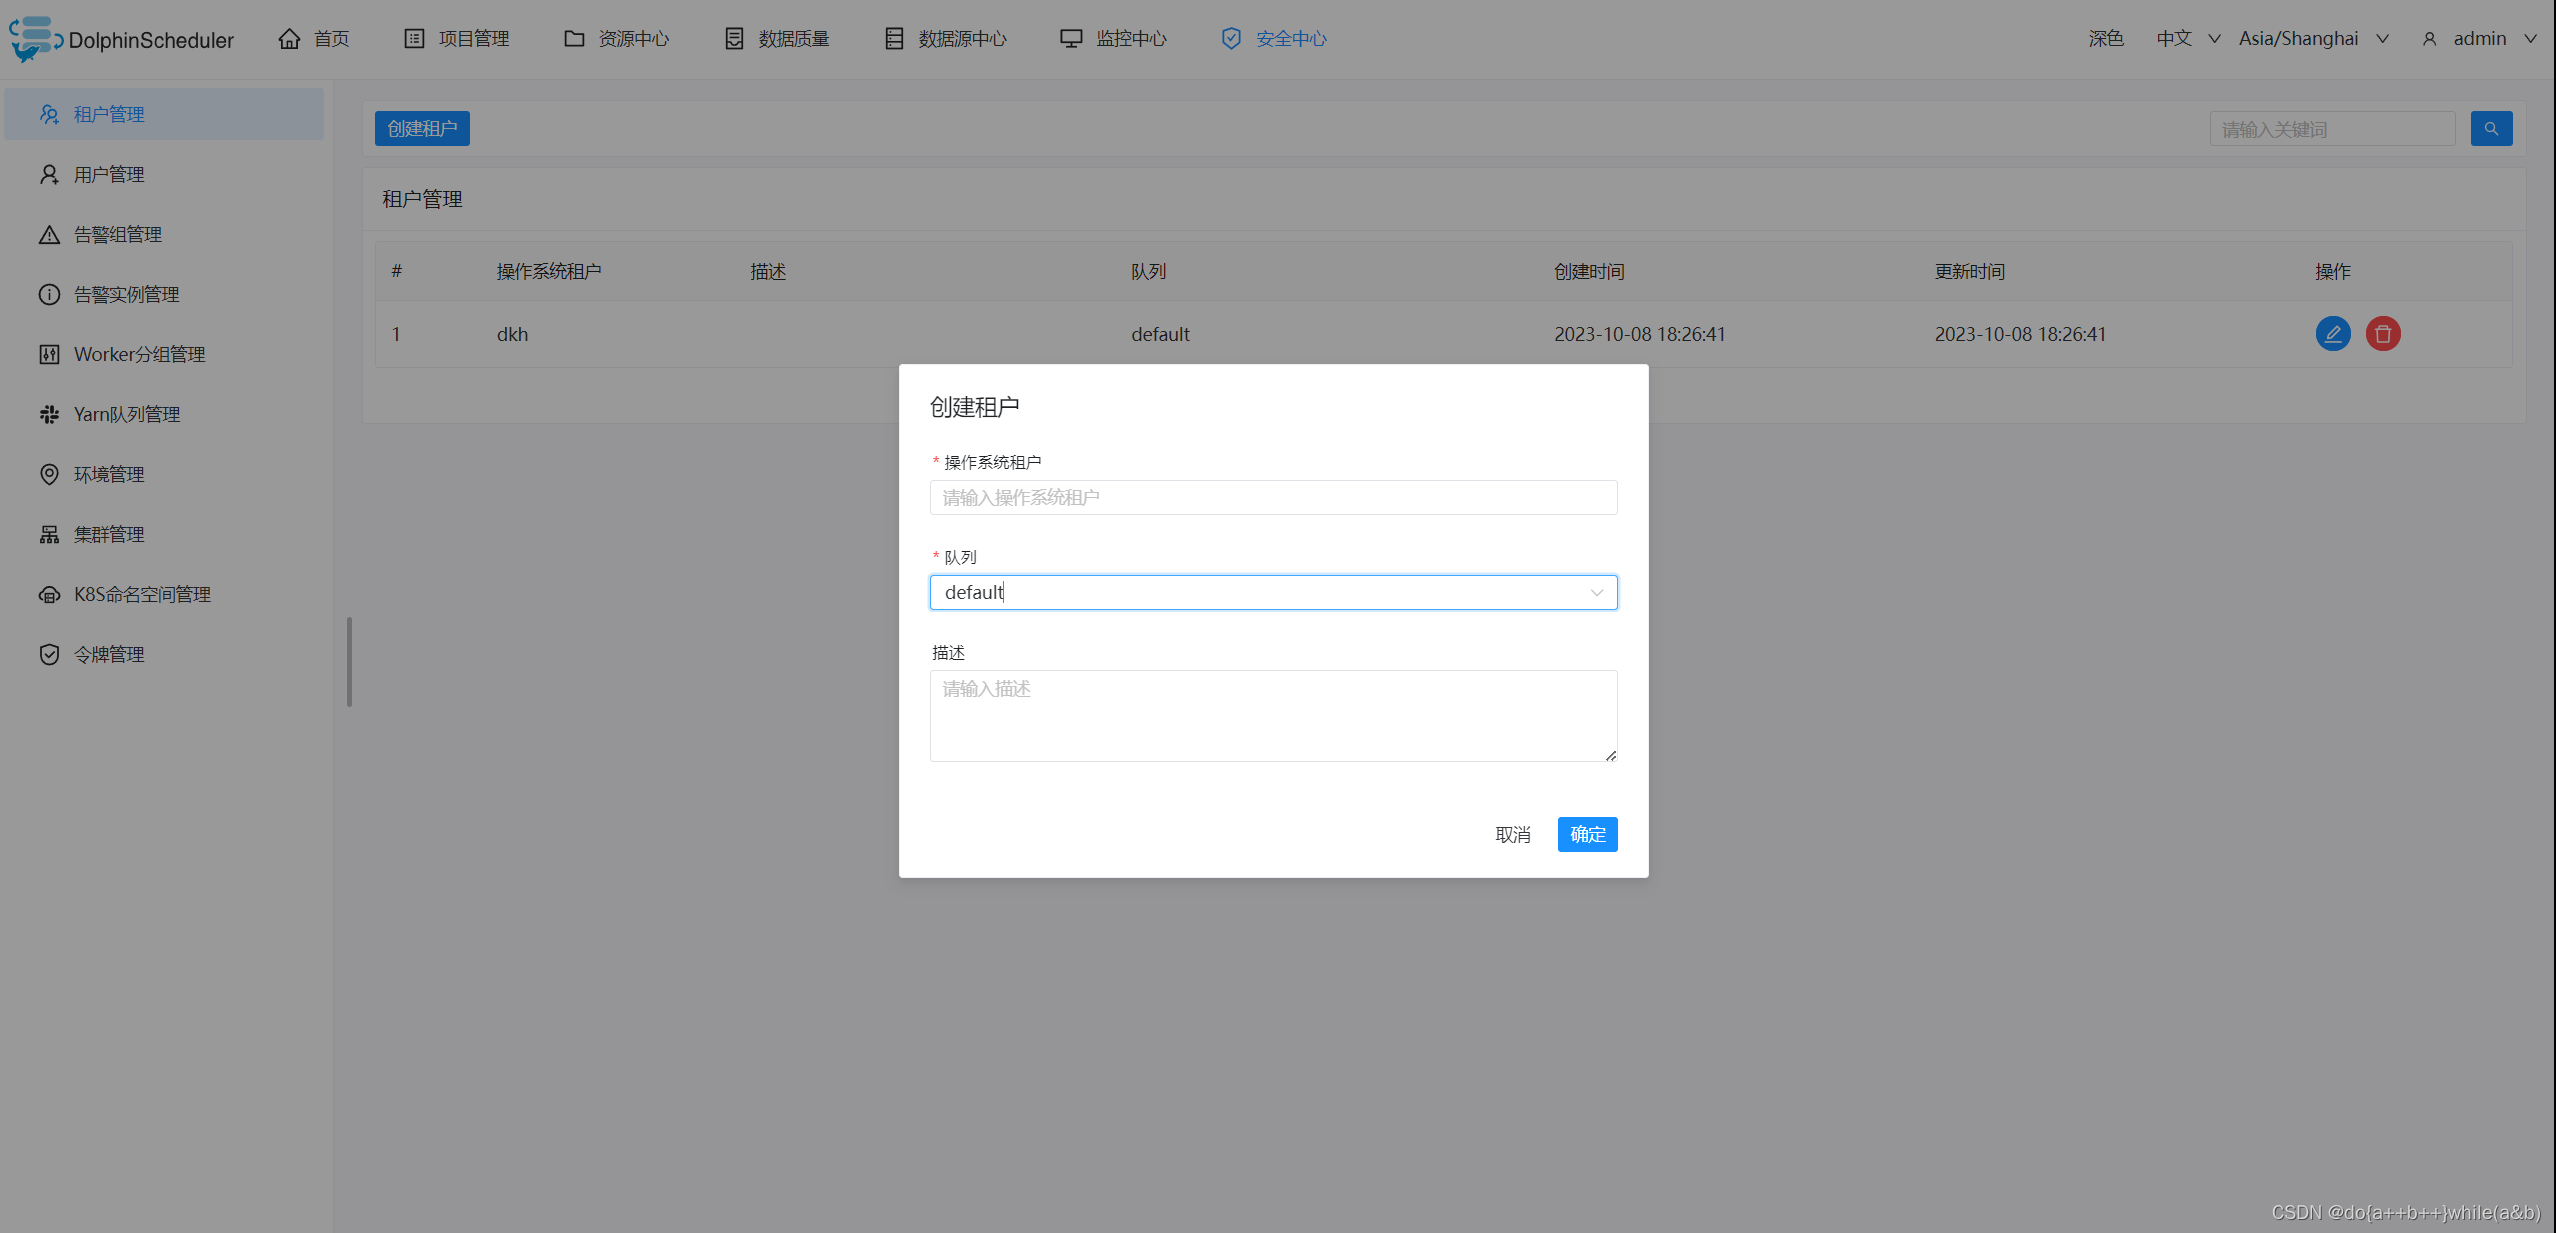
创建租户
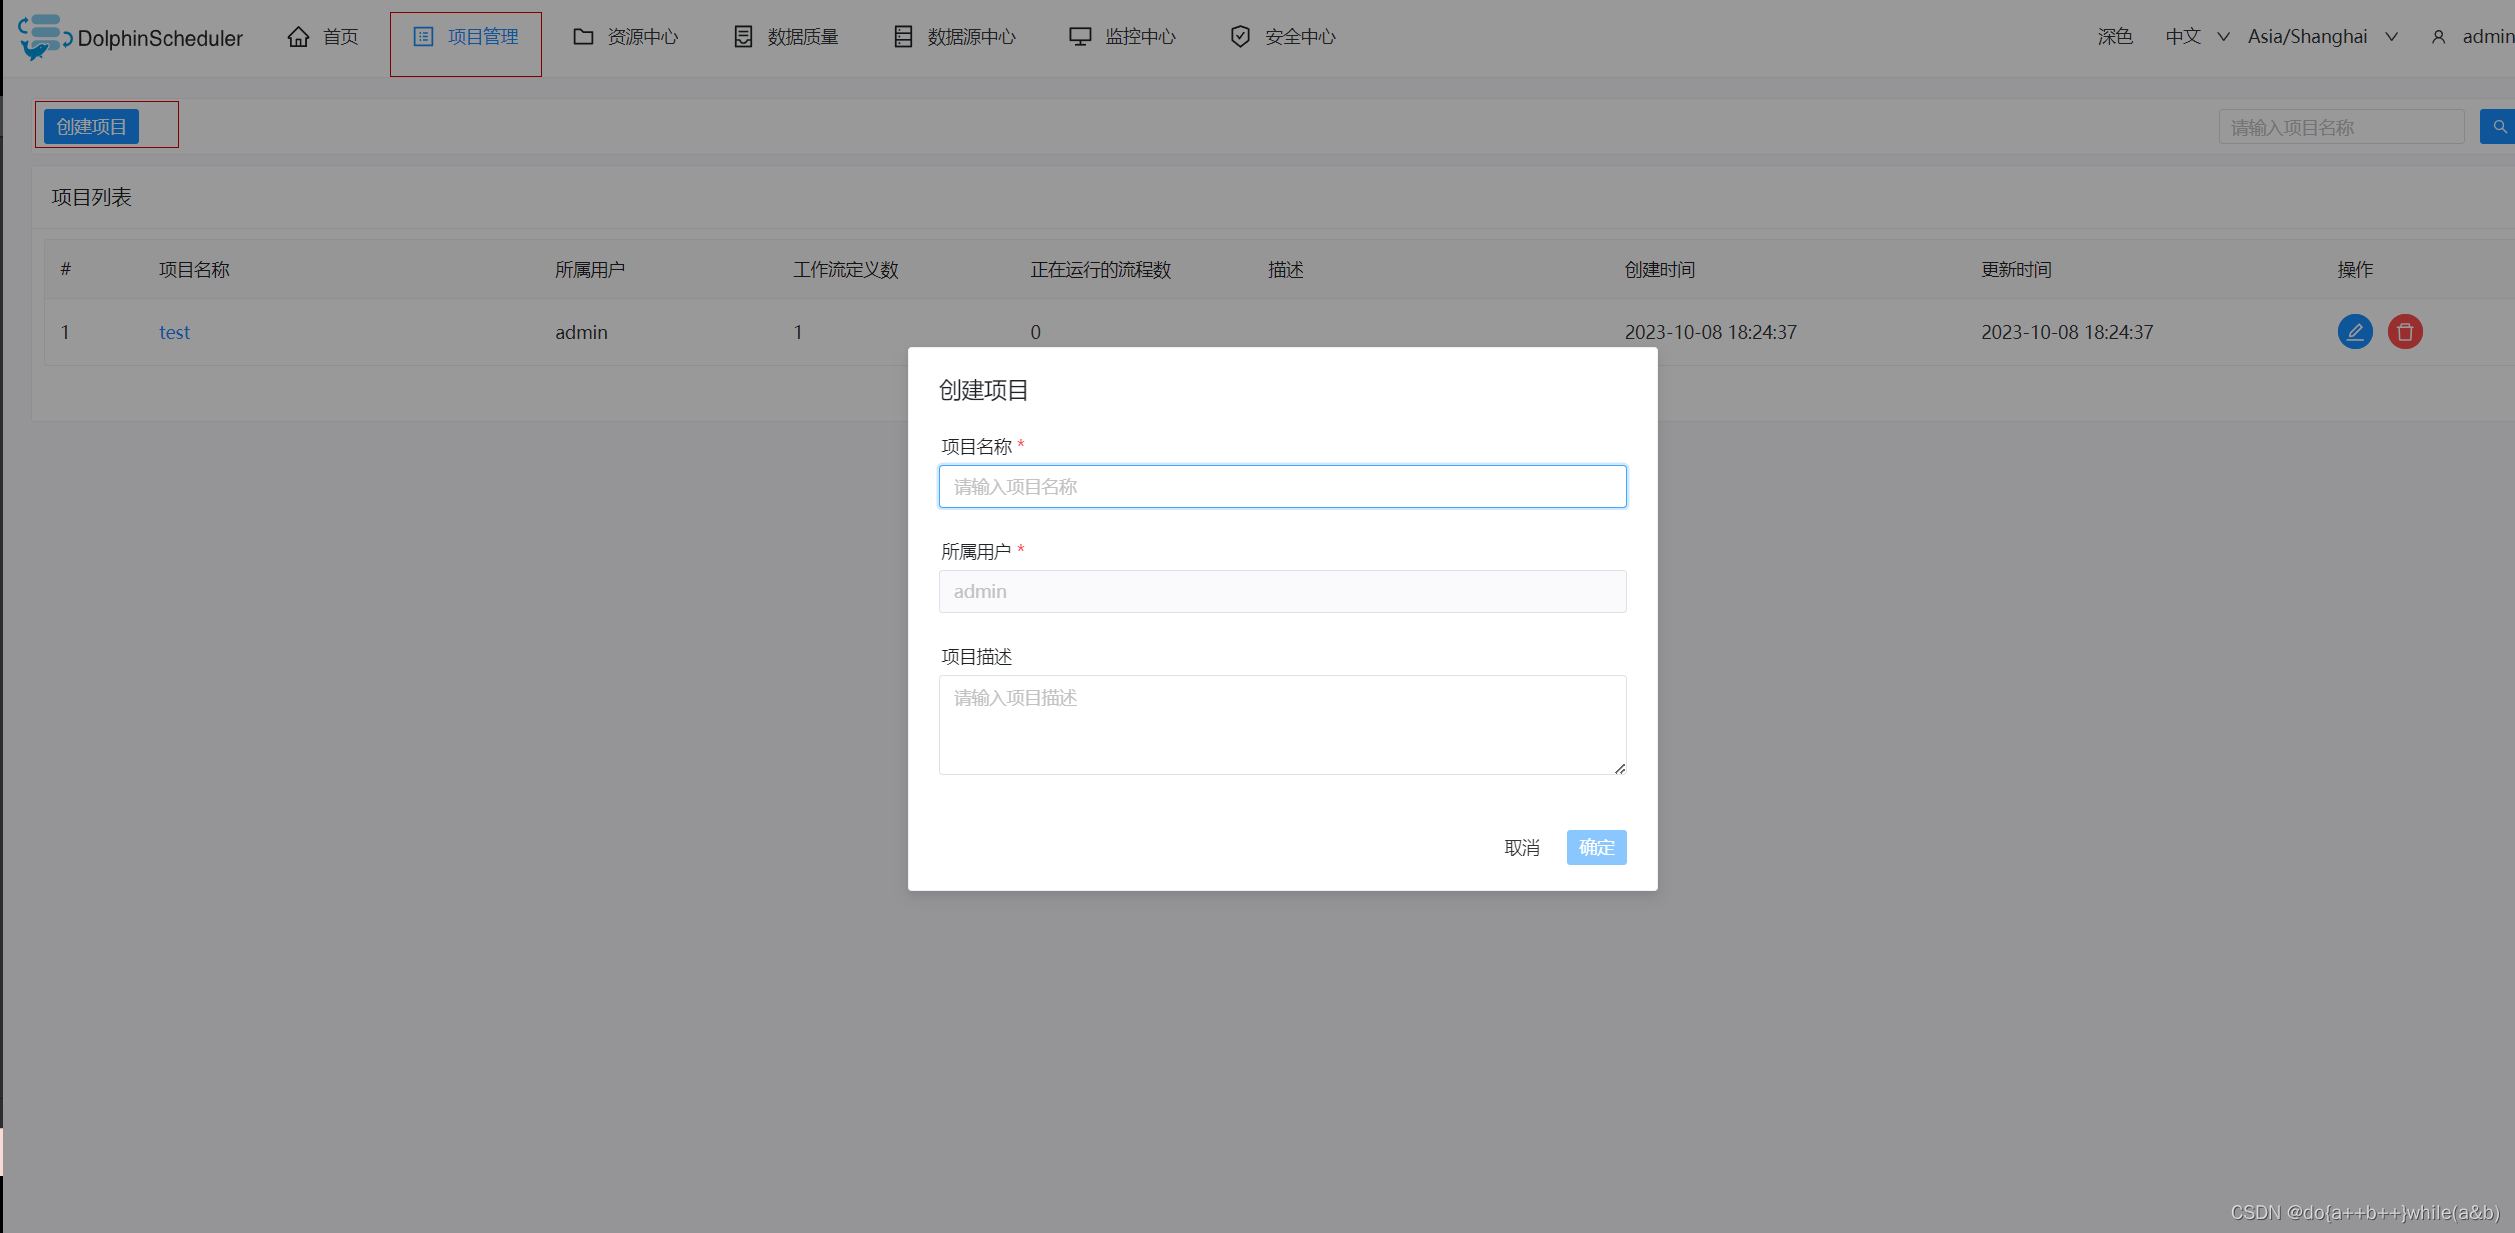
创建项目
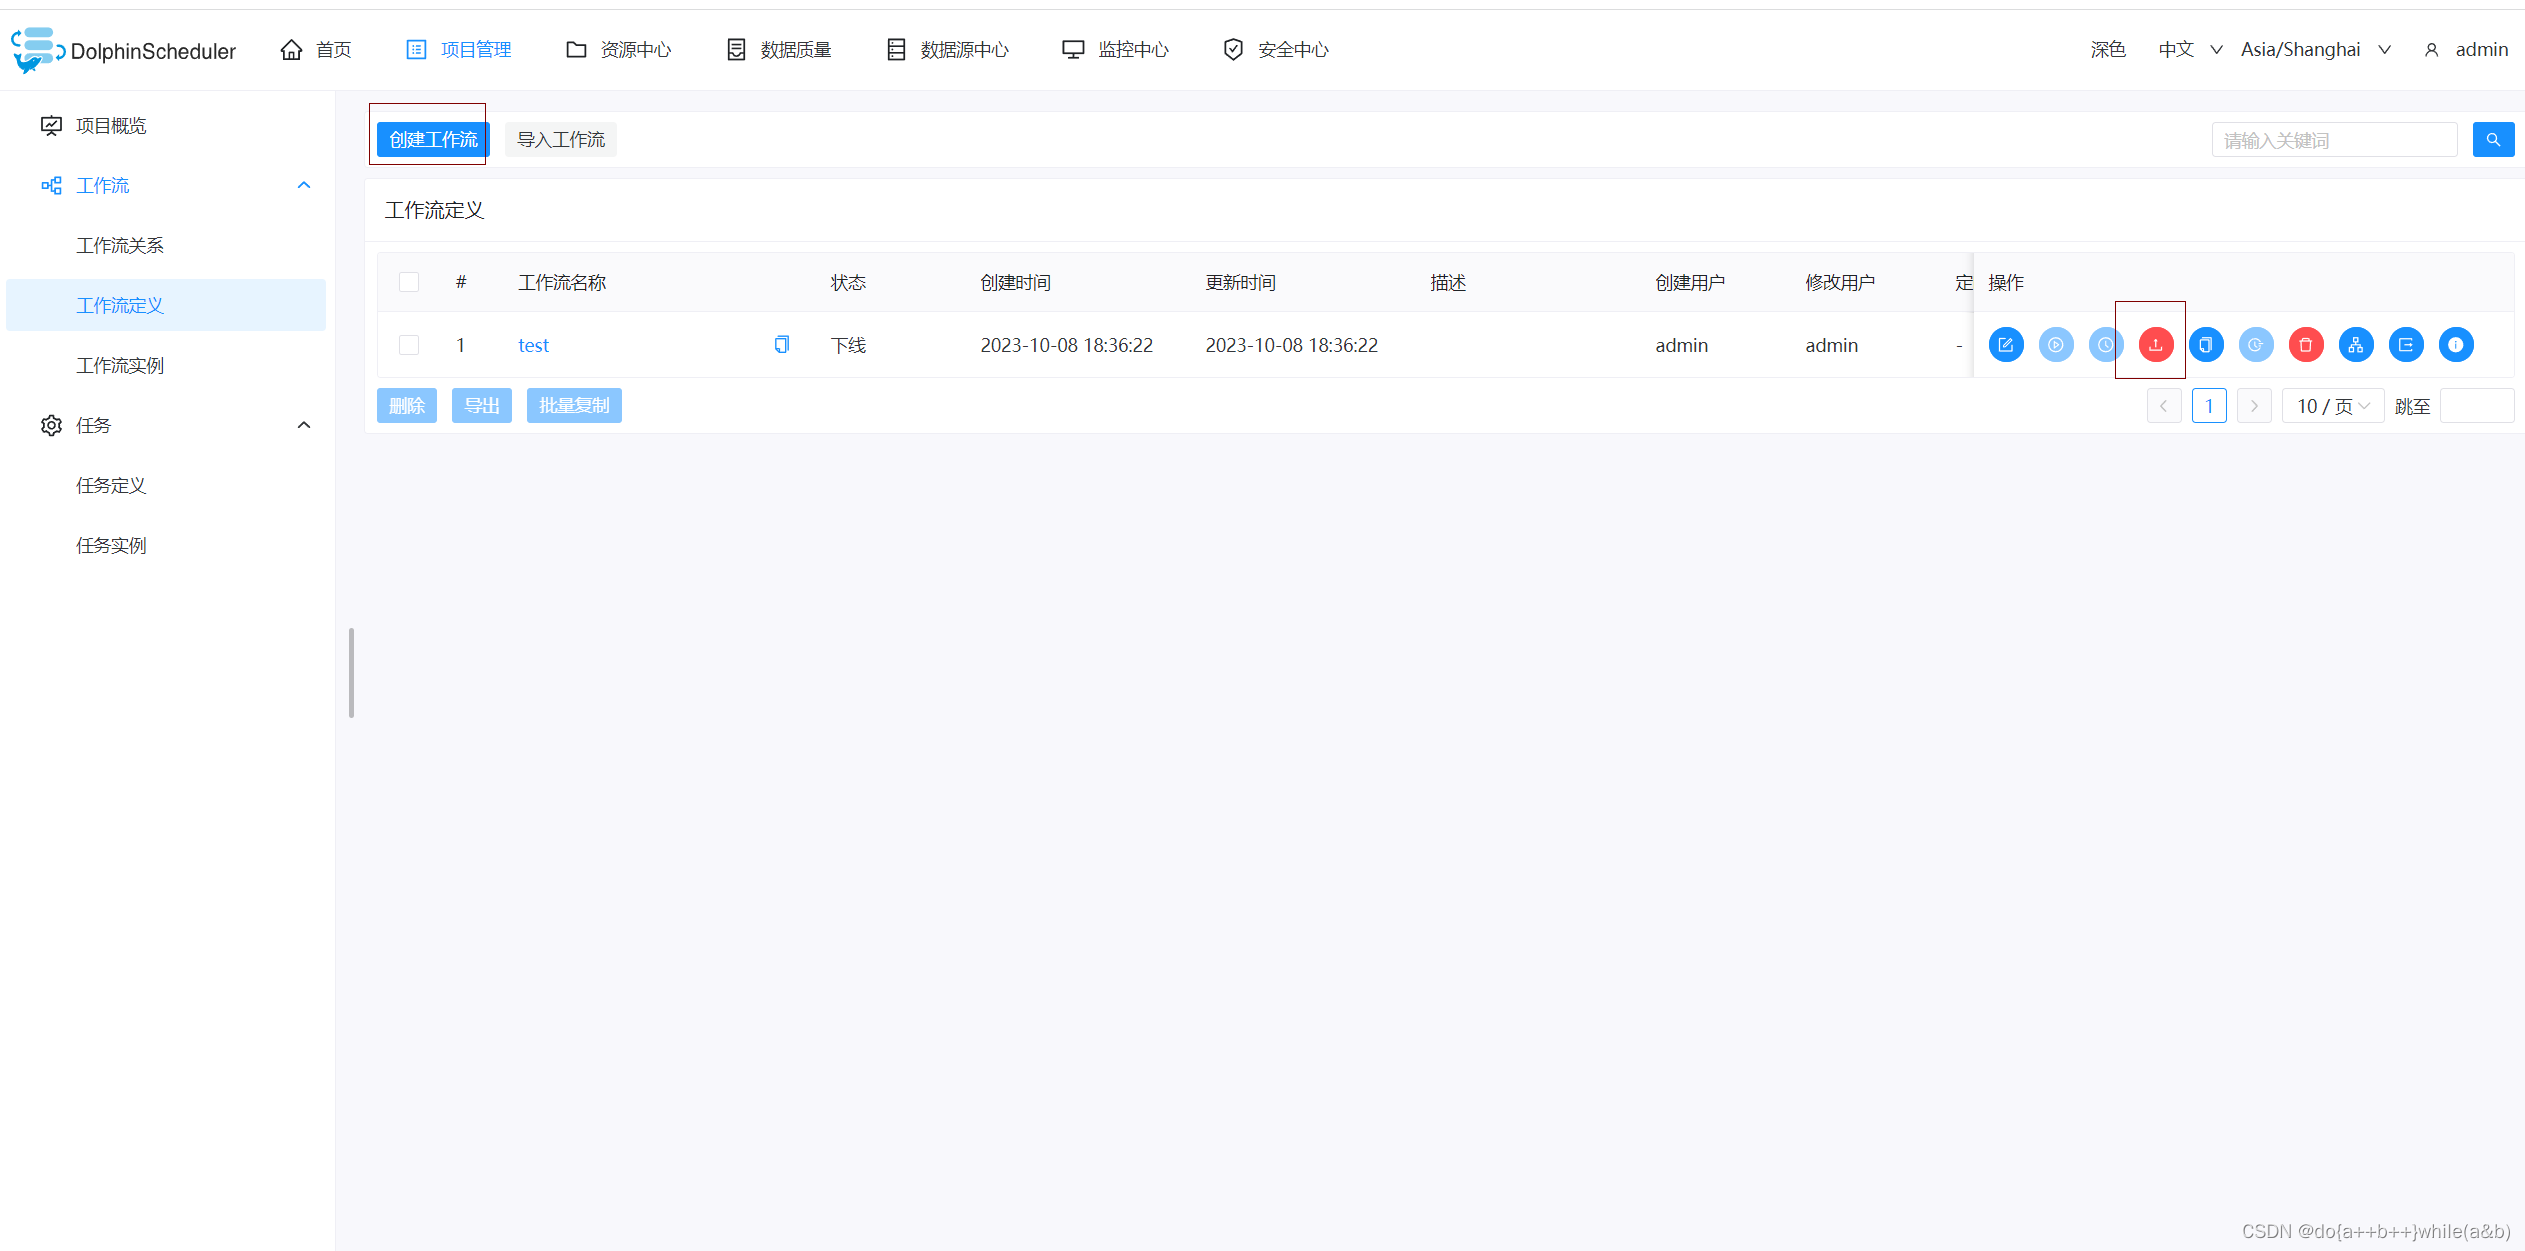
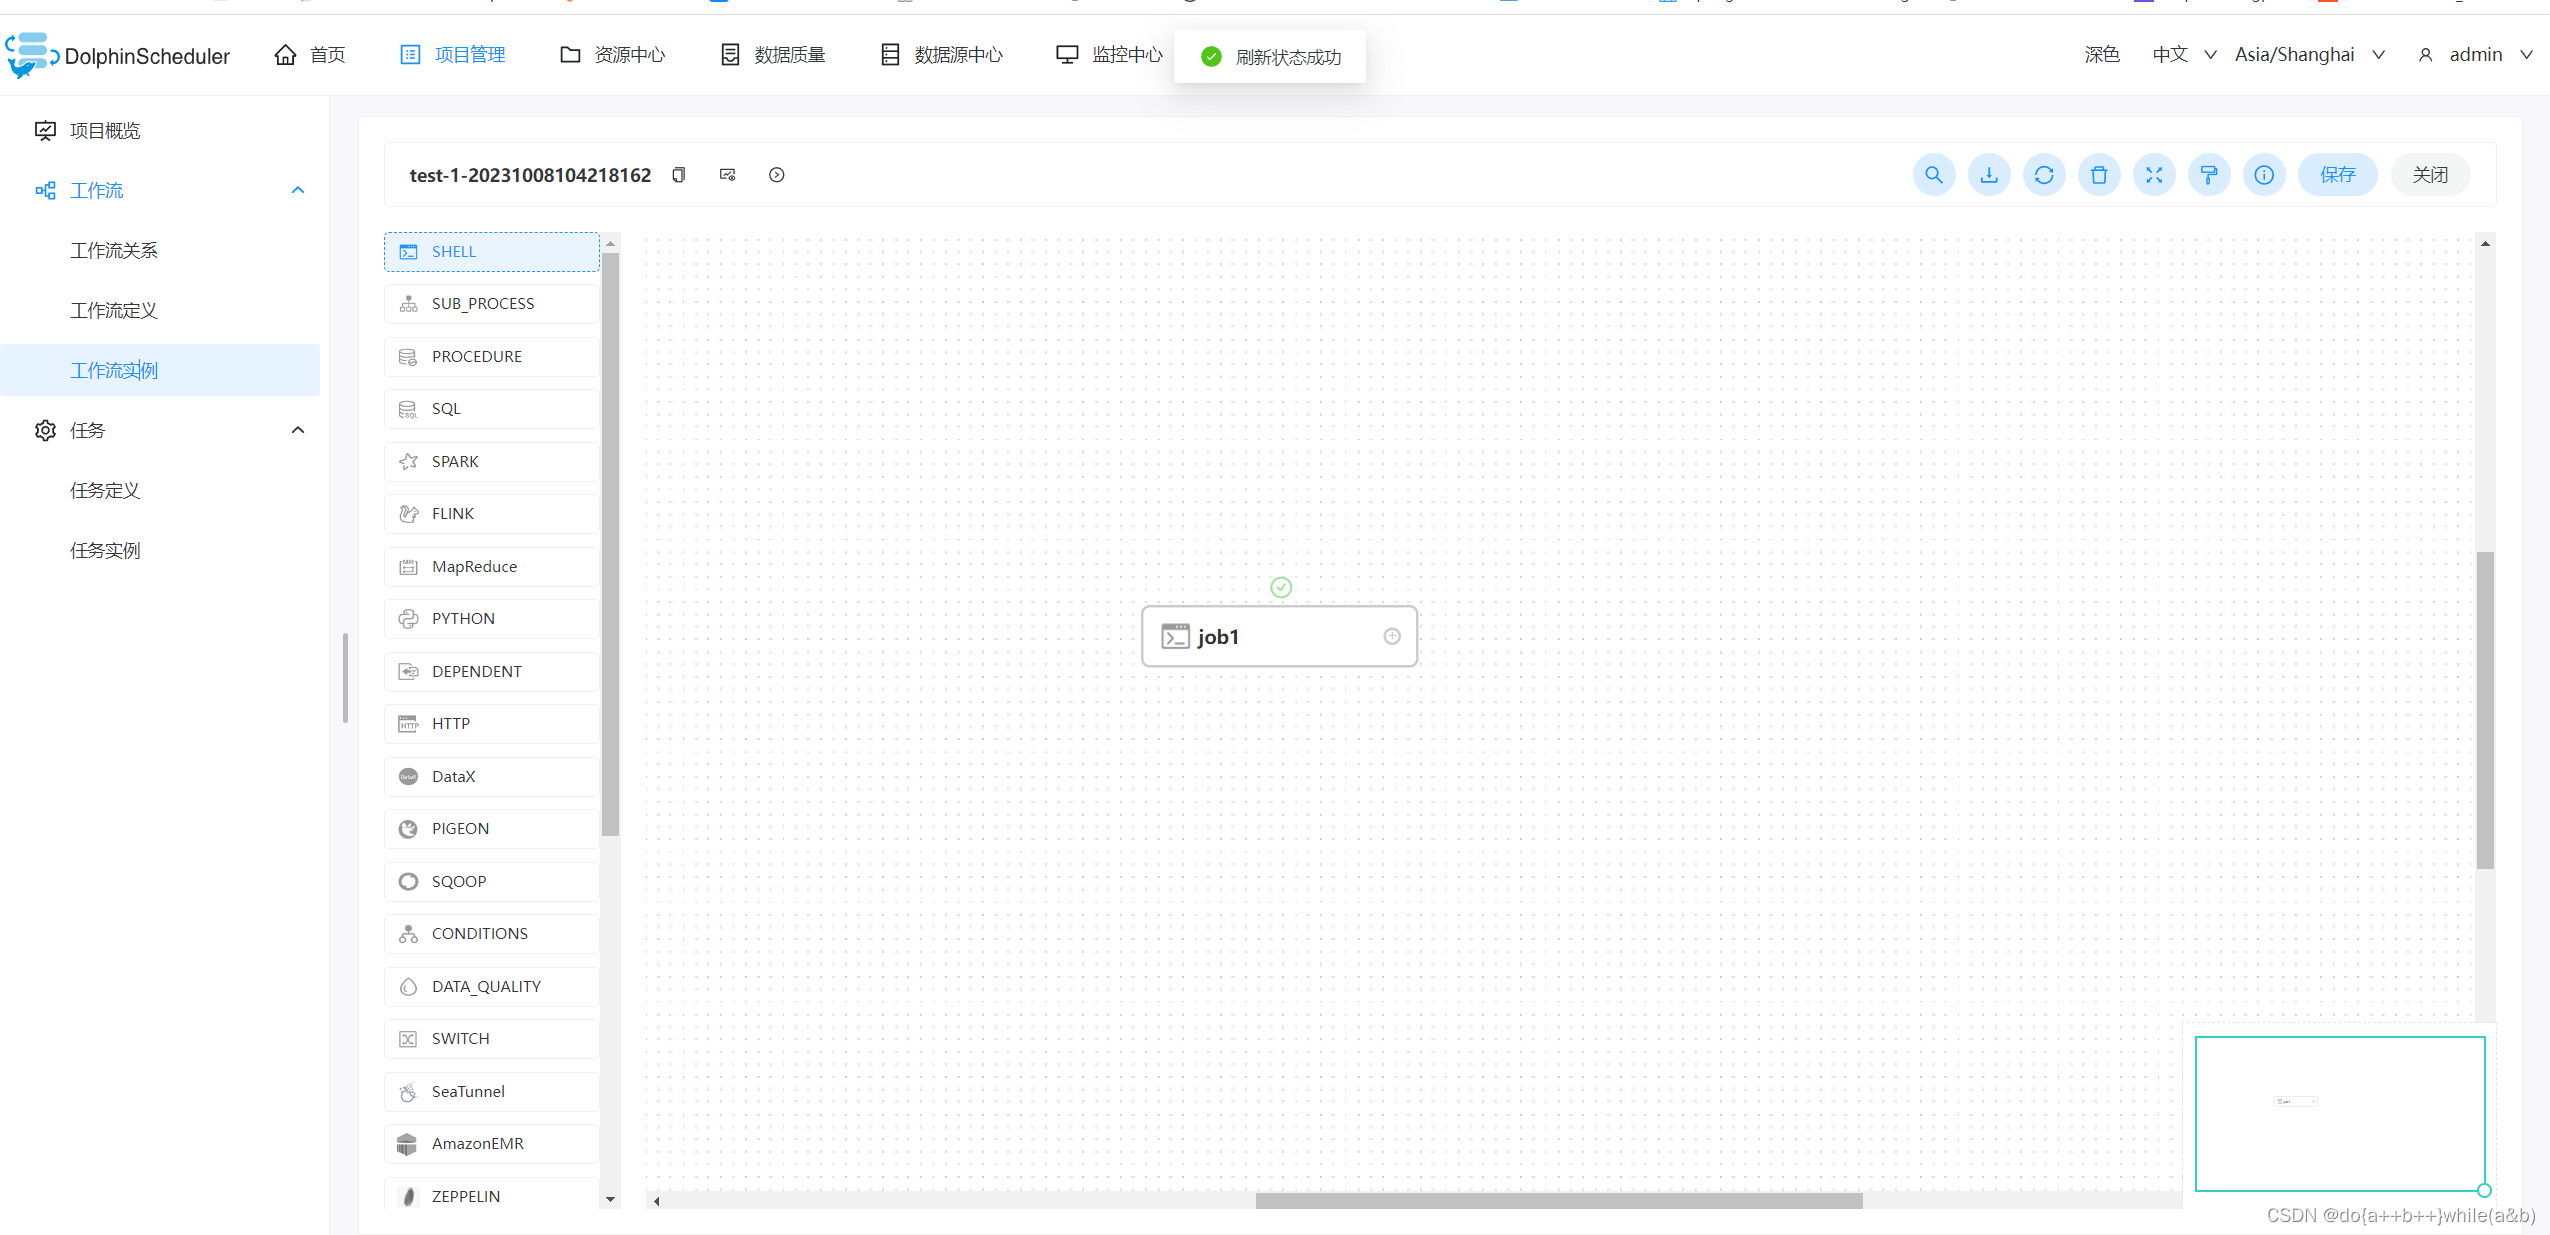
创建工作流并上线
出现√代表运行成功
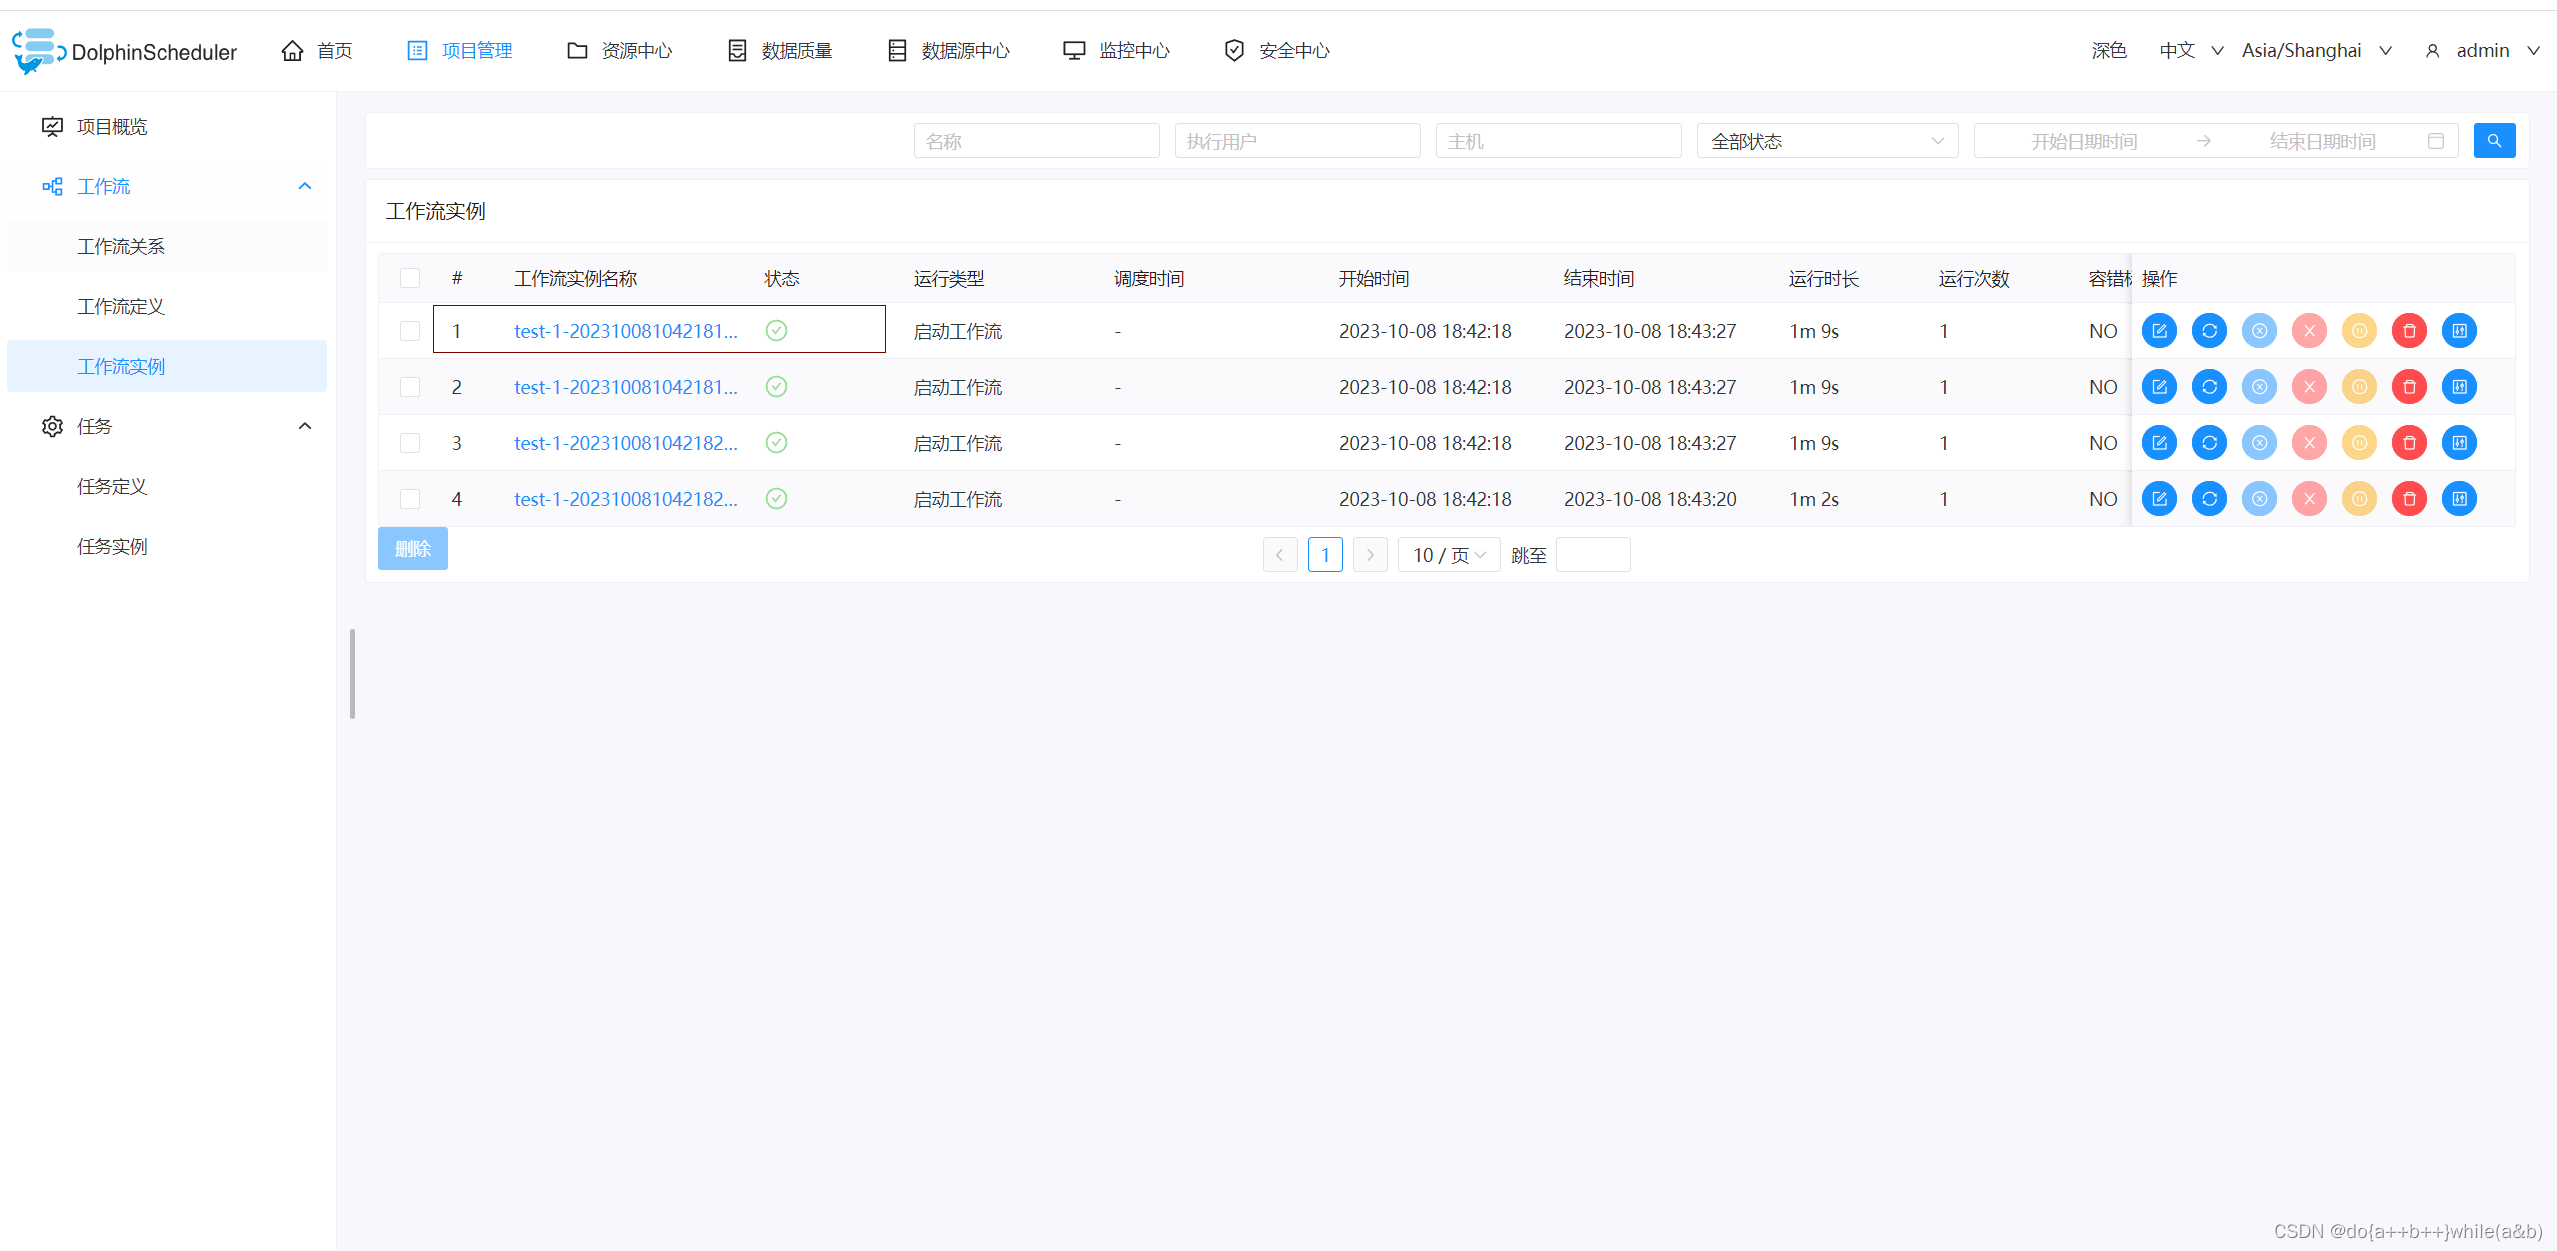
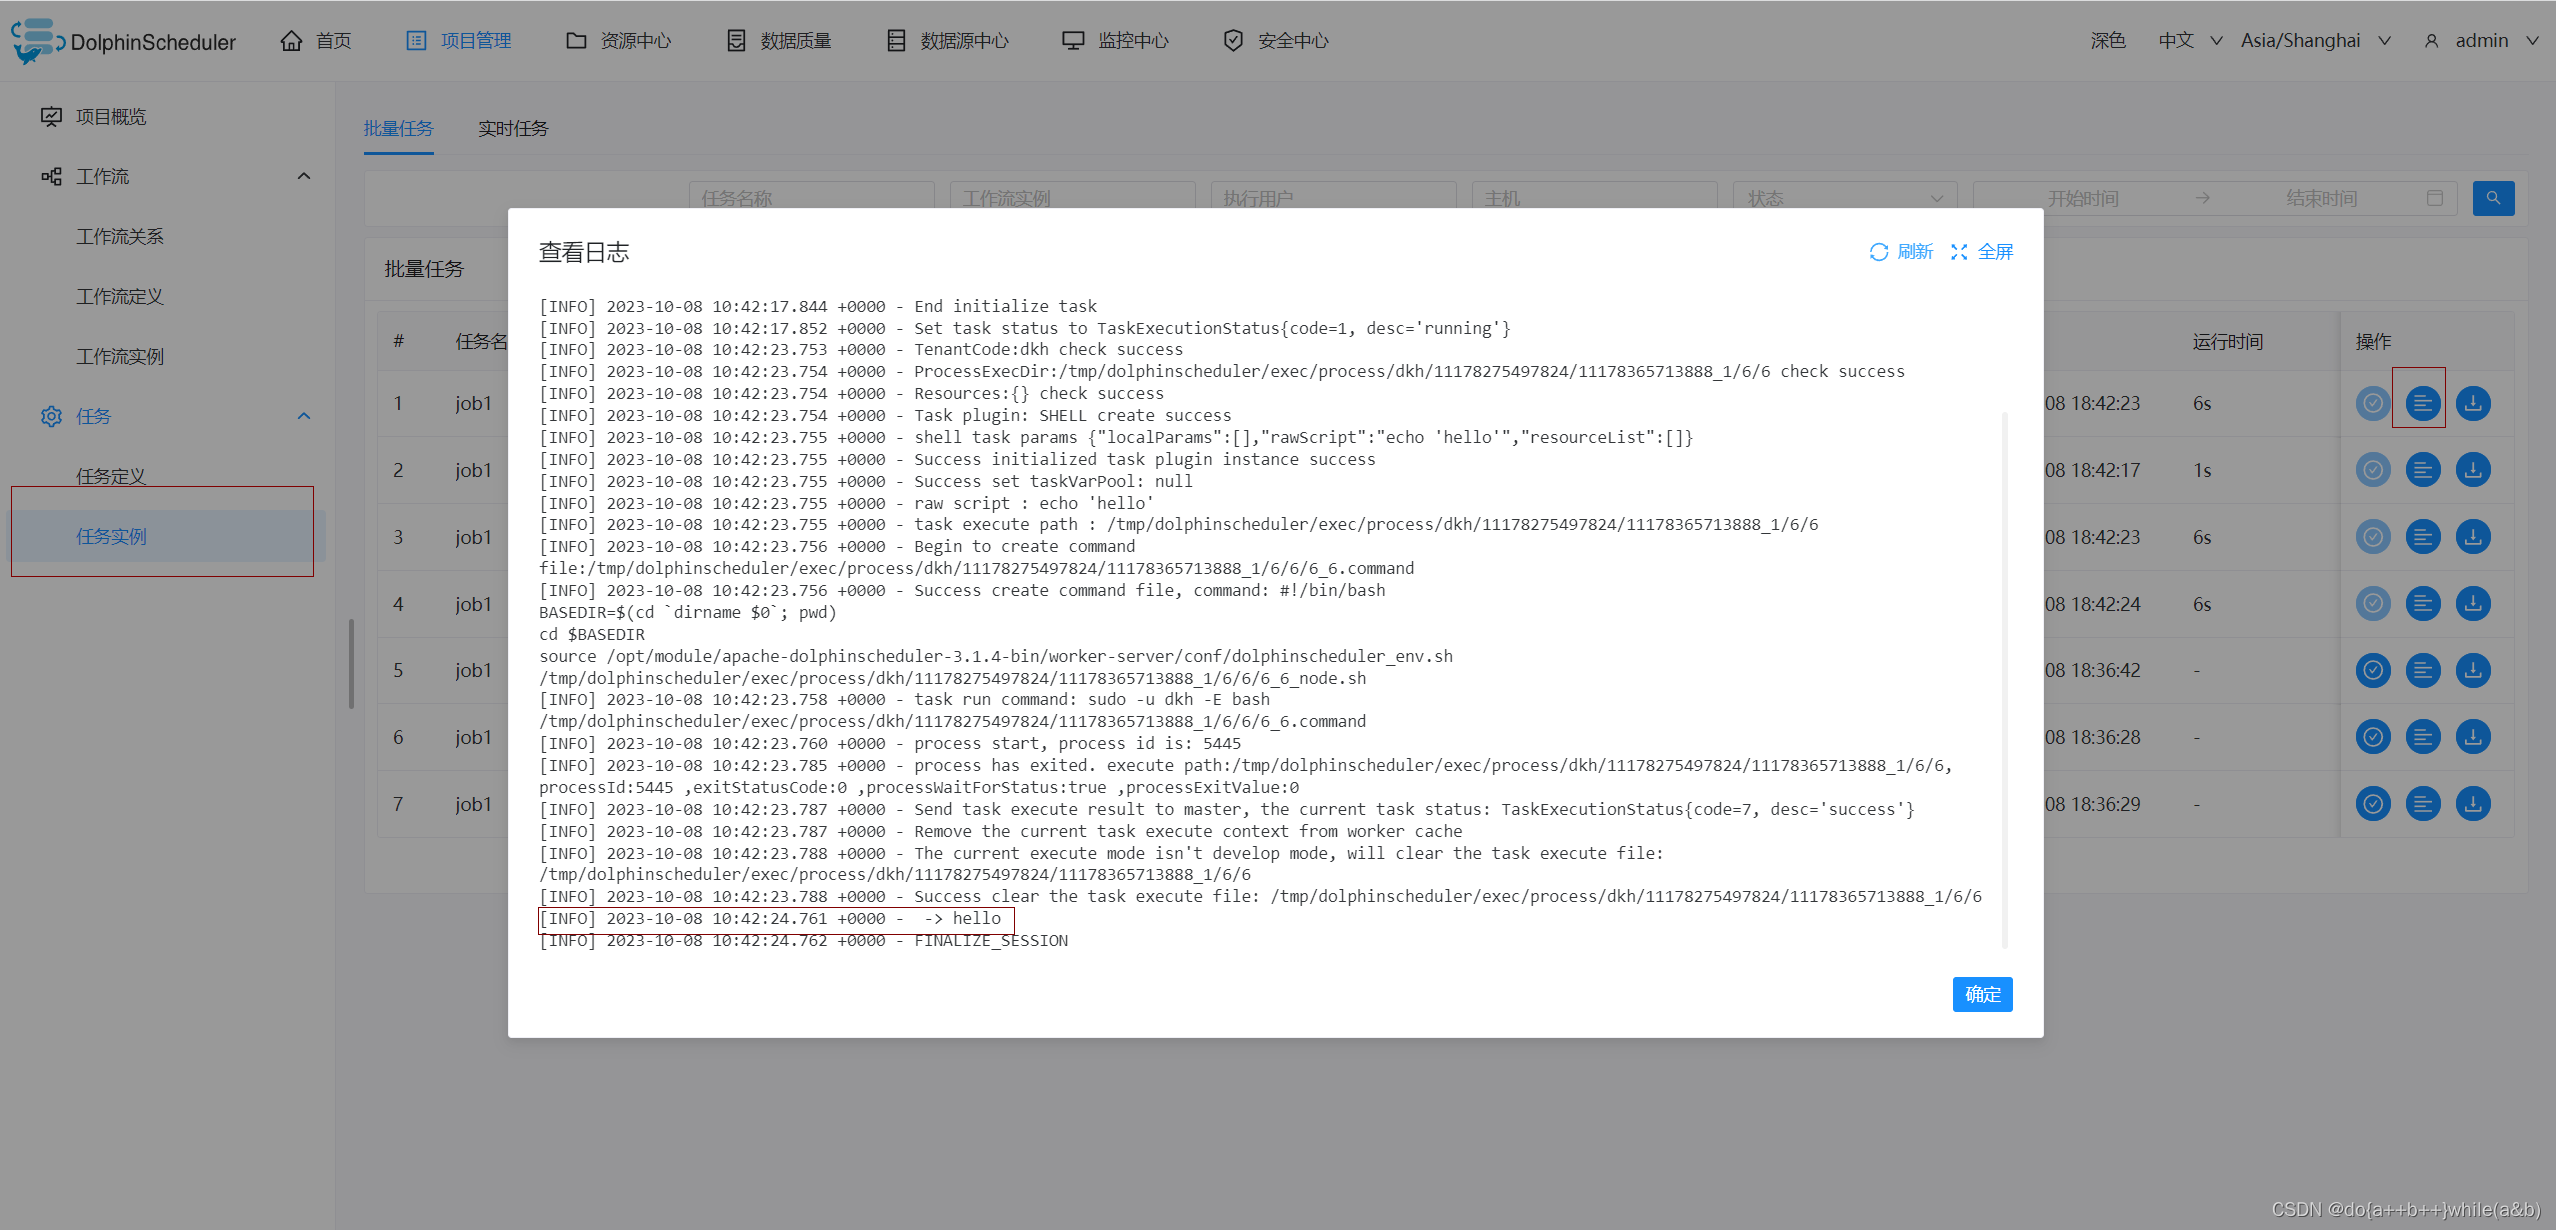
查看日志

魔乐社区(Modelers.cn) 是一个中立、公益的人工智能社区,提供人工智能工具、模型、数据的托管、展示与应用协同服务,为人工智能开发及爱好者搭建开放的学习交流平台。社区通过理事会方式运作,由全产业链共同建设、共同运营、共同享有,推动国产AI生态繁荣发展。
更多推荐


 1
1 0
0- 0


 已为社区贡献2条内容

所有评论(0)