YOLO自制数据集并训练
将要训练的数据图像按照8:2 的训练集:验证集的比例随机分割,分别存放在images/train和images/val中。yolo可以在训练过程中自动调整超参数(如学习率、权重衰减等),没有较深的经验建议不设置超参数。建议将制作好的标签所在的文件夹重命名为labels copy 再创建一个labels文件夹。由于labelme默认输出coco格式标签数据,需要转换为yolo格式才能进行训练。进行相
快速开始
建议使用anaconda虚拟环境
安装完后打开powershell 使用
conda init
初始化 anaconda
安装必须的系统构建工具
sudo apt update
sudo apt install -y cmake build-essential python3-dev
sudo apt install -y libgl1-mesa-glx libglib2.0-0 libsm6 libxext6 libxrender-dev
创建虚拟环境
conda create -n yolo python=3.13
#其实用python3.10更好,3.13太新了,很多库不兼容
conda create -n yolo python=3.10
激活虚拟环境
conda activate yolo
安装ultralytics
pip install torch ultralytics
pip install --upgrade pip

# 配置阿里云 HTTPS 镜像源(安全可靠)
pip config set global.index-url https://mirrors.aliyun.com/pypi/simple/

# 添加信任主机
pip config set global.trusted-host mirrors.aliyun.com

# 添加备用清华源
pip config set global.extra-index-url https://pypi.tuna.tsinghua.edu.cn/simple/

# 临时使用onnx官方源测试
pip install --no-cache-dir -i https://pypi.org/simple onnx --default-timeout=100

# 安装 ONNX 套件
pip install onnx onnxruntime onnx-simplifier

#如果一次安装三个卡住了,就分开试试
#或者把那个临时使用onnx官方源的onnx,改成另外两个也能装,看谁的网络的
下面测试是否能用
使用组建好的虚拟环境运行下面这段python代码
#进入python环境
python

from ultralytics import YOLO

# Create a new YOLO model from scratch
model = YOLO("yolo11n.yaml")

# Load a pretrained YOLO model (recommended for training)
model = YOLO("yolo11n.pt")

# Train the model using the 'coco8.yaml' dataset for 3 epochs
results = model.train(data="coco8.yaml", epochs=3)

# Evaluate the model's performance on the validation set
results = model.val()

# Perform object detection on an image using the model
results = model("https://ultralytics.com/images/bus.jpg")

# Export the model to ONNX format
success = model.export(format="onnx")
自定义数据训练模型
下面需要用本地安装
windows系统需要先下载一个WSL
然后在windows商店下一个ubuntu-22.04
然后安装conda
目标检测数据制作-YOLO格式
使用labelme制作数据
安装labelme
创建专属虚拟环境
conda create -n labeldata python=3.12
激活虚拟环境
conda activate labeldata
安装labelme
pip install labelme
coco数据集文件结构
项目根目录/datasets/coco8/
├── images/
│   ├── train/  # 存放训练图片
│   └── val/    # 存放验证图片
└── labels/
    ├── train/  # 存放训练标签(.txt)
    └── val/    # 存放验证标签
制作步骤
将要训练的数据图像按照8:2 的训练集:验证集的比例随机分割,分别存放在images/train和images/val中
- 在对应虚拟环境被激活的命令窗口内输入labelme启动labelme
labelme
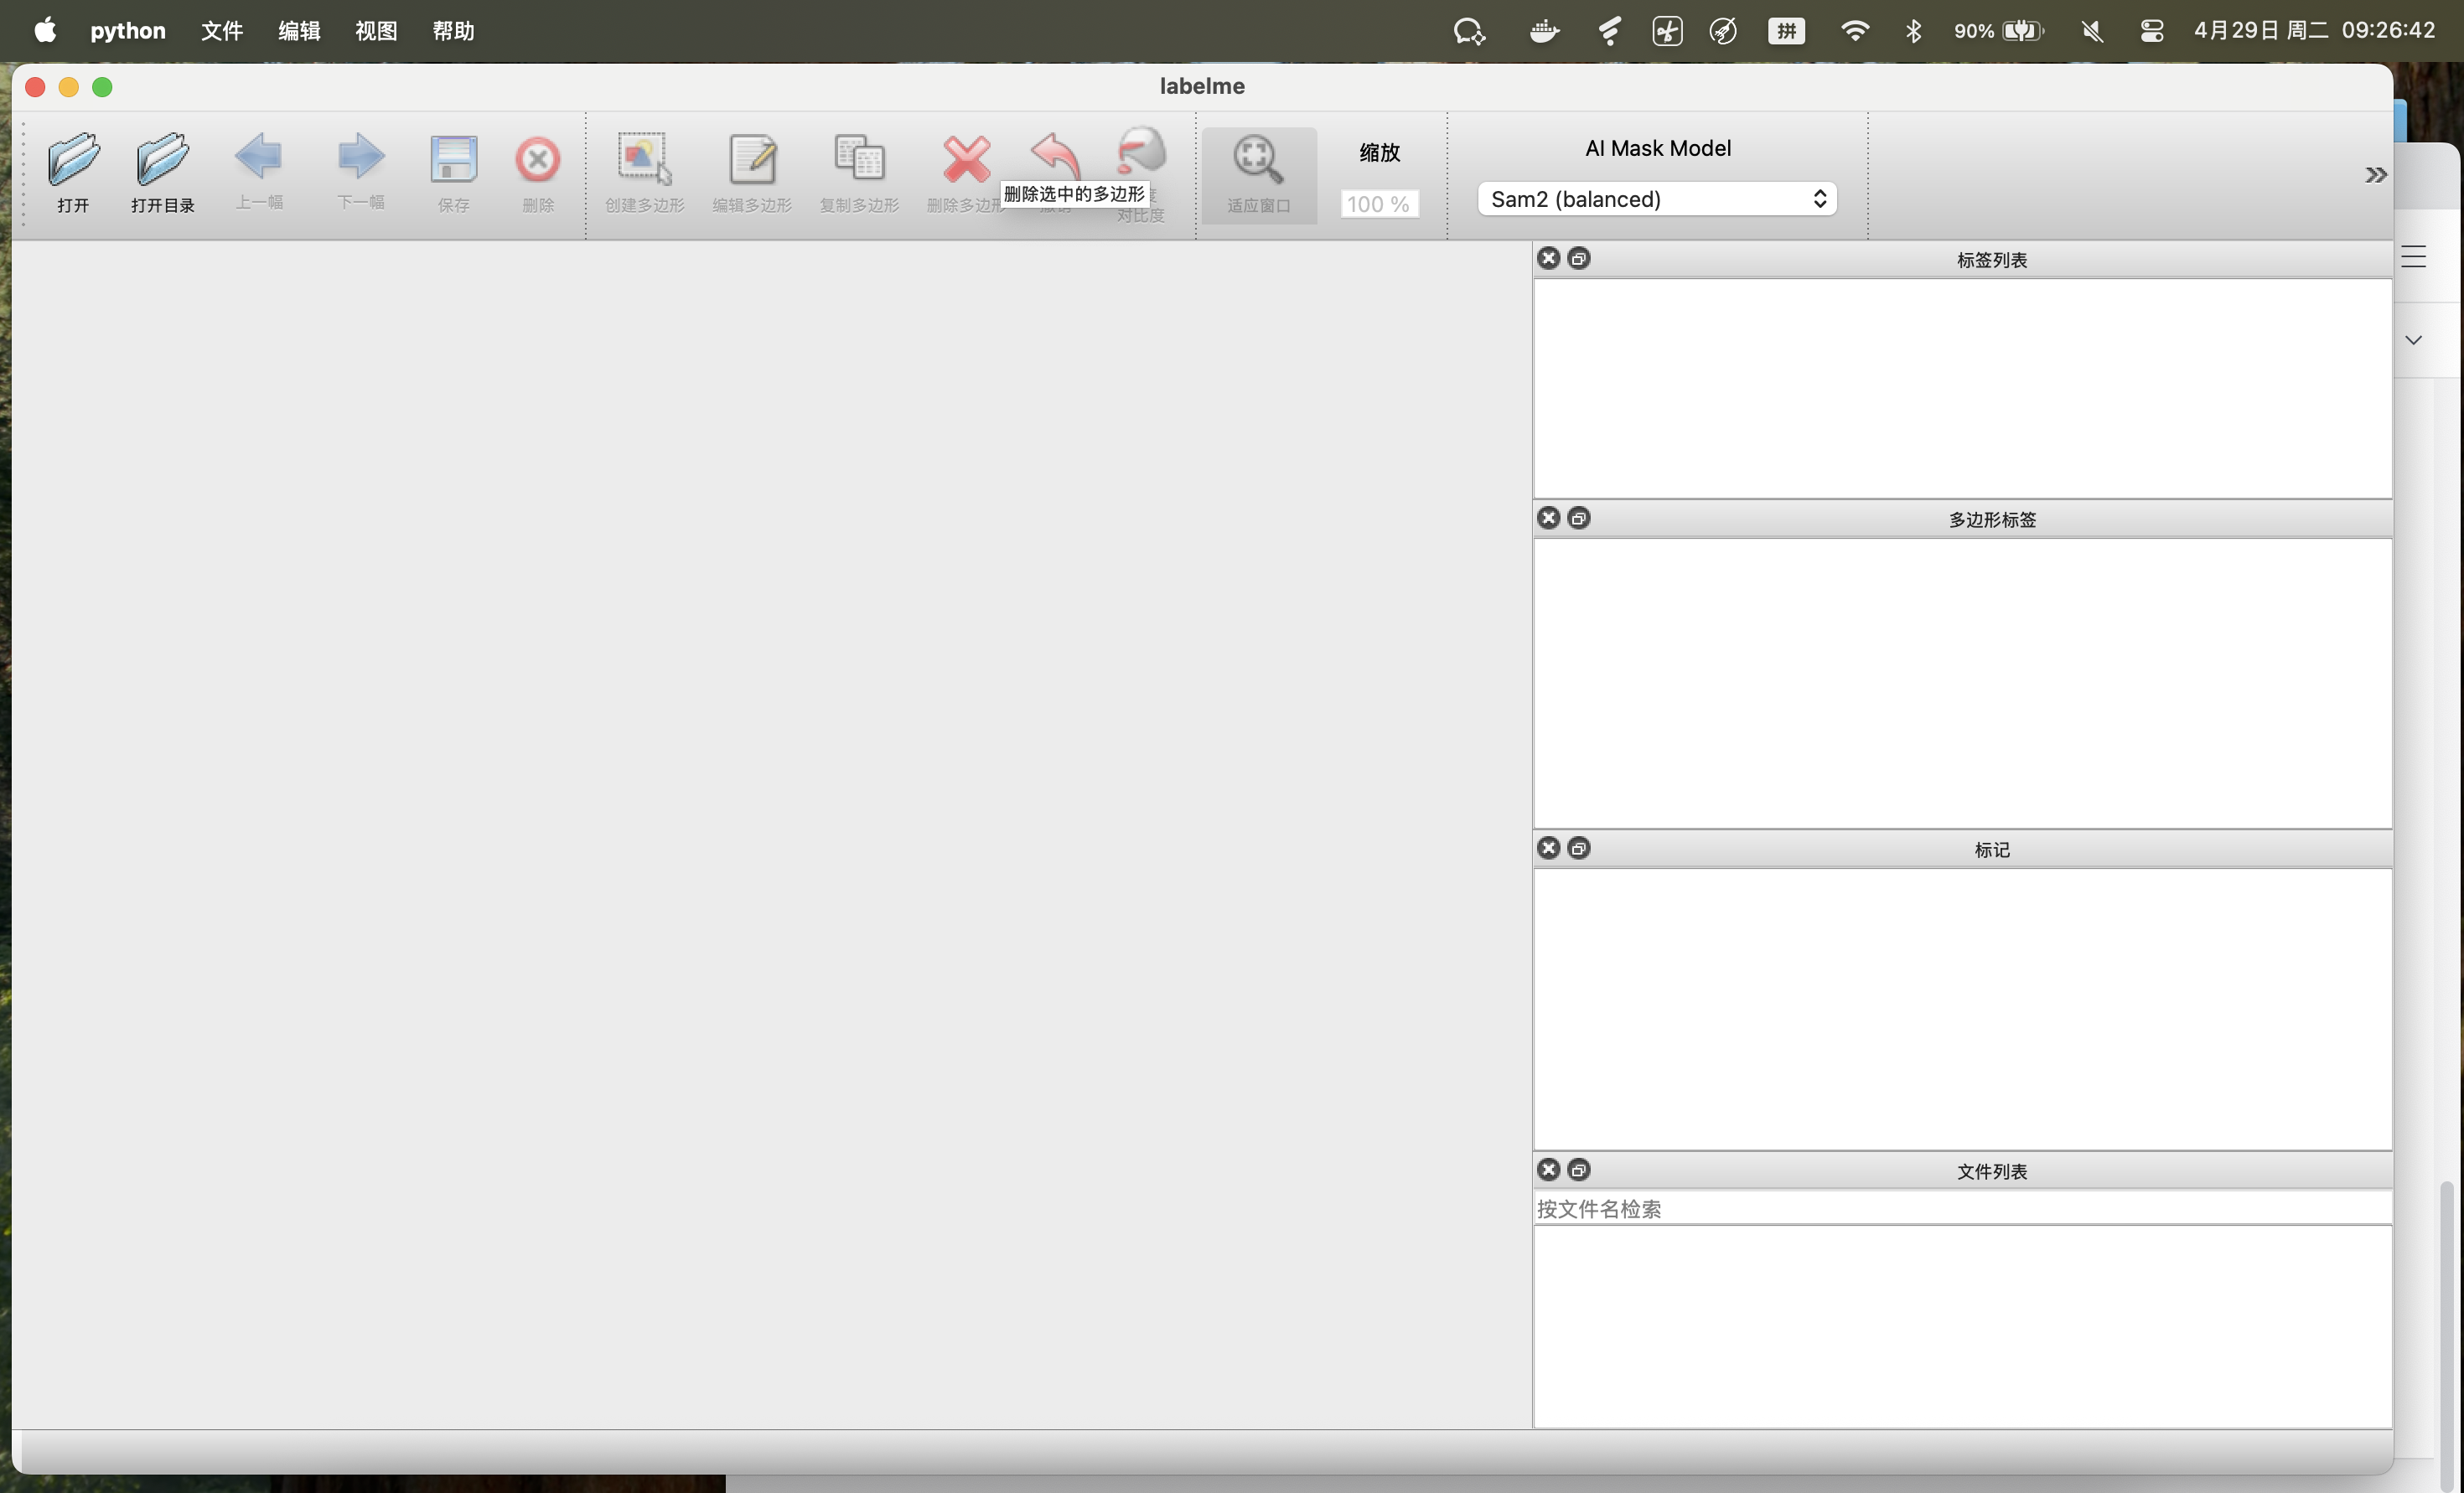
- 进行相关设置(这里讲的是训练集设置,验证集的设置同理)
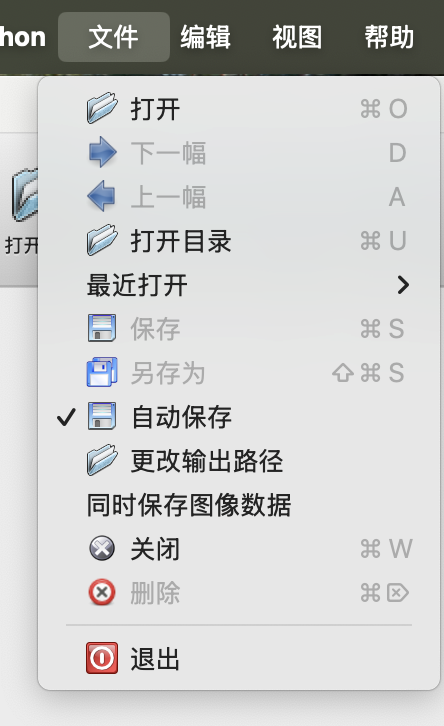
打开自动保存,关闭同时保存图像数据,更改输出目录为
项目根目录/datasets/coco8/labels/train
- 打开训练集图片目录开始打标签
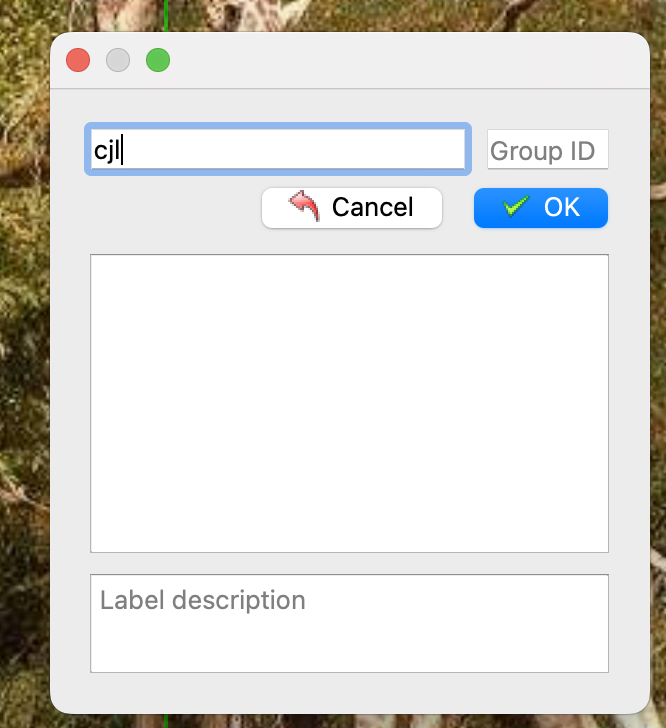
根据需求选择目标检测框的形状,这里我们选择创建矩形
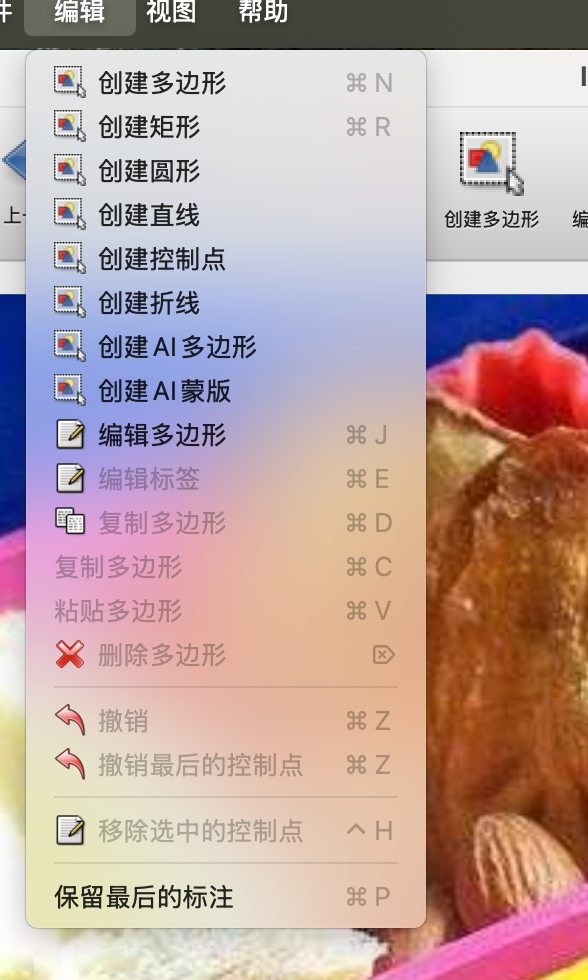
框选要检测的目标,再次点击确认框选
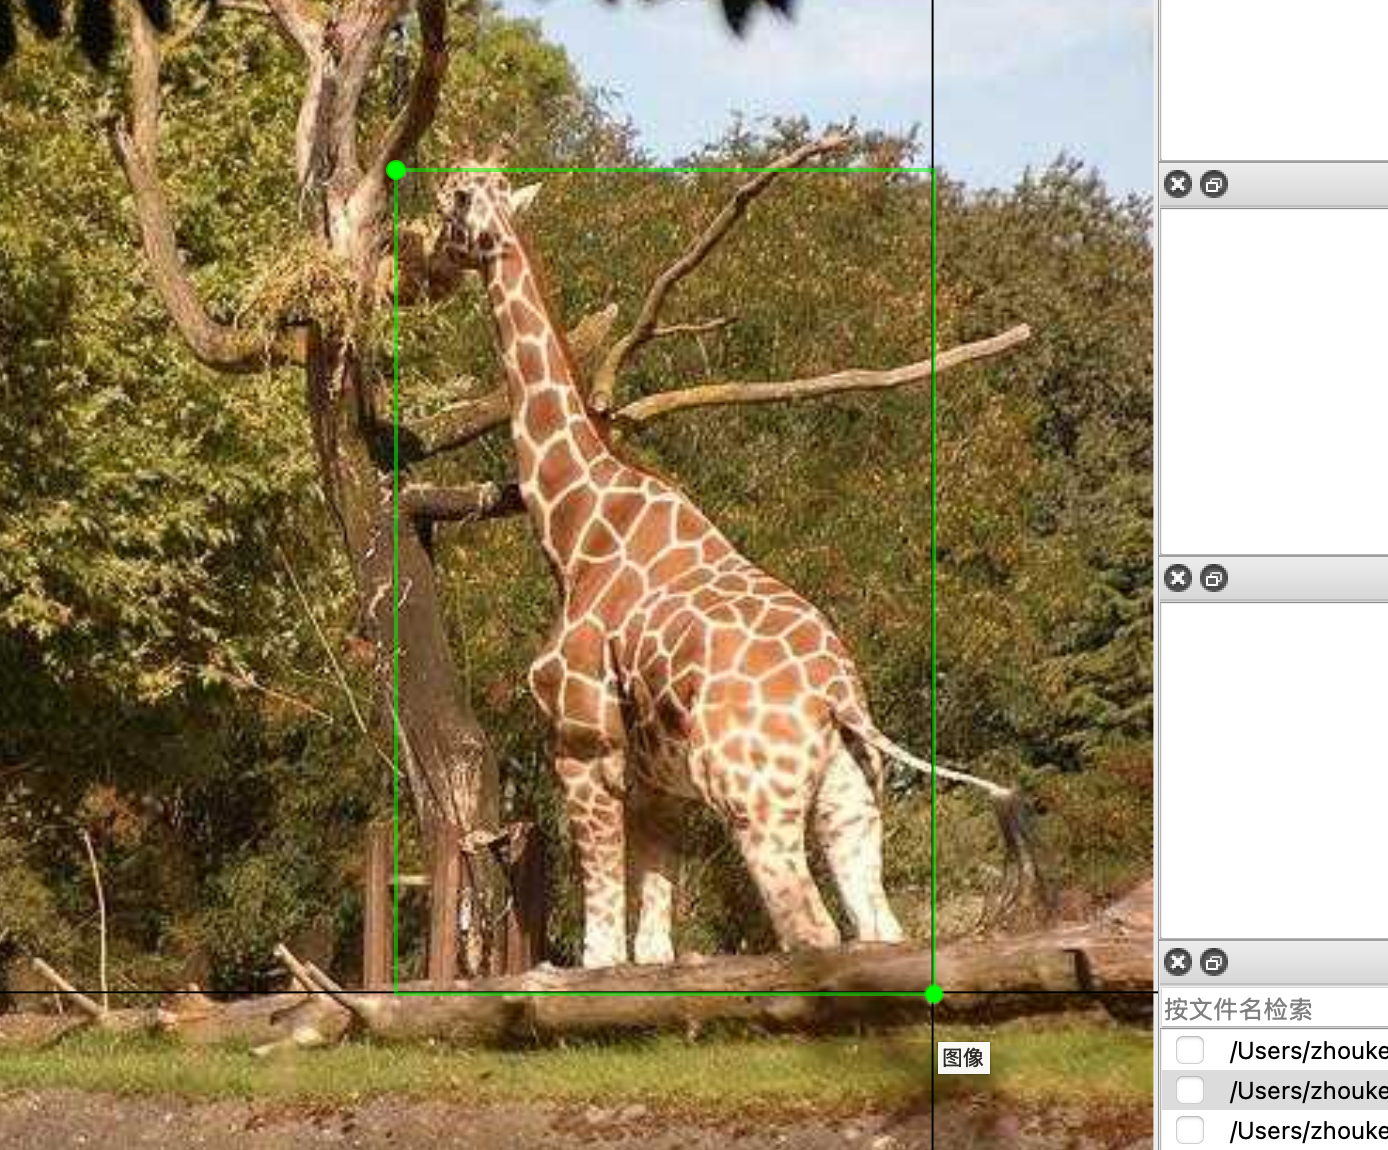
这时会弹出类别创建,根据需求设置类别名称(建议不要使用中文)
常用快捷键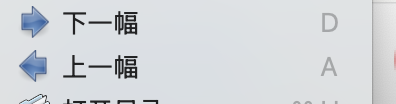
- 验证集的制作与训练集同理
按照上面的方法,选择验证集的文件夹
然后选择文件,进行画框
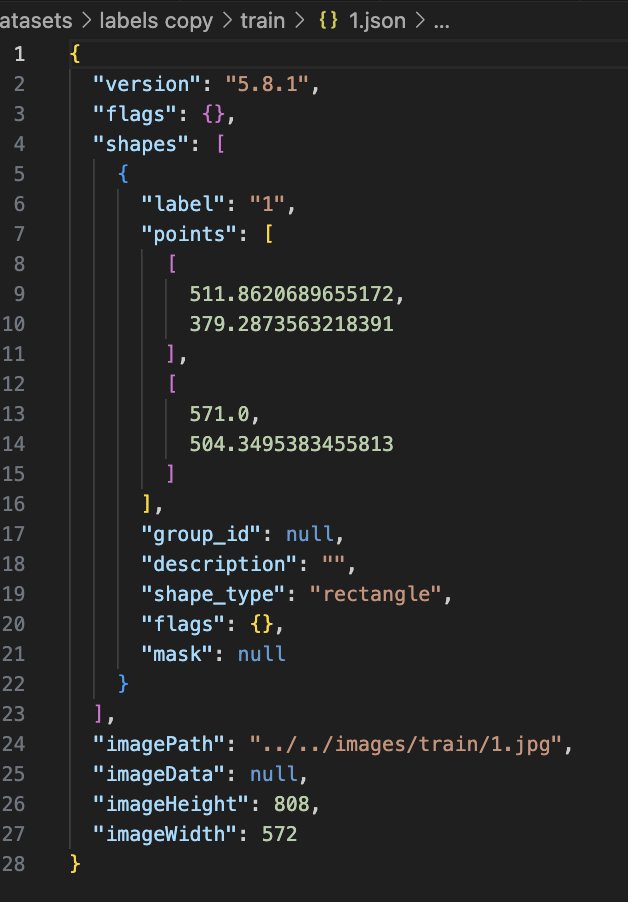
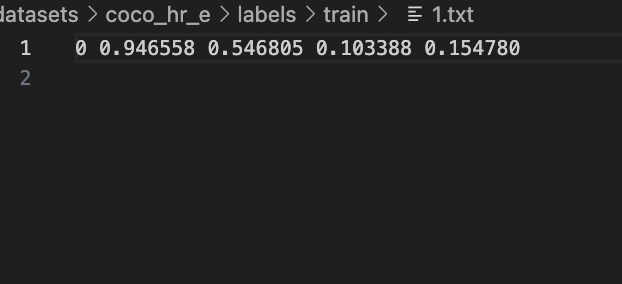
- coco格式转yolo
由于labelme默认输出coco格式标签数据,需要转换为yolo格式才能进行训练
coco格式
yolo格式
使用下面这段代码进行转换
import json
import os


def json_to_yolo(input_file_path, output_directory, category_dict):
    data = json.load(open(input_file_path, encoding="utf-8"))
    image_width = data["imageWidth"]
    image_height = data["imageHeight"]

    yolo_format_content = ''
    for shape in data["shapes"]:
        # 归一化坐标并计算中心点、宽高
        [[x1, y1], [x2, y2]] = shape['points']
        x1, x2 = x1 / image_width, x2 / image_width
        y1, y2 = y1 / image_height, y2 / image_height
        cx = (x1 + x2) / 2
        cy = (y1 + y2) / 2
        width = abs(x2 - x1)
        height = abs(y2 - y1)

        # 生成YOLO格式行
        line = f"{category_dict[shape['label']]} {cx:.6f} {cy:.6f} {width:.6f} {height:.6f}\n"
        yolo_format_content += line

    # 生成TXT文件
    output_file_path = os.path.join(output_directory, os.path.basename(input_file_path).replace('.json', '.txt'))
    with open(output_file_path, 'w', encoding='utf-8') as file_handle:
        file_handle.write(yolo_format_content)

# 示例调用
category_dict = {'1': 0, '2': 1}  # 根据实际类别修改
input_directory = "datasets/coco_hr_e/labels copy/val"
output_directory = "datasets/coco_hr_e/labels/val"

if not os.path.exists(output_directory):
    os.makedirs(output_directory)

for json_file in os.listdir(input_directory):
    if json_file.endswith(".json"):
        json_to_yolo(os.path.join(input_directory, json_file), output_directory, category_dict)
建议将制作好的标签所在的文件夹重命名为labels copy 再创建一个labels文件夹
input_directory:coco格式标签根目录
output_directory: 输出目录
标签制作完和转换完后配置coco.yaml
# Ultralytics YOLO, AGPL-3.0 license
# COCO8 dataset (first 8 images from COCO train2017)
path: ../datasets/coco8  # 数据集根目录
train: images/train      # 训练集路径(相对path)
val: images/val          # 验证集路径
test:                    # 测试集路径(可选)

names:
  0: 0
  1: 1
names是从0开始的,后面是对应的标签名称
- 开始训练
yolo可以在训练过程中自动调整超参数(如学习率、权重衰减等),没有较深的经验建议不设置超参数
from ultralytics import YOLO

model = YOLO("yolo11n.yaml") # 模型参数设置

model = YOLO("yolo11n.pt") # 使用那个模型进行微调

results = model.train(data="./coco8.yaml", epochs=500)
训练完成后在runs/detect/train 目录下找到训练告和保存好的权重。

魔乐社区(Modelers.cn) 是一个中立、公益的人工智能社区,提供人工智能工具、模型、数据的托管、展示与应用协同服务,为人工智能开发及爱好者搭建开放的学习交流平台。社区通过理事会方式运作,由全产业链共同建设、共同运营、共同享有,推动国产AI生态繁荣发展。
更多推荐


 3
3 0
0- 0


 已为社区贡献1条内容

所有评论(0)