springboot入门(3)——三个restful风格接口,postman测试
一、创建项目
创建的过程在上一篇文章中有介绍,这里就不赘述了,这篇博客着重介绍restful接口和postman测试web。
创建项目请戳这里:如何创建一个项目
1.代码及文件
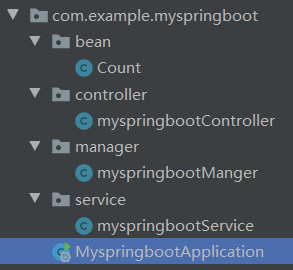
在src—main—java—com.example.(你的文件名)下,新建包名(括号内表示文件名)
bean(Count)、controller(Controller)、manage(Manage)、service(Service);
如下:
Count代码
package com.example.myspringboot.bean;

public class Count {
    private int count;

    public int getCount() {
        return count;
    }

    public void setCount(int count) {
        this.count = count;
    }
}
Controller代码
package com.example.myspringboot.controller;

import com.example.myspringboot.bean.Count;
import org.springframework.beans.factory.annotation.Autowired;
import org.springframework.web.bind.annotation.*;
import com.example.myspringboot.service.myspringbootService;

@RestController
public class myspringbootController {
    @Autowired
    myspringbootService myService;

    @RequestMapping(value = "/me/count", method = RequestMethod.PUT)
    @ResponseBody
    public void initCount(@RequestBody Count count){
        myService.initCount(count);
    }

    @RequestMapping(value = "/me/count", method = RequestMethod.POST)
    @ResponseBody
    public void modifyCount(@RequestBody Count count){
        myService.addCount(count);
    }

    @RequestMapping(value = "/me/count", method = RequestMethod.GET)
    @ResponseBody
    public  Count getCount()
    {
        return myService.getCount();
    }
}
Manger代码
package com.example.myspringboot.manager;

public class myspringbootManger {
    private int count = 0;
    private static myspringbootManger instance = new myspringbootManger();
    private myspringbootManger(){}
    public static myspringbootManger getInstance(){
        return instance;
    }
    public synchronized void addCount(int i){
        count = count + i;
    }
    public synchronized  void minusCount(int i){
        count = count -i;
    }
    public int getCount(){
        return count;
    }
    public void initCount(int i){
        count = i;
    }
}
Service代码
package com.example.myspringboot.service;

import com.example.myspringboot.manager.myspringbootManger;
import com.example.myspringboot.bean.Count;
import org.springframework.stereotype.Service;

@Service
public class myspringbootService {
    public void addCount(Count count){
        if (count != null){
            myspringbootManger.getInstance().addCount(count.getCount());
        }
    }
    public void minusCount(Count count){
        if (count != null) {
            myspringbootManger.getInstance().minusCount(count.getCount());
        }
    }
    public Count getCount()
    {
        Count count = new Count();
        count.setCount(myspringbootManger.getInstance().getCount());
        return count;
    }
    public void initCount(Count count){
        if (count != null) {
            myspringbootManger.getInstance().initCount(count.getCount());
        }
    }
}
2.运行结果
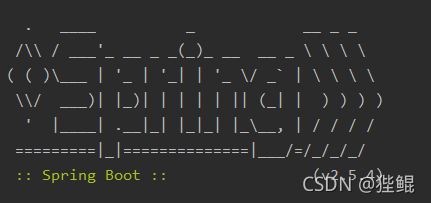
出现以下图片即为运行成功,接下来就是postman接口测试。
二、postman测试
1.概念
老规矩,先了解概念。postman是一款功能强大的网页调试和模拟发送HTTP请求的Chrome插件,支持几乎所有类型的HTTP请求,操作简单且方便。在项目的初期,测试人员就可以提前介入,进行接口测试模拟客户端与服务端的交互。
2.测试
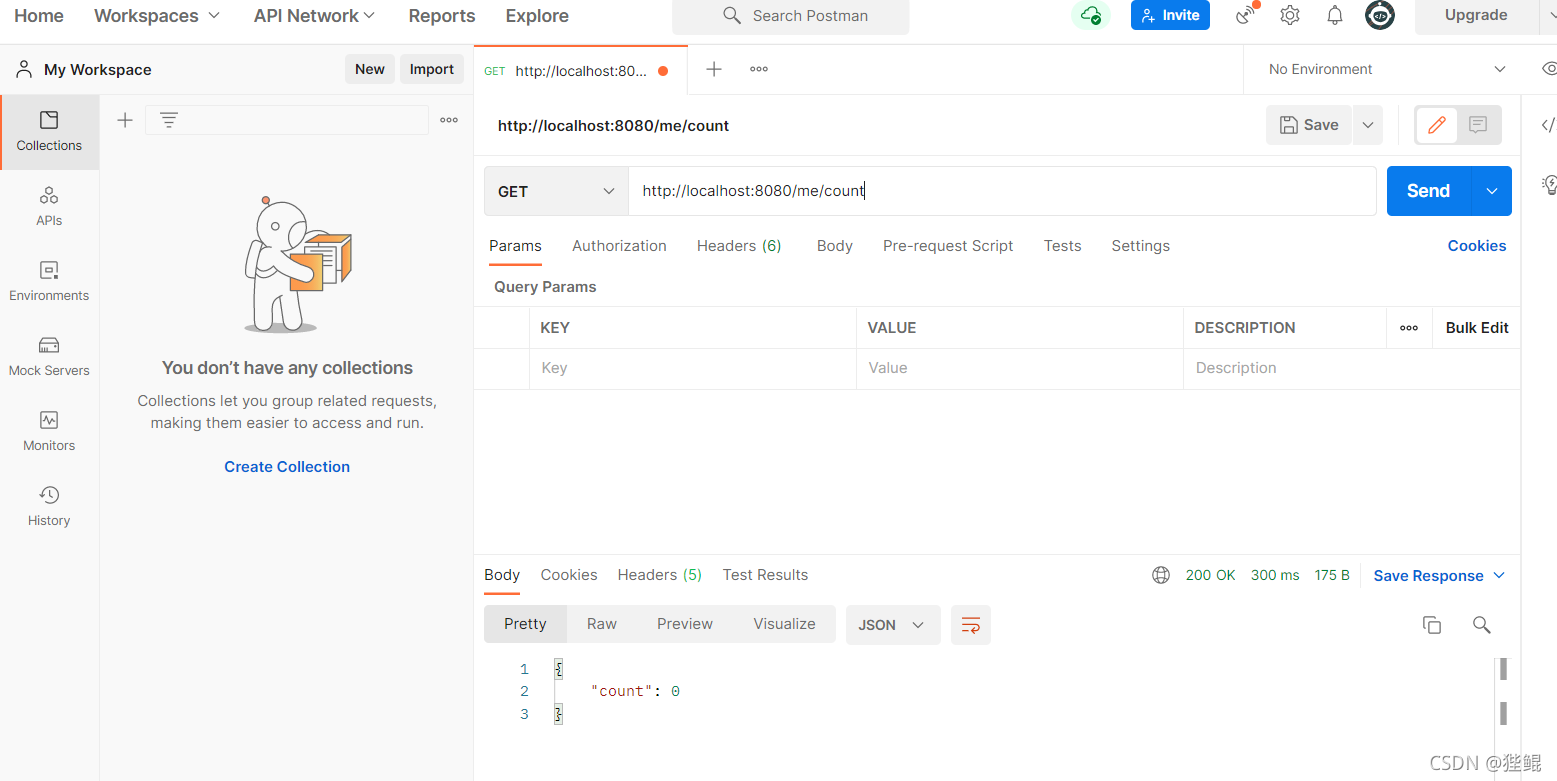
(1)确定你的web地址
默认端口号:8080
URL :http://localhost:8080/me/count
(2)get、put、post三种接口测试
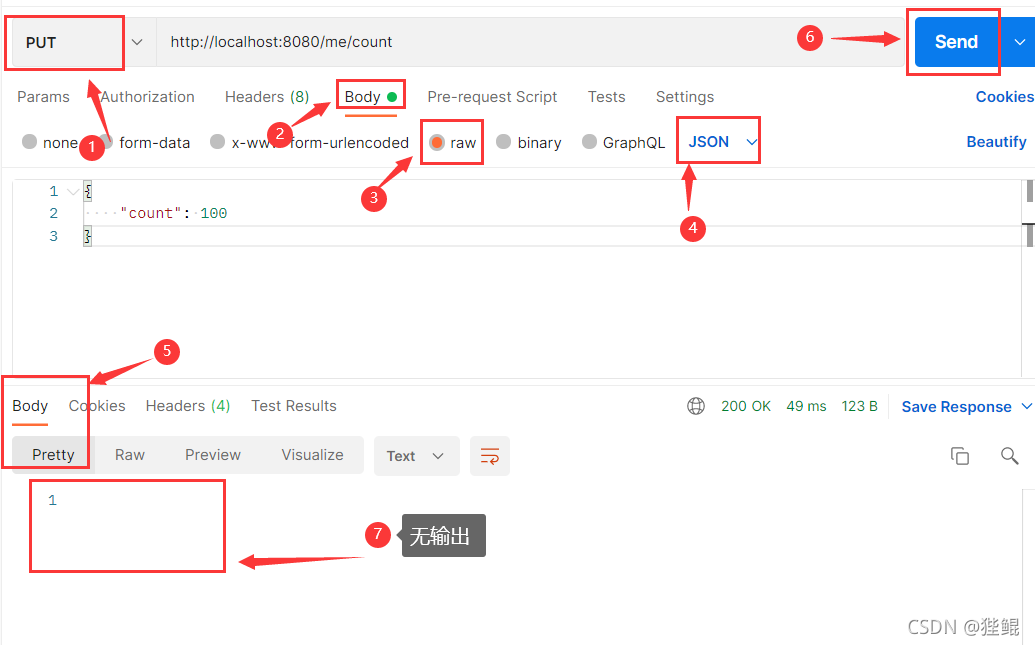
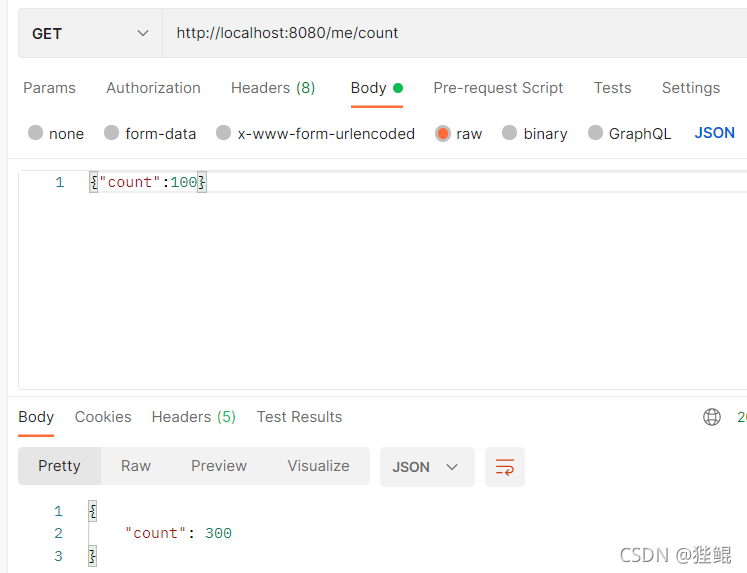
三种接口作用各不相同:其中PUT用于初始化,POST用于修改,GET用于查询
步骤1点击workplace,再点击“+”创建一个新工作窗口,在选择的“GET”接口后输入你的网址即可。
可见输出““count”: 0”即为成功。
步骤2put接口测试
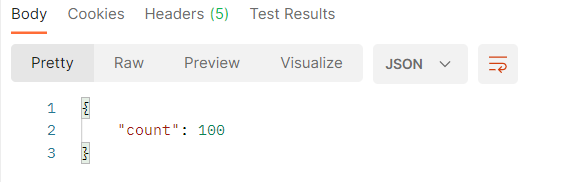
输入:“count”: 100
无输出,具体操作如下:
再次改为GET,结果如下
步骤三post接口
调用post接口后,再次改为get接口,之前改变几次,结果就会变为多少
以上就是postman测试web的基本操作及原理。

魔乐社区(Modelers.cn) 是一个中立、公益的人工智能社区,提供人工智能工具、模型、数据的托管、展示与应用协同服务,为人工智能开发及爱好者搭建开放的学习交流平台。社区通过理事会方式运作,由全产业链共同建设、共同运营、共同享有,推动国产AI生态繁荣发展。
更多推荐


 0
0 0
0- 0


 已为社区贡献1条内容

所有评论(0)