java跳转html页面_springboot 2.0.8 跳转html页面
springboot 成功创建了后,继续写一下跳转到html页面的方法, 这里我把 jsp和html 分开两篇文章。然后再写一个两种方式整合的这篇 是跳转到html文件的1创建目录结果和html文件 2配置return 返回模版 3.UserController.java代码如下,这里就直接使用上次创建的查询方法@RequestMapping(value = "/testHtml", pro.
springboot 成功创建了后,继续写一下跳转到html页面的方法, 这里我把 jsp和html 分开两篇文章。然后再写一个两种方式整合的
这篇 是跳转到html文件的
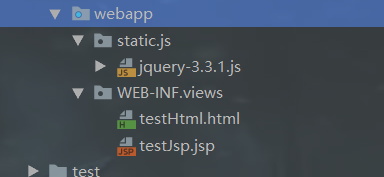
1创建目录结果和html文件

2配置return 返回模版
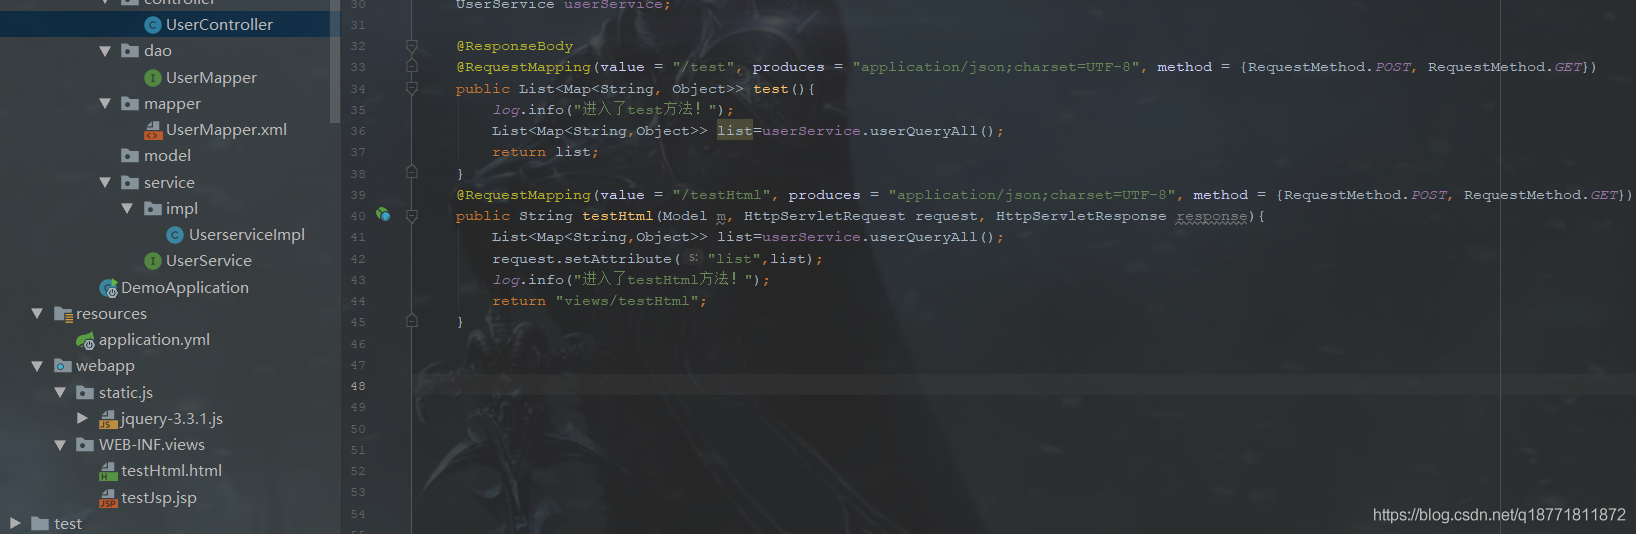
3.UserController.java代码如下,这里就直接使用上次创建的查询方法
@RequestMapping(value = "/testHtml", produces = "application/json;charset=UTF-8", method = {RequestMethod.POST, RequestMethod.GET})
public String testHtml(Model m, HttpServletRequest request, HttpServletResponse response){ List> list=userService.userQueryAll(); request.setAttribute("list",list); log.info("进入了testHtml方法!"); return "views/testHtml"; }
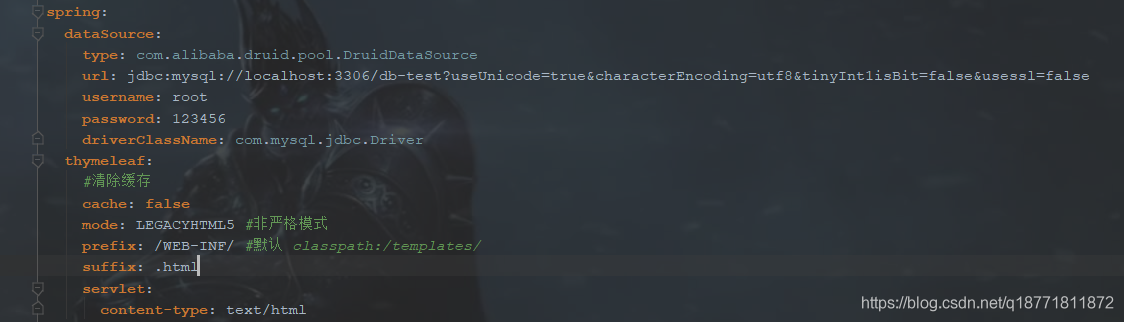
4.application.yml 文件 配置 thymeleaf 模版参数
spring:
dataSource:
type: com.alibaba.druid.pool.DruidDataSource
url: jdbc:mysql://localhost:3306/db-test?useUnicode=true&characterEncoding=utf8&tinyInt1isBit=false&usessl=false
username: root
password: 123456
driverClassName: com.mysql.jdbc.Driver
thymeleaf:
#清除缓存
cache: false
mode: LEGACYHTML5 #非严格模式
prefix: /WEB-INF/ #默认 classpath:/templates/
suffix: .html
servlet:
content-type: text/html
5. pom.xml 文件加入thymeleaf 架包
org.springframework.boot
spring-boot-starter-thymeleaf
net.sourceforge.nekohtml
nekohtml
1.9.22
6. html页面这里我为了方便事先引入了jQuery ,并且直接使用了thymeleaf 模版来接收数据,也是第一次用。
Title
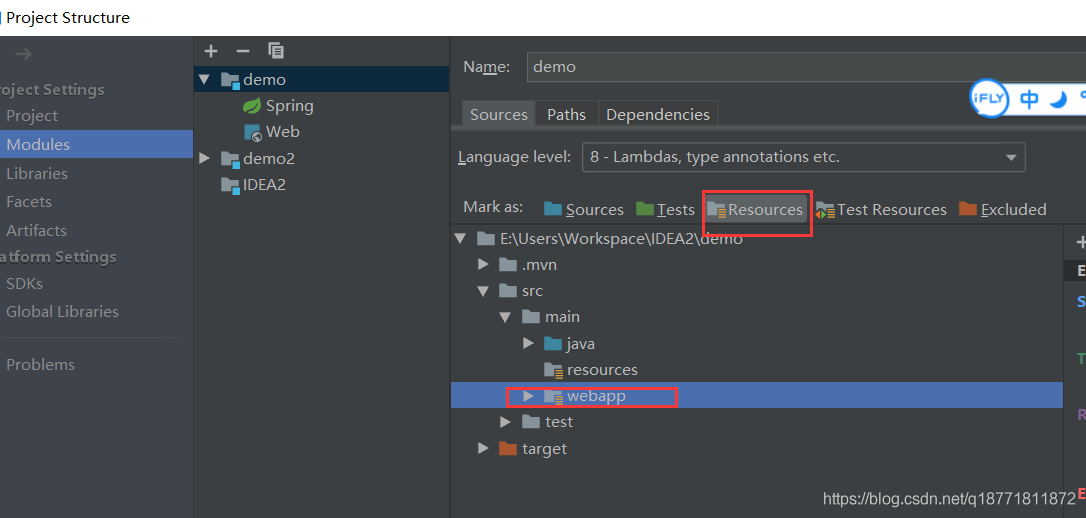
7. Project Structure里面 这个一般是默认配置好了的,如果没有就要加上哦
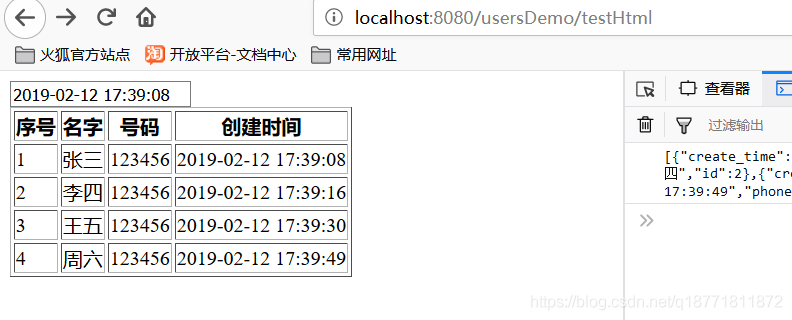
就这样启动就行了 效果图如下

魔乐社区(Modelers.cn) 是一个中立、公益的人工智能社区,提供人工智能工具、模型、数据的托管、展示与应用协同服务,为人工智能开发及爱好者搭建开放的学习交流平台。社区通过理事会方式运作,由全产业链共同建设、共同运营、共同享有,推动国产AI生态繁荣发展。
更多推荐


 0
0 0
0- 0


 已为社区贡献2条内容

所有评论(0)