web应用技术第8次课(2)--基于springboot+mybatis+vue的项目实战之前端
·
步骤:
1、项目准备:新建项目,修改application.properties.
2、使用Apifox准备好json数据的mock地址
3、编写基于vue的静态页面
4、运行
0、项目准备
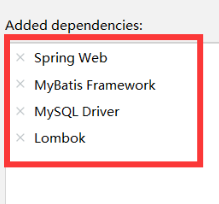
shift+ctrl+p,新建springboot项目,需要加入以下依赖,修改application.properties.
application.properties
# 应用服务 WEB 访问端口
server.port=8080
#因为引入了mybatis,会自动检测数据库的连接信息,所以尽管本前端没有用到数据库,也需要配置数据库。

#数据库连接
spring.datasource.driver-class-name=com.mysql.cj.jdbc.Driver
spring.datasource.url=jdbc:mysql://localhost:3306/2026shangke
spring.datasource.username=root
spring.datasource.password=123
#开启mybatis的日志输出
mybatis.configuration.log-impl=org.apache.ibatis.logging.stdout.StdOutImpl
#开启数据库表字段
#实体类属性的驼峰映射
mybatis.configuration.map-underscore-to-camel-case=true
一、使用Apifox准备好json数据的mock地址
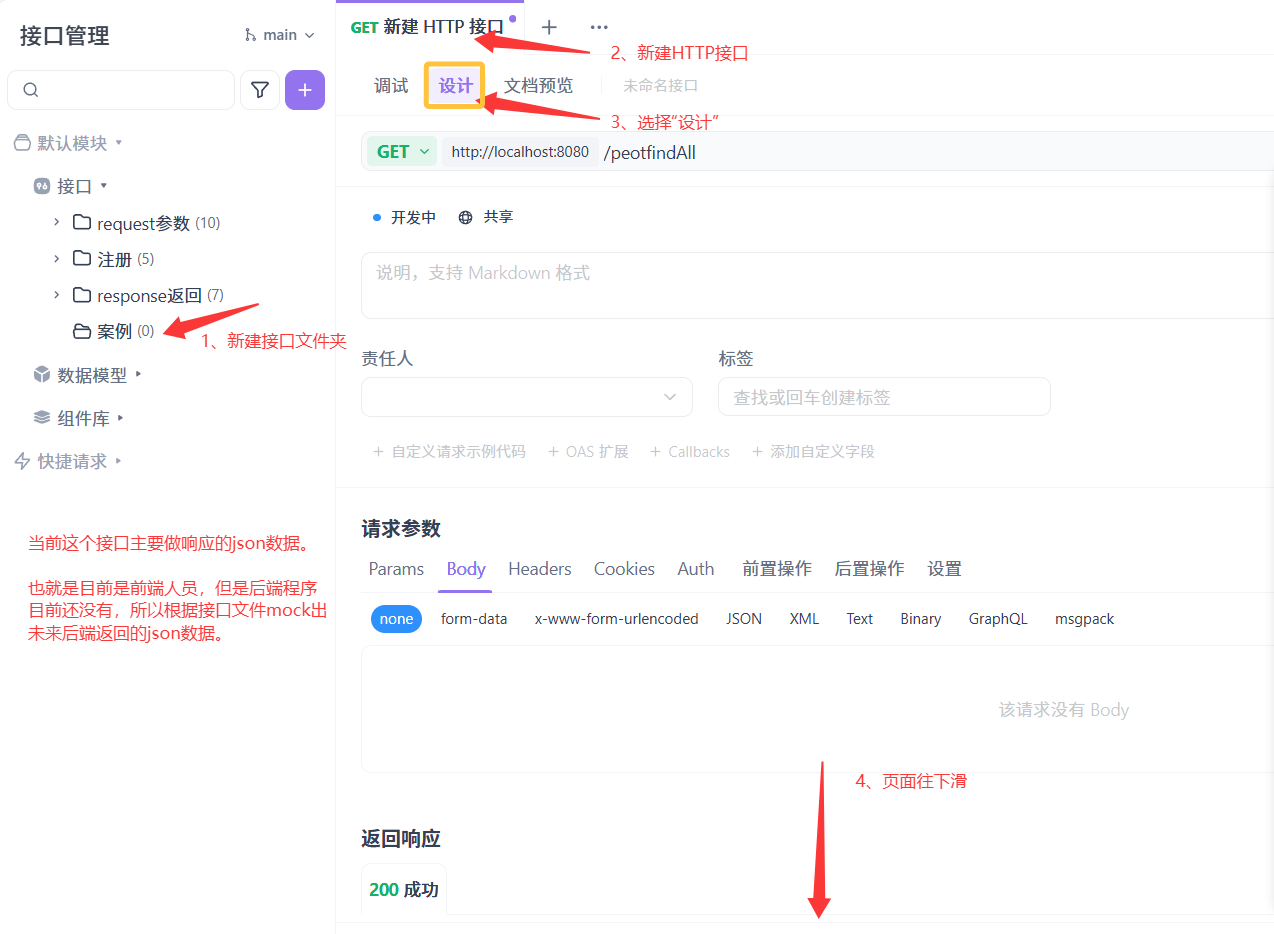
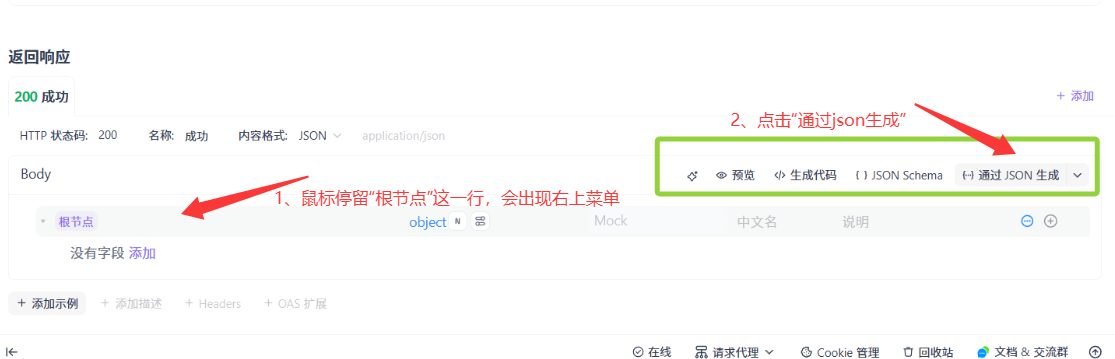
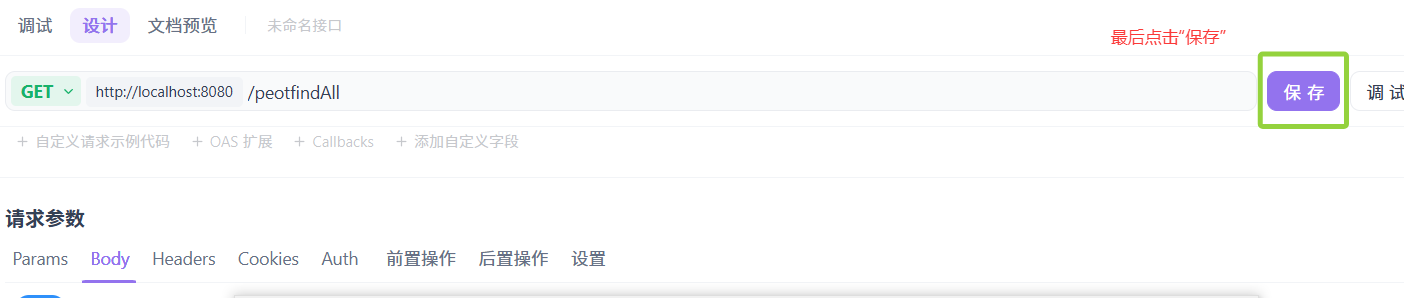
在Apifox中新建项目,新建接口,以及设置地址、请求和响应。
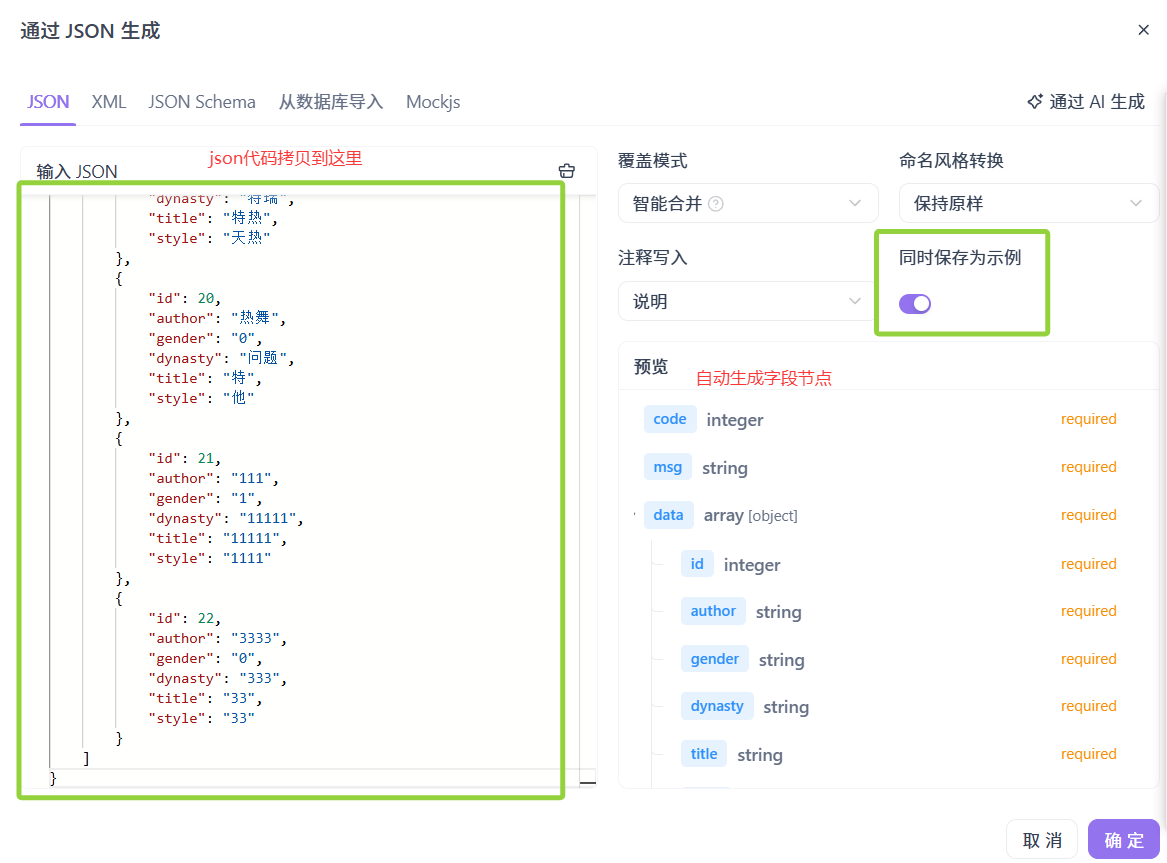
{
    "code": 1,
    "msg": "success",
    "data": [
        {
            "id": 1,
            "author": "陶渊明",
            "gender": "1",
            "dynasty": "东晋末至南朝宋初期",
            "title": "诗人和辞赋家",
            "style": "古今隐逸诗人之宗"
        },
        {
            "id": 3,
            "author": "李商隐",
            "gender": "2",
            "dynasty": "唐代",
            "title": "诗坛鬼才",
            "style": "无"
        },
        {
            "id": 4,
            "author": "李白",
            "gender": "1",
            "dynasty": "唐代",
            "title": "诗仙",
            "style": "豪放飘逸的诗风和丰富的想象力"
        },
        {
            "id": 5,
            "author": "李清照",
            "gender": "2",
            "dynasty": "宋代",
            "title": "女词人",
            "style": "婉约风格"
        },
        {
            "id": 6,
            "author": "杜甫",
            "gender": "1",
            "dynasty": "唐代",
            "title": "诗圣",
            "style": "反映社会现实和人民疾苦"
        },
        {
            "id": 7,
            "author": "苏轼",
            "gender": "1",
            "dynasty": "北宋",
            "title": "文学家、书画家,诗神",
            "style": "清新豪健的诗风和独特的艺术表现力"
        },
        {
            "id": 9,
            "author": "王维",
            "gender": "1",
            "dynasty": "11",
            "title": "11",
            "style": "11"
        },
        {
            "id": 12,
            "author": "王维",
            "gender": "0",
            "dynasty": "唐代11",
            "title": "诗佛11",
            "style": "空灵、寂静11"
        },
        {
            "id": 13,
            "author": "2221111",
            "gender": "22",
            "dynasty": "22",
            "title": "22",
            "style": "22"
        },
        {
            "id": 14,
            "author": "王维",
            "gender": "1",
            "dynasty": "唐代",
            "title": "诗佛",
            "style": "空灵、寂静"
        },
        {
            "id": 17,
            "author": "0000",
            "gender": "1",
            "dynasty": "0000",
            "title": "000",
            "style": "000"
        },
        {
            "id": 18,
            "author": "热帖",
            "gender": "0",
            "dynasty": "特瑞",
            "title": "特热",
            "style": "天热"
        },
        {
            "id": 19,
            "author": "热帖",
            "gender": "0",
            "dynasty": "特瑞",
            "title": "特热",
            "style": "天热"
        },
        {
            "id": 20,
            "author": "热舞",
            "gender": "0",
            "dynasty": "问题",
            "title": "特",
            "style": "他"
        },
        {
            "id": 21,
            "author": "111",
            "gender": "1",
            "dynasty": "11111",
            "title": "11111",
            "style": "1111"
        },
        {
            "id": 22,
            "author": "3333",
            "gender": "0",
            "dynasty": "333",
            "title": "33",
            "style": "33"
        }
    ]
}
测试数据:
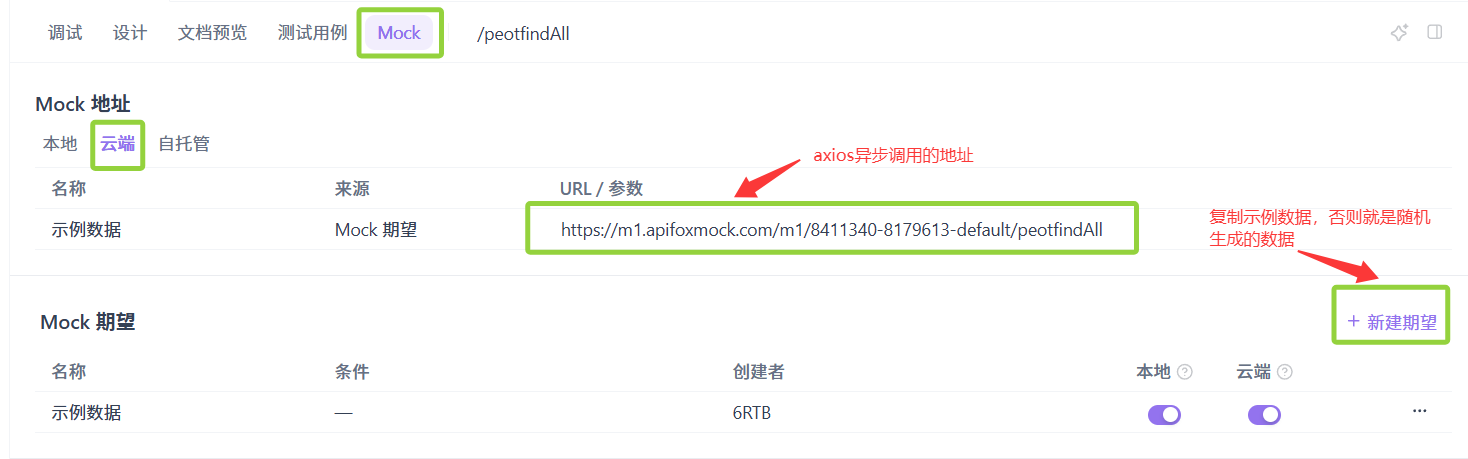
1)浏览器中测试云mock地址的数据是否我们想要的。
https://m1.apifoxmock.com/m1/8411340-8179613-default/peotfindAll

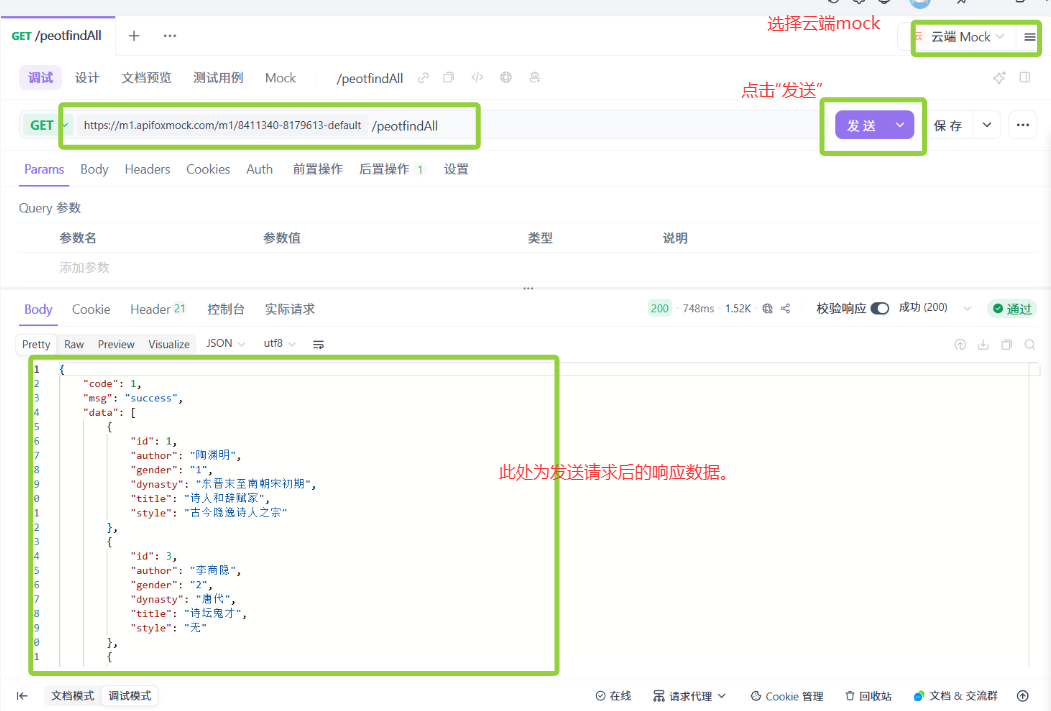
2)也可以直接在apifox中测试。
二、编写基于vue的静态页面
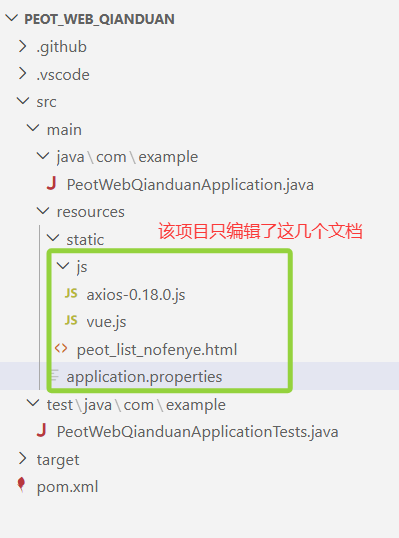
2.1 拷贝axios和vue的被包含文件
2.2 编写html文件
编写vue页面,将异步请求的地址,编写为刚刚测试成功的mock地址。

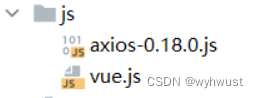 这两个包含文件,拷贝进去即可。
peot_list_nofenye.html的代码如下:
<!DOCTYPE html>
<html lang="en">
<head>
  <meta charset="UTF-8">
  <meta http-equiv="X-UA-Compatible" content="IE=edge">
  <meta name="viewport" content="width=device-width, initial-scale=1.0">
  <title>诗人信息</title>
</head>

<script src="./js/vue.js"></script>
<script src="./js/axios-0.18.0.js"></script>

<body>

<h1 align="center">诗人信息列表展示</h1>

<div id="app" align="center">
  <table border="1" cellspacing="0" width="60%">
    <tr>
      <th>序号</th>
      <th>姓名</th>
      <th>性别</th>
      <th>朝代</th>
      <th>头衔</th>
      <th>风格</th>
      <th>操作</th>
    </tr>
    <tr align="center" v-for="(peot,index) in tableData">
      <td>{{peot.id}}</td>
      <td>{{peot.author}}</td>
      <td>{{peot.gender}}</td>
      <td>{{peot.dynasty}}</td>
      <td>{{peot.title}}</td>
      <td>{{peot.style}}</td>
      <td class="text-center">
        <!--a :href="'peot_edit.html?id='+peot.id"-->
        <!--button type="button" @click="deleteId(peot.id)-->
        修改
        删除
      </td>

    </tr>
  </table>
</div>
</body>


<script>
  new Vue({
    el: "#app",
    data() {
      return {
        tableData: []
      }
    },
    mounted(){
      //peotfindAll
      axios.get('**换成自己的mock地址**').then(res=>{
        if(res.data.code){
          this.tableData = res.data.data;
        }
      });
    },

  });
</script>
</html>
三、运行
3.1 启动项目
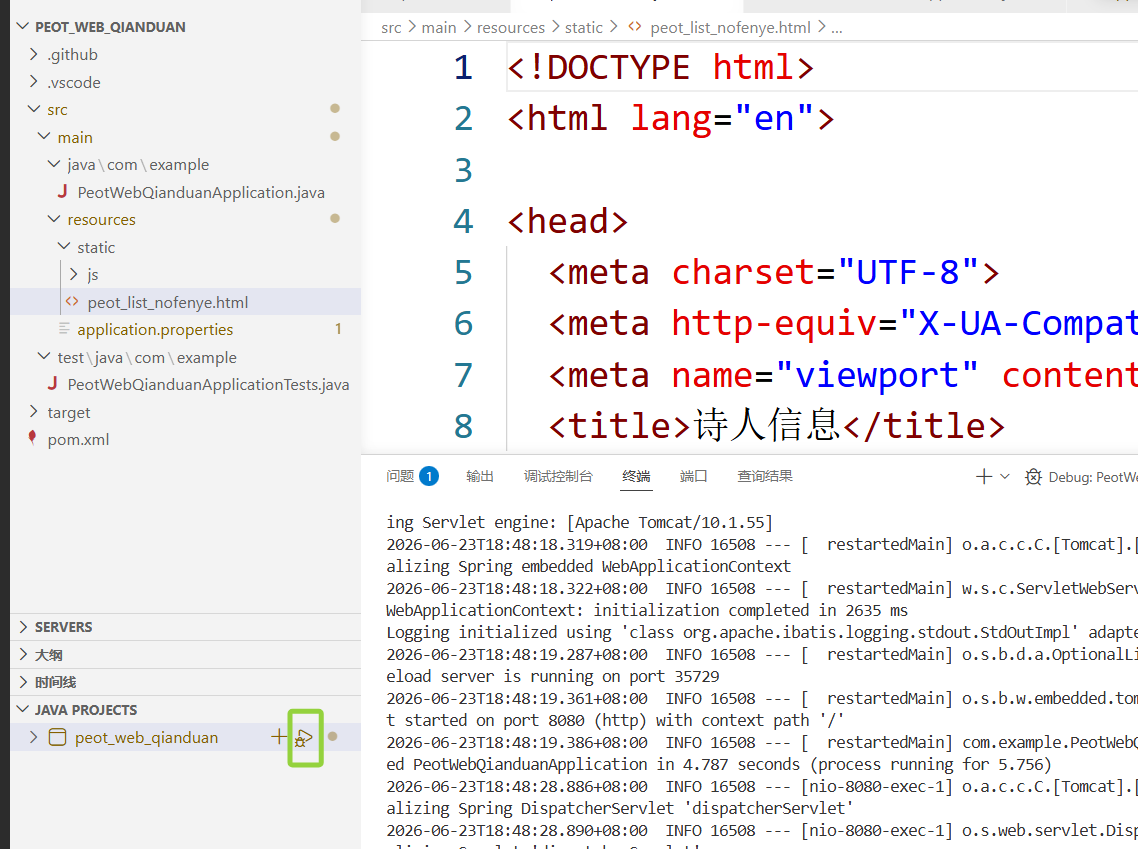
3.2 地址栏访问 http://localhost:8080/peot_list_nofenye.html


魔乐社区(Modelers.cn) 是一个中立、公益的人工智能社区,提供人工智能工具、模型、数据的托管、展示与应用协同服务,为人工智能开发及爱好者搭建开放的学习交流平台。社区通过理事会方式运作,由全产业链共同建设、共同运营、共同享有,推动国产AI生态繁荣发展。
更多推荐


 12
12 0
0- 0


 已为社区贡献4条内容

所有评论(0)