基于linux的MsQUIC编译及样例运行
参考链接:
https://github.com/microsoft/msquic/blob/main/docs/BUILD.md
软件相关版本
Ubuntu 20.04
编译/构建
1. 下载源代码
$ git clone --recursive https://github.com/microsoft/msquic.git2. Powershell安装:
安装链接(根据自己的ubuntu版本选择):
# Download the Microsoft repository GPG keys
wget -q https://packages.microsoft.com/config/ubuntu/18.04/packages-microsoft-prod.deb

# Register the Microsoft repository GPG keys
sudo dpkg -i packages-microsoft-prod.deb

# Update the list of products
sudo apt-get update

# Enable the "universe" repositories
sudo add-apt-repository universe

# Install PowerShell
sudo apt-get install -y powershell

# Start PowerShell
pwsh
3. 安装 .NET Core:
安装链接:https://docs.microsoft.com/en-us/dotnet/core/install/
4. 安装对应依赖/检查是否已经完全安装对应依赖。
进入msquic目录,输入下面的命令。下面命令需要进入powershell,安装完后输入 pwsh进入。
$ ./scripts/prepare-machine.ps1 -Configuration Dev4. 开始构建。构建时间比较久,需要等一下。构建完之后就编译完了。
$ ./scripts/build.ps1
测试用例运行
$ ./scripts/test.ps1
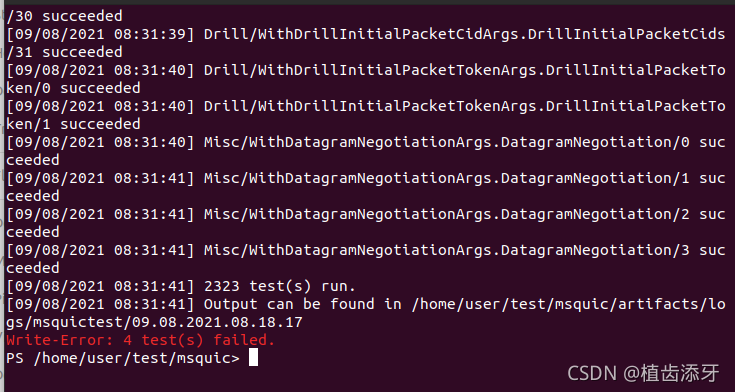
用例运行如下所示。不过的案例可以在对应的文件夹看log。我这里运行的时候有4个案例不过,但是没有关系,在后面运行sample的时候还是可以的。
运行样例
MsQUIC提供了一个简单的client和server的案例,目录位置: /home/user/test/msquic/src/tools/sample。
首先生成证书密钥,输入以下命令:
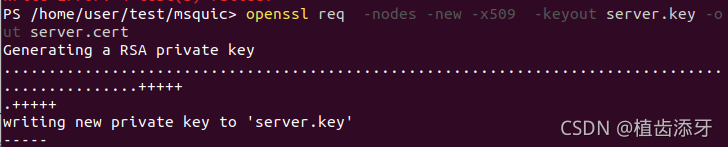
$ openssl req -nodes -new -x509 -keyout server.key -out server.cert得到以下界面,下面会有一些让输个人信息的地方,全按回车就行。
运行服务器端
进入\msquic/artifacts/bin/linux/x64_Debug_openssl目录,在Powershell中执行以下命令。server.cert和server.key的地址需要根据自己的情况修改。
$ ./quicsample -server -cert_file:path/to/server.cert -key_file path/to/server.key如:
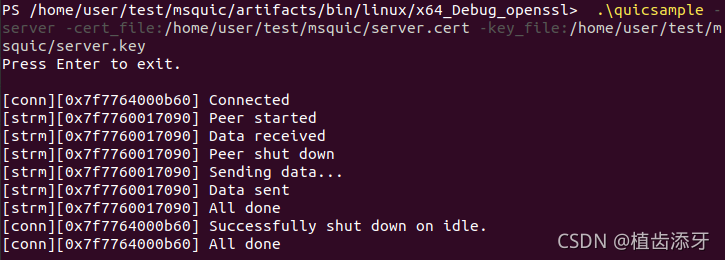
$ ./quicsample -server -cert_file:/home/user/test/msquic/server.cert -key_file:/home/user/test/msquic/server.key 运行客户端
在PowerShell中运行以下命令。-target参数指定了服务端地址及端口,其中端口号4567是源码中固定写好的。-unsecure 参数表示,不进行证书验证。
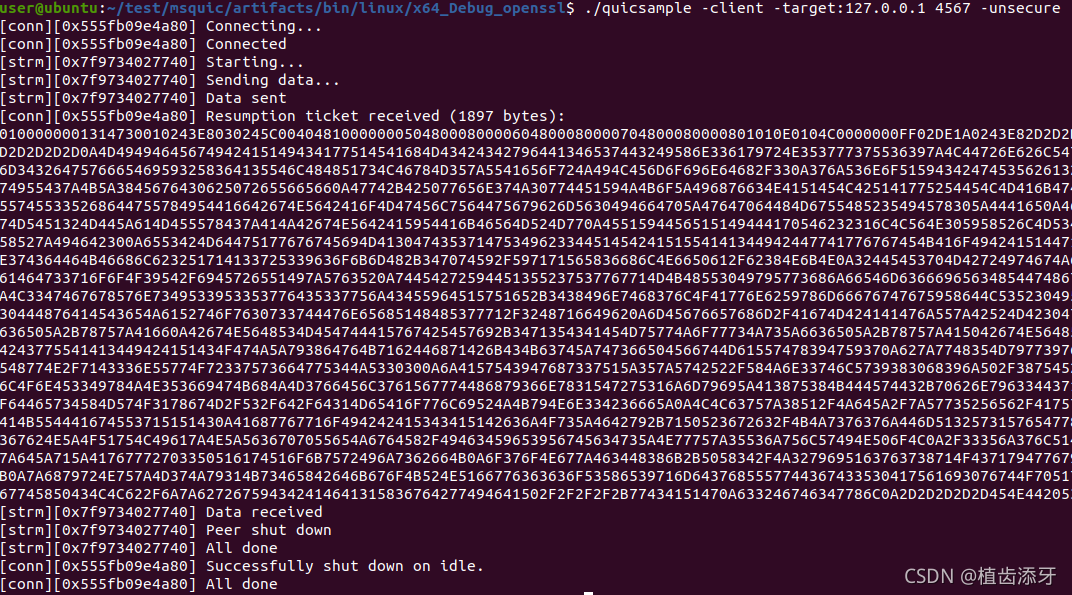
$ ./quicsample -client -target:127.0.0.1 4567 -unsecure运行截屏
server端
client端

魔乐社区(Modelers.cn) 是一个中立、公益的人工智能社区,提供人工智能工具、模型、数据的托管、展示与应用协同服务,为人工智能开发及爱好者搭建开放的学习交流平台。社区通过理事会方式运作,由全产业链共同建设、共同运营、共同享有,推动国产AI生态繁荣发展。
更多推荐


 2
2 0
0- 0


 已为社区贡献2条内容

所有评论(0)