基于webrtc-streamer软件的多视频在一个网页多个Rtsp协议监控实况的实现
1.下载webrtc-streamr和摄像头码流格式的准备
webrtc-streamer 是一个使用简单机制通过 WebRTC 流式传输视频捕获设备和 RTSP 源的项目,它内置了一个小型的 HTTP server 来对 WebRTC需要的相关接口提供支持。
此处仅使用了windows系统,下载地址:webrtcstreamer(git).
注意:摄像头的码流格式需要提前在摄像头web中心中设置成h264格式当下仅支持这种格式。
2.使用webstreamer
很简单,但是不好理解,打开webrtc-streamer.exe文件,此时会发现这个程序在实时监听本机端口8000,当程序出现一下画面表示进入监听Rtsp流阶段。
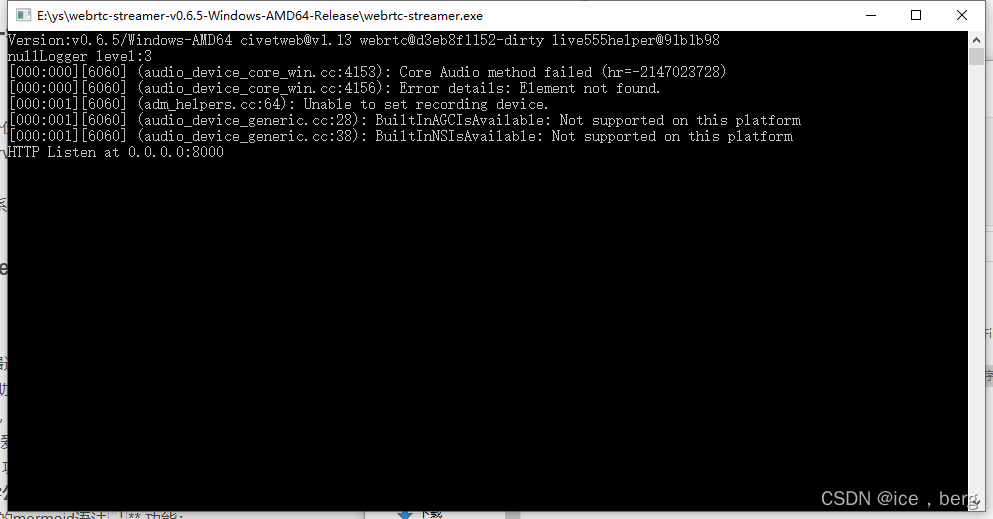
此时访问127.0.0.1/8000会发现程序在实时直播本机的画面。
3.使用html文件夹中各个js进行相应配置
在附带的html文件夹中,我们首先要将libs文件夹和webrtcstreamer.js这两个主要文件导入到自己的项目中,如下
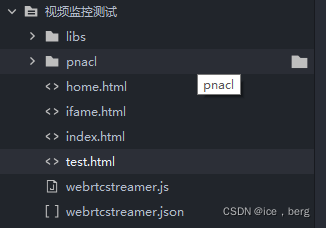
此时test.html文件中的代码就是我们的主要测试代码文件,但此时并不能实现多个视频流的同时实况展示,仅作为测试。
test.html核心代码:
<!DOCTYPE html>
<html>
	<head>
		<!-- 前期导入的libs包和webrtcstreamer的js包 -->
		<script src="libs/request.min.js"></script>
		<script src="libs/adapter.min.js"></script>
		<script src="webrtcstreamer.js"></script>
		<script>
			var webRtcServer = null;
			window.onload = function() {
				//video对应下面video组件的id,注意链接中的rtsp链接格式为:rtsp://用户名:密码@摄像头ip地址
				webRtcServer = new WebRtcStreamer("video", location.protocol + "//" + window.location.hostname + ":8000");
				webRtcServer.connect("rtsp://admin:123456@10.5.164.168");
			}
			window.onbeforeunload = function() {
				webRtcServer.disconnect();
			}
		</script>
	</head>
	<body>
		<video id="video" style='object-fit:fill' controls autoplay autobuffer muted preload='auto'/>
		//此控件无法正常展示
		<video id="video1" style='object-fit:fill' controls autoplay autobuffer muted preload='auto'/>
	</body>
</html>
在此处如果运行出来会发现我的第二个video控件无法展示,这是原作者js文件中的一个bug,大概意思是new WebRtcStreamer(“video”, location.protocol + “//” + window.location.hostname + “:8000”); 中的video 被设置成一个常量,无法更改,从而无法实现多视频流的同时显示,解决方法在后面。
4.多视频流的解决方案
由于可能存在多个IP不同的摄像头,此时我们可以使用iframe控件使各个摄像头分别显示
只需要将上述代码进行更改:
<!DOCTYPE html>
<html>
	<head>
		<script src="libs/request.min.js"></script>
		<script src="libs/adapter.min.js"></script>
		<script src="webrtcstreamer.js"></script>
		<script>
			var webRtcServer = null;
			var url = location.href;
			var index = url.indexOf("?ip=");
			console.log(index);
			var ip = url.substring(index + 4);
			console.log(ip);
			// var webRtcServer2 = null;
			window.onload = function() {
				webRtcServer = new WebRtcStreamer("video", location.protocol + "//" + window.location.hostname + ":8000");
				webRtcServer.connect("rtsp://admin:123456@" + ip + "/media/video1");
			}
			window.onbeforeunload = function() {
				webRtcServer.disconnect();
				//webRtcServer2.disconnect();
			}
		</script>
	</head>
	<body>
		<video id="video" style='object-fit:fill' controls autoplay autobuffer muted preload='auto' width="600" />
	</body>
</html>
此时在需要使用的页面对应的代码为:
<iframe src="test.html?ip=192.168.1.10" style="margin: 5px;width:100%;height: 100%;" frameborder="no" scrolling="no"></iframe>
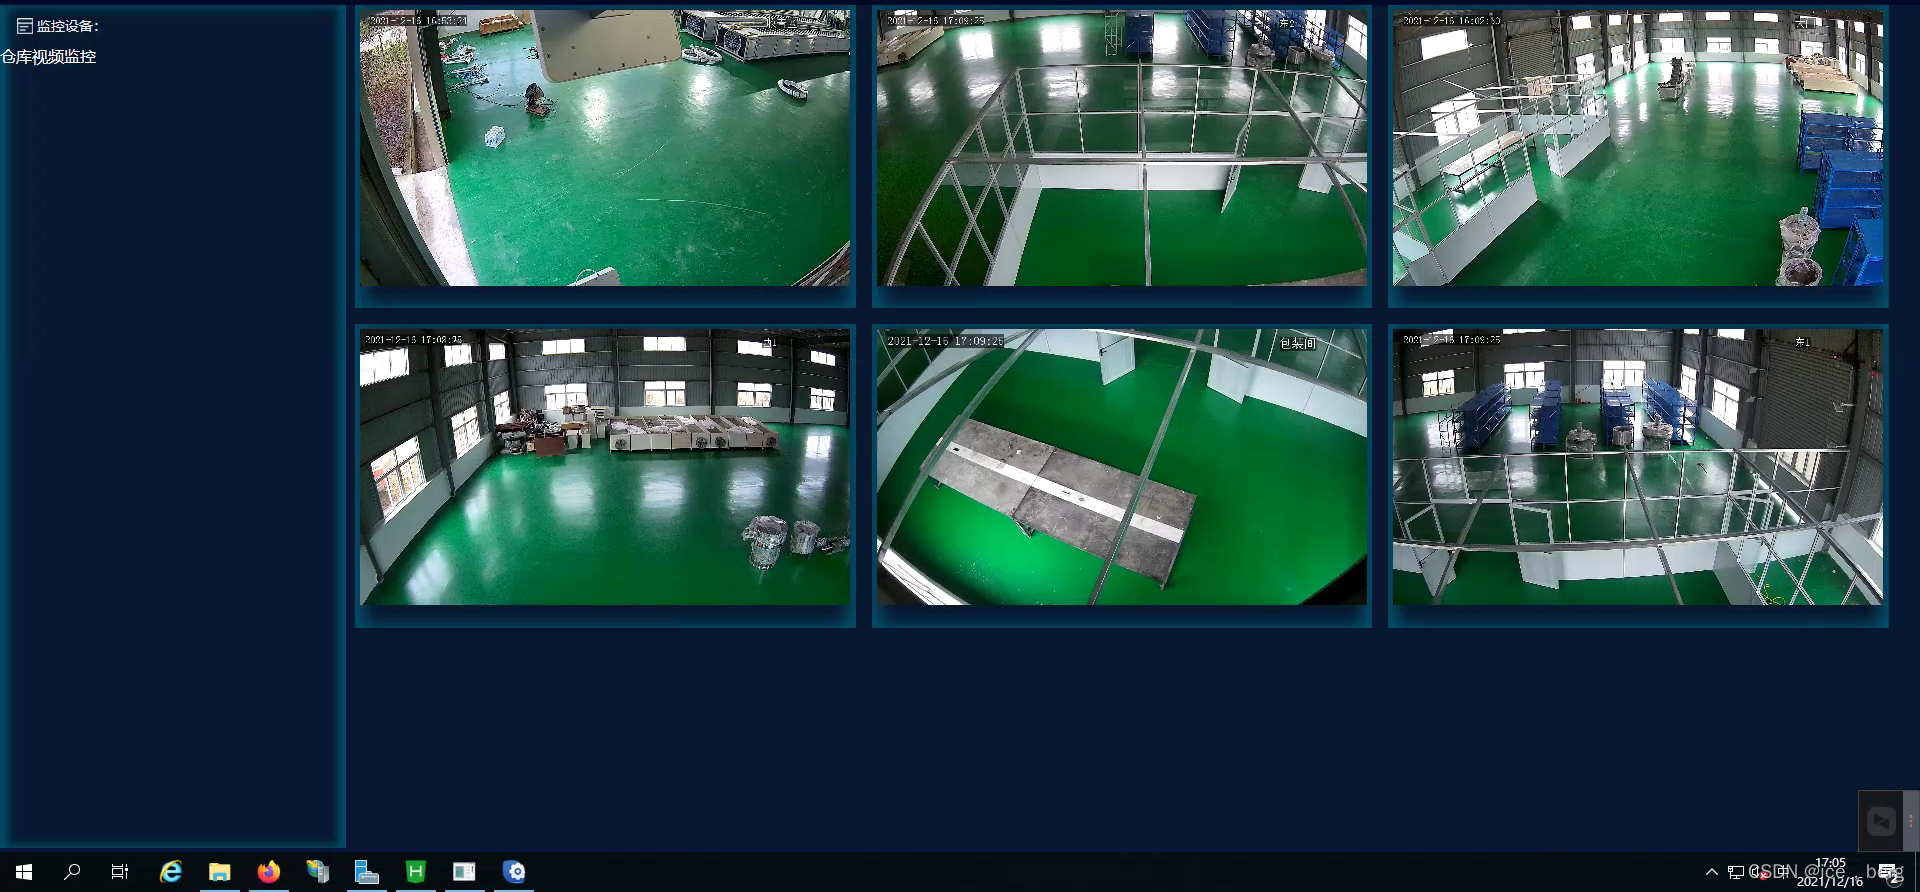
ip就是你对应的摄像头的ip,多使用几个iframe控件即可实现在同一界面多个实况。
效果如下:
5.可能出现的问题
1.exe文件中可能会在初期卡顿,这个程序最高承载量大概在8个视频流同时传输,需要多等一会,在视频全部加载完全前不要关闭程序。
2.多个视频同时显示肯定会有一定延迟,建议分开成单独页面显示。(摄像头自带云端的不需要此操作)
具体代码可以参考链接
https://download.csdn.net/download/icebergsun/73715996

魔乐社区(Modelers.cn) 是一个中立、公益的人工智能社区,提供人工智能工具、模型、数据的托管、展示与应用协同服务,为人工智能开发及爱好者搭建开放的学习交流平台。社区通过理事会方式运作,由全产业链共同建设、共同运营、共同享有,推动国产AI生态繁荣发展。
更多推荐


 0
0 0
0- 0


 已为社区贡献1条内容

所有评论(0)